Covid 19; Standing Up For Peace Sculpture for Saxon Hall, Hereford: The design Phase. Please join in!
The Big Skill is working on a community project to build a sculpture for the beautiful garden at Saxon Hall Community Centre in Hereford, UK. We had started to bring people together with fun, informative, creative clay workshops to start developing the design. The models people made will be incorporated into the sculpture’s surface to add an expressive, relief surface that tells of the many ways everyone builds peace into their lives and communities. Then Covid 19 took over.
So now we have taken the work online. Please feels very welcome to join in. Go to The Big Skill website for more details.
Clay Modelling and small sculpture.
Using clay on a small scale is a great way to work out those ideas and feeling that are ‘on the tip of your tongue’ or just out of reach in your head. You can play around intuitively until it looks about right. Then you can use that model to guide you through another one where you think about it a bit more and so on. This is the basis of how I work and how I deal with any emotions or situations that in life that I can’t get my head around.
When planning a Public sculpture I start this way to clarify my own interpretations of the Theme. Then I will be inspired again by your models and other art-work and I’ll start making scale models that incorporate your ideas and forms and the issues out-lined in the Project Brief.
Coping with the Covid 19 lock-down has made us all acutely aware of how it feels to live in fear and what really matters and helps. So the models you make will really be from the heart and everyone will be able to relate to them in some way.
Humans are a social species and so it’s very important that we have a wide variety of skills to offer our communities. We are unified by a drive to share and communicate and some of us do that best through wordless routes like art work: making it and connecting through the art we see.

Just mess about: the ideas will come through your hands.
These other posts about small models will be useful:
Making Small Figures How To Make Animals
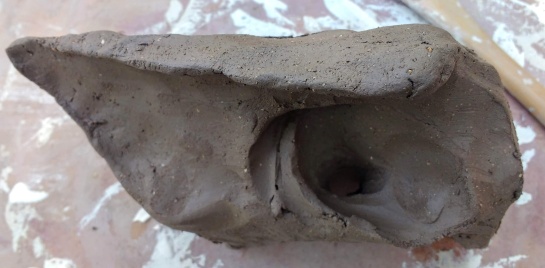
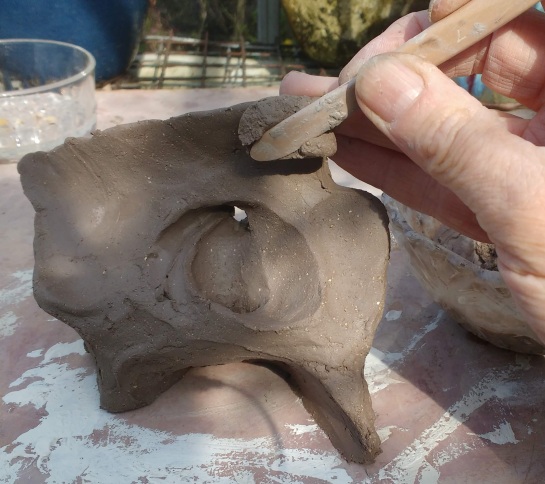
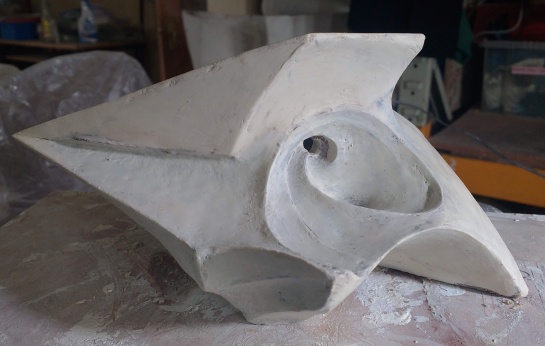
I’m making an abstract form because that is my strongest language. The easiest, ‘best’ thing to make is the thing that interests you the most. Take your time and don’t care one bit about what anyone else might think.
Much of the lower part is just there to stop it tipping over.
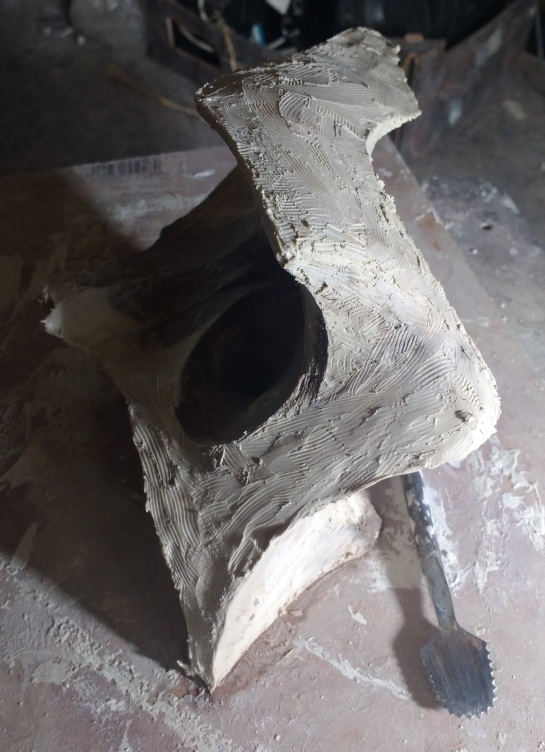
It’s time to add more clay: Break off a small piece with a tool, dab it onto a moist sponge and model it onto your sculpture.
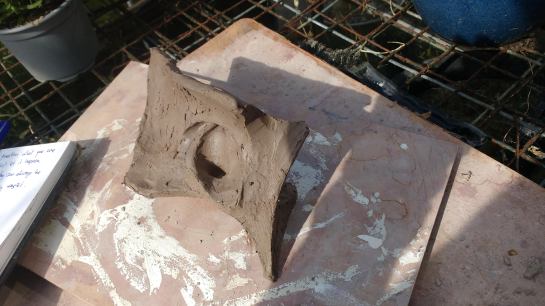
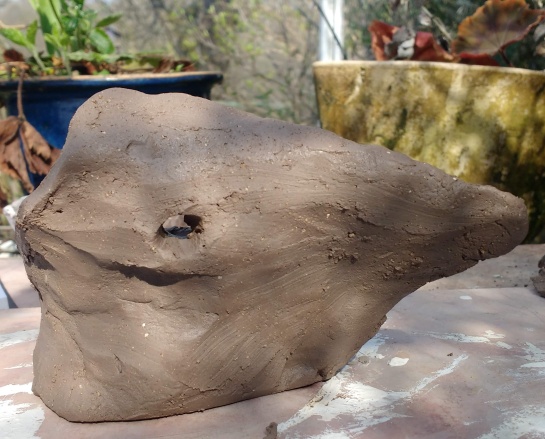
Look at it from all angles.


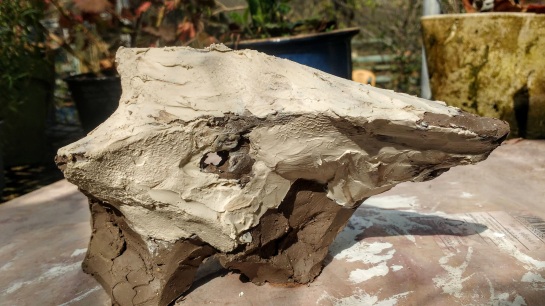
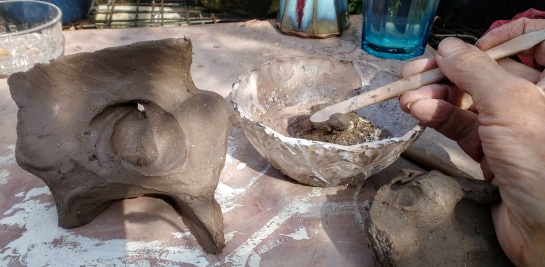
I have switched to Porcelain clay which is tricky to work with. It looks a mess now but I will carve that back when I think I have the shape done. It will shrink way more than the Crank clay underneath so after the firing I will have a hard white finish with a lot of cracks in which I will emphasize in black. I’m after a timeless, stone-like finish.
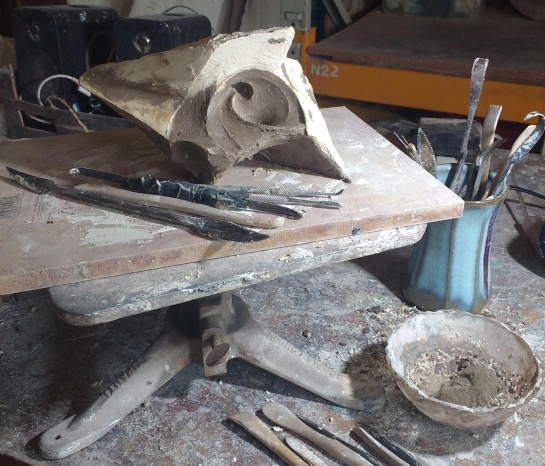
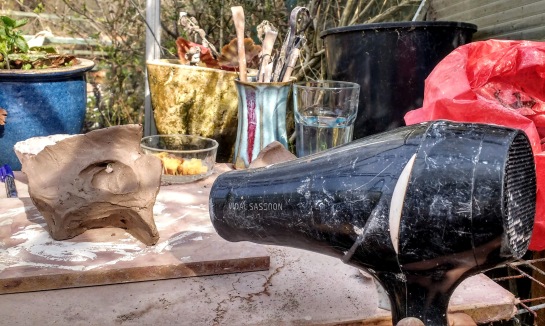
I used all the tools shown on the board for each task shown over the next set of images.

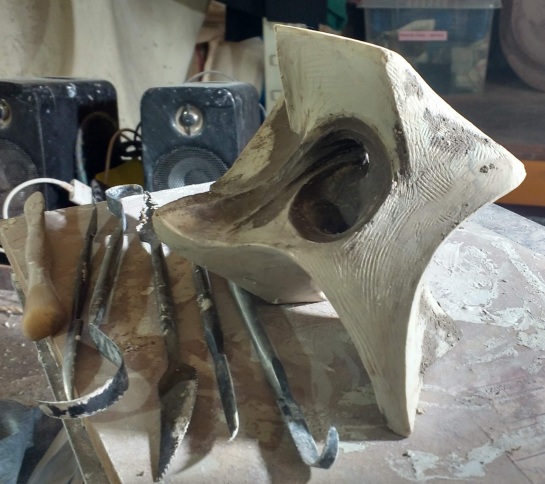

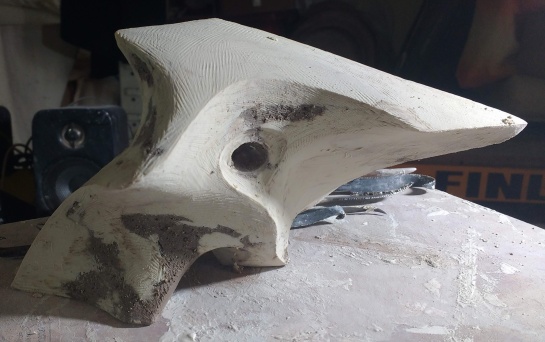

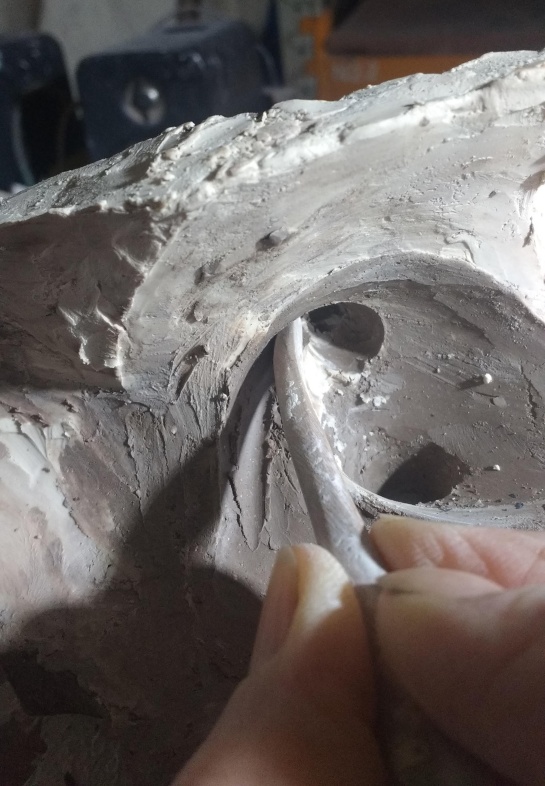
This is now covered in the white porcelain. The firing will do most of the finishing. Then I will complete it by rubbing black-iron oxide powder into the cracks.


Putting the sculpture on a nice base can transform the way it looks.
The key to all sculpture is this:
1- Block out the form: decide the dimensions (height, width, length) including the base.
2- Work in Rotations refining the whole sculpture at each turn (by adding or subtracting in the case of clay).
Working on a Small Scale.
Starting small will allow you to get your head around the issues and get results quickly. You can try making lots of versions of the same idea until you find a style or image that really works for you. If it is authentic to you then other people will be able to relate to it.
Choosing Your Clay
Ideally use a clay with lots of grog in it because it will sag less, crack less, fire better or be stronger as self-hardening clay. Here I used Scarva ES50 Crank, an outstanding sculpture clay.
All Pottery Suppliers online will be happy to recommend clay if you tell them what you want to make. Clays are made from recipes so there are endless kinds. You want a Hand-building clay with fine-medium grog (pre-fired grit). Throwing Clay for the wheel will resent being a sculpture and be hard to handle. Many “Self- Hardening” clays are over-priced and difficult or unpleasant to use.
Bath Potters Supplies are really kind and helpful, have a lovely new website and a great selection of clays and tools for fair prices. Just looking through the site will give you a good idea of what is available. And they are still open and delivering during the Pandemic.
A bag of clay is 12.5 kg. Clay prices vary a lot. Talk to your supplier to get the right clay for the job. £10 shipping usually covers 10-25 kg so tools wont have extra shipping.
Tools
I love CTM for tools: great quality and prices, especially on the serrated metal tools. They sell fab clay too.
You don’t need lots…I have LOTS! You can make your own.
This useful post features a complete, reusable model-making kit that you can adapt to the size of your needs and helpful links: How To Use Clay In Primary Schools Affordably.
Quality Joints:
There is good, illustrated, essential advice about handling clay and making joins on the post about Coil Building.
Genuine joins are formed when the chains of platelet-shaped particles from each section of clay inter-lock. Picture a magnified image of tangled hair.
‘Score marks’ do not give the surface ‘tooth’; they allow water into the clay-body. On vertical surfaces they hold the water in place to give it time to sink in and swell the clay so that the clay platelets are able to link with other platelets.
Slip is not ‘glue’, it is clay particles spread out in water and has little strength, especially when it has dried . It is ideal for holding a lot of water in place to give it time to be absorbed to soften the area of leather-hard clay.
Once both edges are softened put the pieces together and slide them back and forth until you feel the edges lock together.
Manipulate the softened clay at the join to encourage further integration of those particle-chains and to disturb the straight line of the join; cracks love to zing along a nice straight slip-weakened join during the firing when the pull of shrinking stresses the sculpture. Pack in more clay if needed.
Thicknesses: cracking/breaking.
Generally 3cm is a fair maximum thickness for a well grogged clay if you plan to fire.
How thick the clay can be to fire well depends on the amount of grog (the gritty bits of pre-fired clay ground to specific sized grit/dust that gives improved structure and resilience to your clay), the denseness of your modelling style, drying time and the speed of your firing.
Air bubbles trapped in the clay will expand with the heat. Grog and/or a loose surface will allow the air to seep through the clay. The same is true with water but steam expands fast. If your piece breaks into big bits during the fire it was trapped air and you will be able to see where the bubbles were in the shards. If it blows up into a trillion smithereens it wasn’t properly dry!
Drying:
These small models will dry out in a few days. To stop it drying between sessions wrap tightly in a plastic bag with no holes.
Dry your sculpture slowly or the limbs may crack as they will shrink faster than the rest of the form. A cardboard box placed over the top is ideal to slowly allow moisture to escape.
Finishing:
Self-hardened clay will be delicate but last forever so long as it doesn’t get wet.
Firing will make it strong and water-proof.
When it is dry/fired paint/wax/stain the surface : a simple all over bronze colour always looks great.
Place your sculpture on a nice piece of wood or stone and it will look amazing! Seriously!
Now go make another one.
The more you practice more skills you will build up. You will get the fine muscles, the organised thinking, and more challenging, interesting ideas. There is no such thing as Talent. There is Interest, skills, tricks of the trade, good, suitable materials and tools and practice.
Confidence is great but it does not always help tbh. Don’t be meaner to yourself than you would be to someone else. If you hit a block wrap the piece tightly in plastic and come back to it later. Note the first thing you notice when you un-wrap it: that is usually the bit that needs work or is really good.
Getting useful feedback is hard. Cover the piece, say to the person “tell me the first thing you think of” and uncover it. Keep your face neutral! Then ask ” what is the mood? ” or ” what is the model feeling?”
