At Bracelet Bay, Wales, UK.
Here is a collection of my thoughts and descriptions about making sculpture written in reply to student’s questions.
A Level project at Monmouth School: natural forms in art, particularly in portraiture both 3D and 2D.
It would be of great help for you to answer a few questions for this investigation. Any further insight into your personal influence of natural forms would also be greatly appreciated. My specific questions are:
You say that your abstract forms start with a theme or a known form and I know that you draw all the time, but I wondered whether you start with sketches specific to the planned piece or go straight into working with the clay?
Drawing from life has been an important part of my training but I never do it now. I still use the figure and heads to practise my skills (use it or loose it) but always in 3D and clay. These days I draw imaginatively for fun and to capture impressions and these sometimes are shapes which I might re-explore in clay.
Generally I go straight to clay with a theme as a starting-point.
With my best work I am filling in the space with clay- the form is there already.
Or, most often, I play intuitively and then work through the challenges that emerge. Rarely do I have a specific intension other that a guiding idea but I admit that frequently I’ll realise I am making something else! The front of your mind can go chattering on while the bigger part of your brain does the real work. Music is wonderful for keeping the two focussed. If I start dancing or singing I know I’m working well.
The system is to arm yourself with as much real-life information about natural forms as you can cram into your head. This becomes the structure of your ‘intuition’. Add reading, ideas, opinions, dancing, experiences and especially music. Really good, practiced craftsmanship then allows you to access this unique perception of life and put it into your medium so that you can share it.
The great benefit is I can turn to clay to work out everything. It’s my language, my thought process and what I have to offer the world.
I keep my studio and, as best as I can, my life-style, organised and tidy so that I am fit and ready to respond to events. For example the storms of this winter and the news about progressive arctic warming has gone straight to clay without me over-thinking it.
The most difficult part is maintaining belief in this process and keeping a clear head amidst constant distractions and doubts. Sculptors like Barbara Hepworth and Henry Moore both used this approach. Many artists do. I turn to them to renew my courage.
In your blog you say that organic, natural forms are a strong influence on your abstract work and you talk about the influence of Barbara Hepworth in particular. Has she also influenced your more figurative work and which other artists have influenced your figurative work in particular?
Both Hepworth and Moore did many forms that were figures that they could see in the landscape in the way of animism and that gave me the confidence to show the figures I see. Most of my sculptures are of somebody, frequently birds of prey.
When I was young Brancusi and Giacometti blew my mind. Now I look at a lot of out-sider and art brut on Facebook (a fantastic resource for sculpture where you can study techniques in the artist’s Albums and ask questions). I greatly admire the fabulous craftsmanship and uncompromising imagination of Alex Oliver
( https://www.facebook.com/profile.php?id=100008249700514 ), Christophe Charbonnel
(https://www.facebook.com/Christophe-Charbonnel-117379408457506/ ) and the perfection and power of Patrick Villas’s modelling (https://www.facebook.com/patrick.villas.14 )
Seeing their work has opened the door to my using such naturalistic forms expressively. (before they were always disciplined exercises). My sons get me watching a lot of Marvel and super-hero fantasy films and the art-work is absolutely fabulous. They’ve pushed me to be more playful with my figurative work and that’s done all my sculpture a lot of good.
As well as rock forms, some of your pieces remind me of shells worn away by the sea and I wondered whether you are influenced by other natural forms, such as shells, leaves or coral?
I watch a lot of natural history and science programs and spend a fair amount of my free time outside. Trees are crucial to me. And I do collect shells and rocks. My thorough training means I can see things clearly and remember forms very vividly.
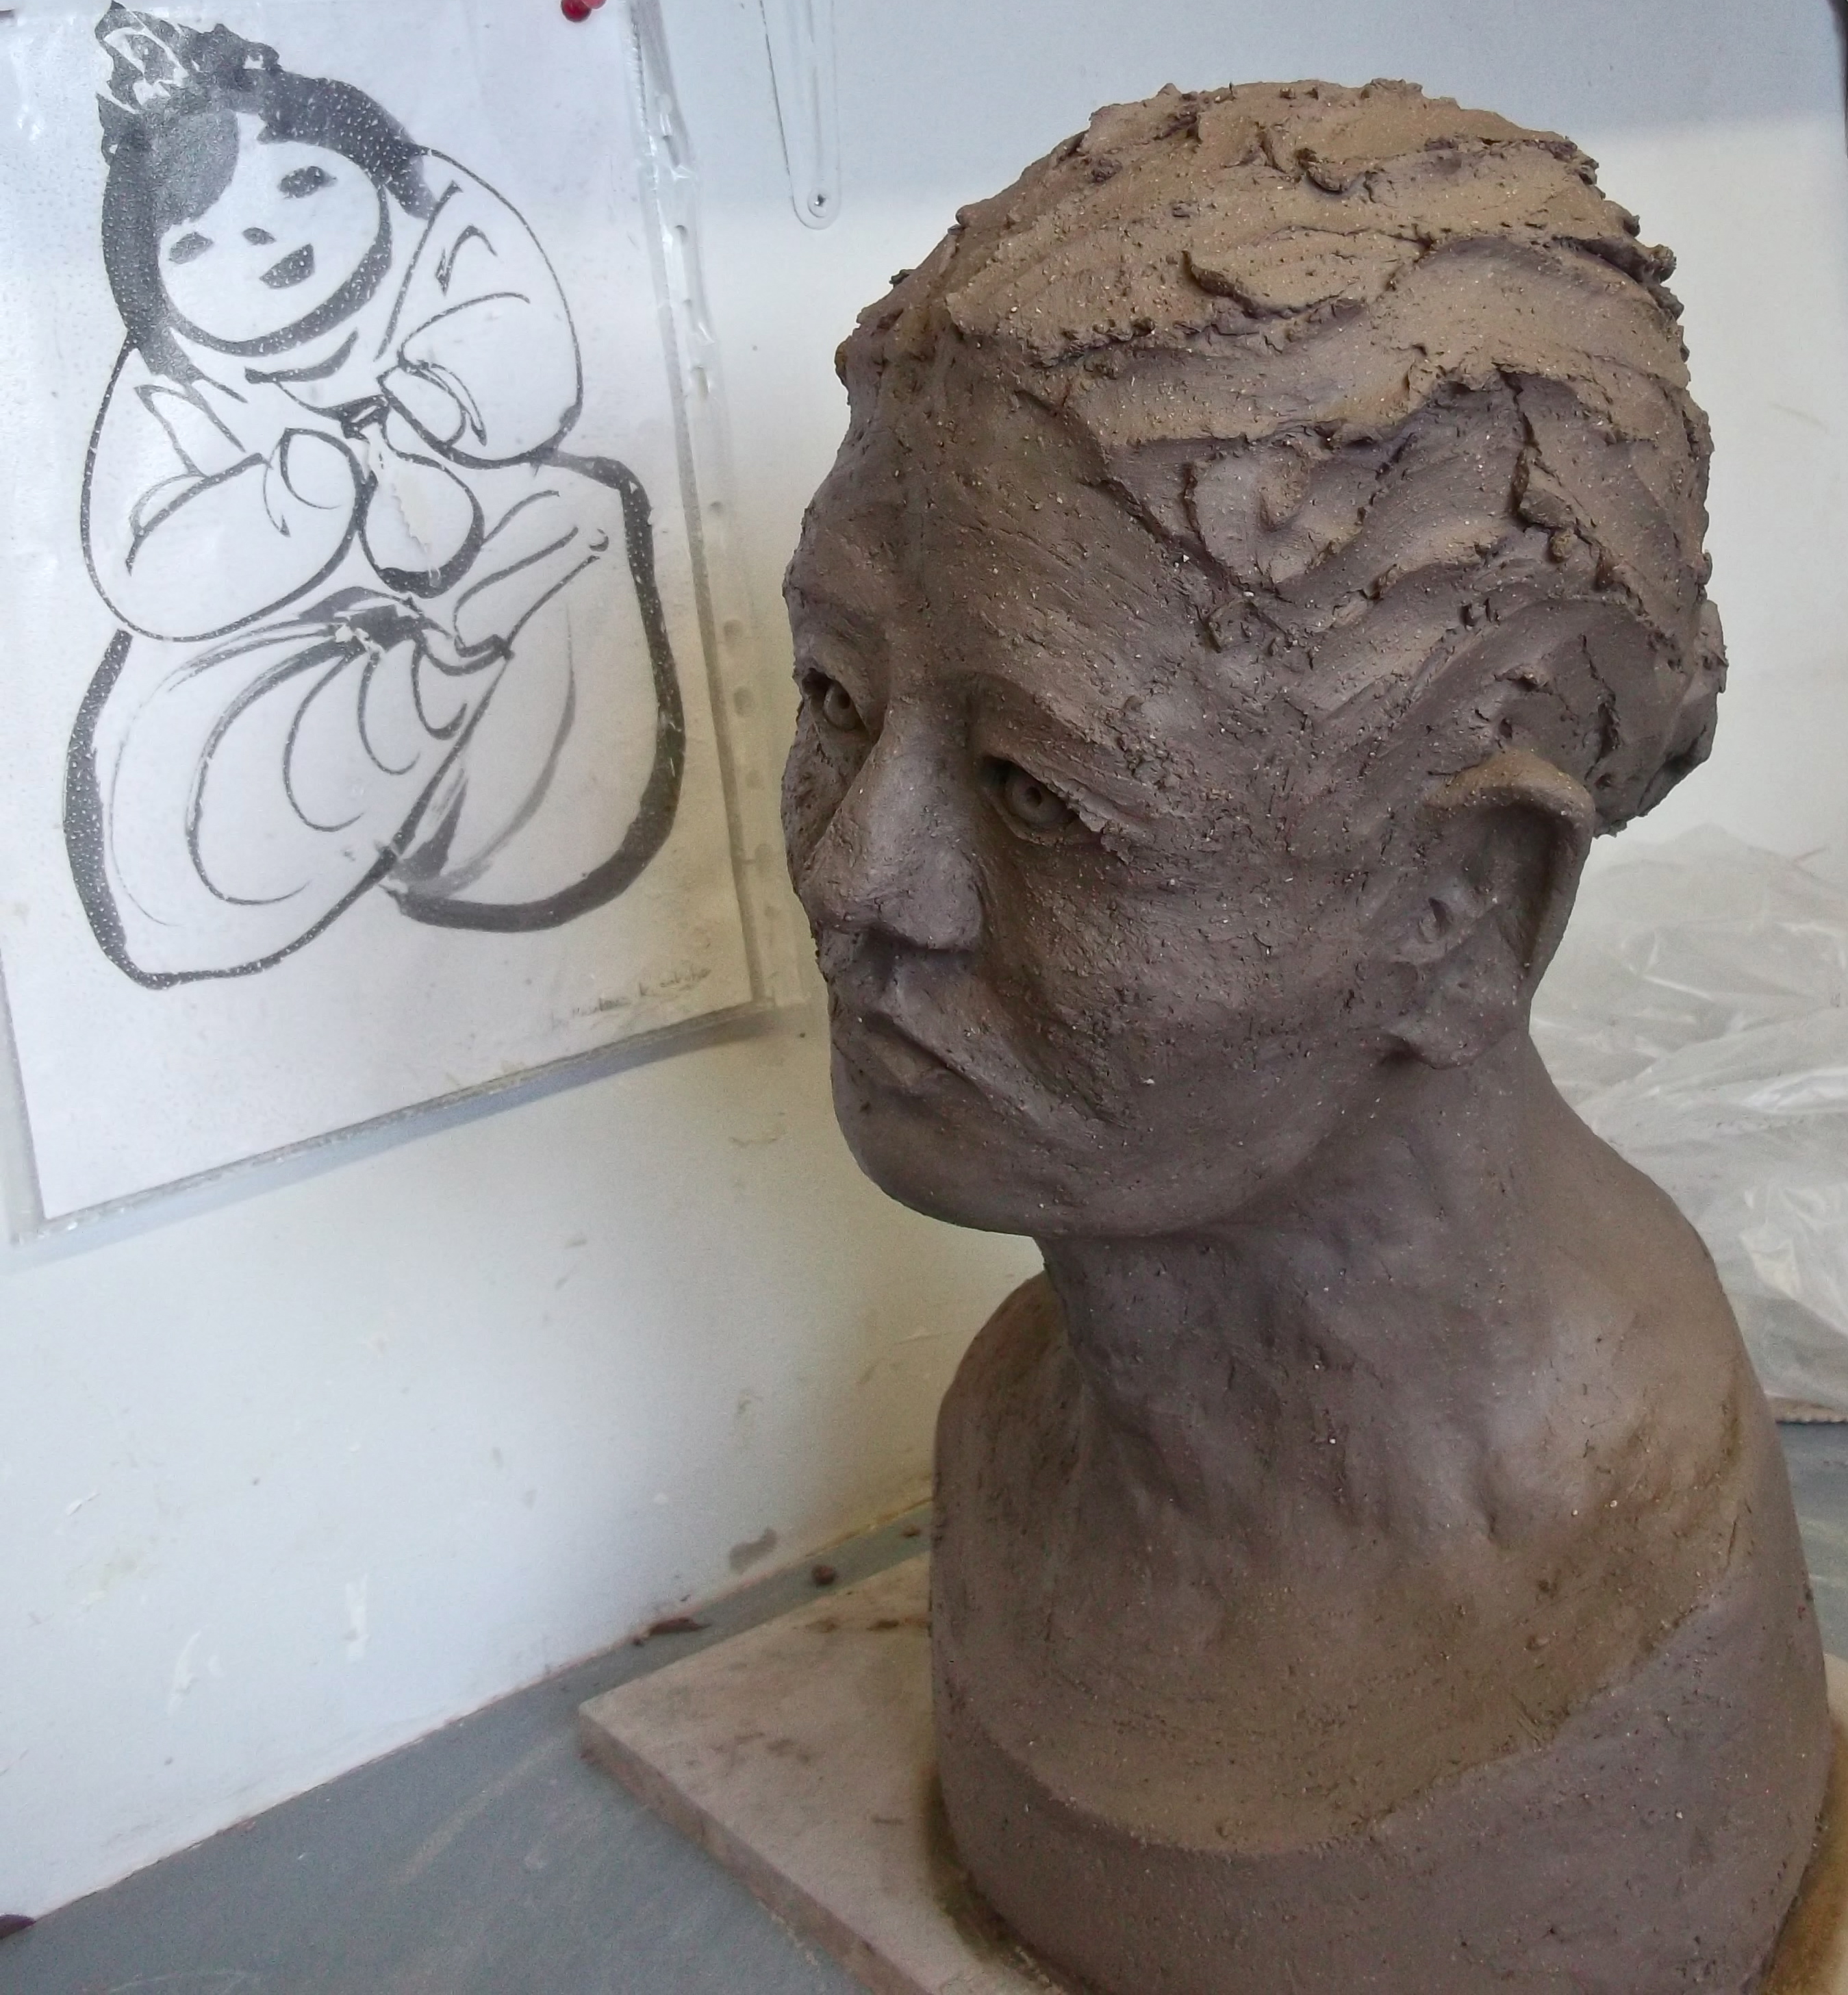
Drawing and making studies in clay of skeletons, the figure and heads teaches you the vocabulary of forms and especially of how nature transitions from one form to another in everything. For example that difficult area between the eye, the cheek and the nose: so subtle. You will see that in shells and all living things as well. Fascinatingly it also shows up in stone that has been shaped by the various processes of water. You need that knowledge to make abstract forms.

Bracelet Bay, photograph by Stephen Foote.
This post about my currant series might be useful. https://ospreystudios.org/2018/02/03/throwdown-at-the-hoedown/
Guest-speaker Talk for Carmarthen School of Art.
I‘m a dual national, British/American and since my early teens I’ve been working intuitively using techniques, disciplines and materials from Figurative Sculpture and hand-built pottery to make mostly Abstract forms that describe ideas and experiences. I recently learned my work is Bio-morphic which sounds way better than some of the other things it’s been called.
I am going to give you an over-view of my work with the whys and where-fores of doing it my way and some ‘what’s the point thrown in’.
I am 400 years old and I’ve been doing this for a Millenia, so my theories are tried and tested to breaking point. I work in clay but the majority of what I’m going to say applies to all art-forms.
Like all self-employed, vocational, sole-traders with a micro-buissness,(Yep! that’s us! ) our job is a roller-coaster over-loaded with risk, running on low cash-flows.
There is a harmful myth that Artists are “different”. That isolates us. It makes it easier to not pay us. It makes prospective clients nervous about how to approach us. And it can distract us from important parts of our Practice.
Loads of people, from Brick-layers to Social-Workers, pour their hearts into their work.
And they all wake up at 3am, wide-eyed with The Doubts: is their work good enough, shouldn’t they be doing more, in a different way, etc, etc!
I still get The Doubts about every 2 months. You look at your work and think “ this is RIDICULOUS!!! What am I DOING? I’ve really lost it this time.”
And some-times it’s true! You have, in fact, gone down a very bad road, for months, and it’s time to retrace your steps that bit older and wiser. Three steps forward, two steps back. Call in colleagues and get some sugar-less feed-back to help to see your way forward. And be ready to return the favour.
Or Type 2 Doubts where you walk in the Studio and think “What? Make sculpture? Me?!I can’t do THAT!?” The blank mind, empty hands…has your Muse and your Talent run off together and left you useless for ever?
Nah, you just need a break. Get outside, read, feel, experience, re-charge. Then get back to making lots of work: some of it will be really good.
Isolation and The Doubts wreak havoc with a lot of artist’s careers. There is all kinds of help and support for micro-businesses out there. Assume that it WILL apply to you. Keep books on your accounts. Talk shop with other Sole Traders.
And it is important to have some structure for, and understanding of, your creative process that will give you the confidence to hold your ground and routes to solve the problems.
Working Intuitively:
Where DO our ideas come from? Why do some pieces seem to build themselves using your hands?? Why don’t we think that is creepy?
Intuition is made up of your memories and perceptions that together are your Knowledge.
Many of your memories come from actual experiences, physical and emotional, many from films, books, art, daydreams and your imagination.
Add in the strong pull of the cocktail of hormones that are involved in our every move, societal influences and Collective Consciousness (now accepted science and it must play a role along with Inherited Memory).
Every bit of your life stops off to be shaped by your perception on the way into your memory bank.
The quality of your Perception is set by your learning and experience and it will develop and change. So your memories will change too. Your brain reviews memories every 2 years or so and chucks out the irrelevant, rarely used stuff and re-files handy, popular stuff according to up-dated perceptions.
So your Knowledge and your ability to gain knowledge is limited by prejudice, ignorance and inexperience.
Artists have an important role in Society. One of Barbara Hepworth’s many strengths was the conviction that societies, as far back as we know, have always needed and supported artists so that they could gain the skills required to unravel and describe the ideas, beliefs, moralities and experiences of the group so that everyone was on the same page.
So it’s very important to educate yourself and develop your perception constantly throughout your career to avoid being narrow minded or irrelevant.
Like Actors we need to rehearse the physical characteristics of emotions and experiences so that we can capture and express them.
A vivid intuition needs skilled craftsmanship that can capture and communicate ideas. Scintillating, profound knowledge will be wasted if you are all thumbs.
Just like musicians and sportsmen, artists need to train the specific muscles needed. And become expert in handling the medium that suits us best.
So we need to practice reliable, effective exercises throughout our career to keep our minds and bodies fit for creativity.

Barbara Hepworth at work.

Henry Moore at work.

It really looks like this lad is checking his phone.
As a teen I loved the work of Barbara Hepworth and Henry Moore ( I still do) and I researched and did my best to re-create their education for myself. This was very much at odds with the currant art-practice 35 years ago and I got a lot of hassle for it at college. I get the impression that would not be the case here at Carmarthen School of Art. I was angrily accused of being ‘very early 20th century’ when I refused to explain my coil-built abstracts in terms of inner psychological angst and insisted on life drawing.
(My pieces were about inner psychological angst, mind, but I didn’t need tuition for that – I was already really good at it).
For 15 years, as well as making my art work, I went to any life-drawing, portrait or figure sculpture classes going. And I drew the classical sculptures, skeletons and taxidermy in museums as well.
Eventually I switched to setting myself exercises using photos and skeleton diagrams. I still do this regularity to sustain the skills and measure my ability.
What you gain from this training is this:
- a broadening of your ability to see and perceive what is in front of you.
- a collection of memorised forms, details and structures that enrich your visual vocabulary.
- an understanding and appreciation of the structure of forms.
- fine motor-skills in your body specific to your art-work.
- disciplined systems for organising the huge, over-whelming amount of information in front of you so that you can work with it.
- clear mile-stones to aim for and use to assess your fitness: Figure study has definable rights and wrongs.

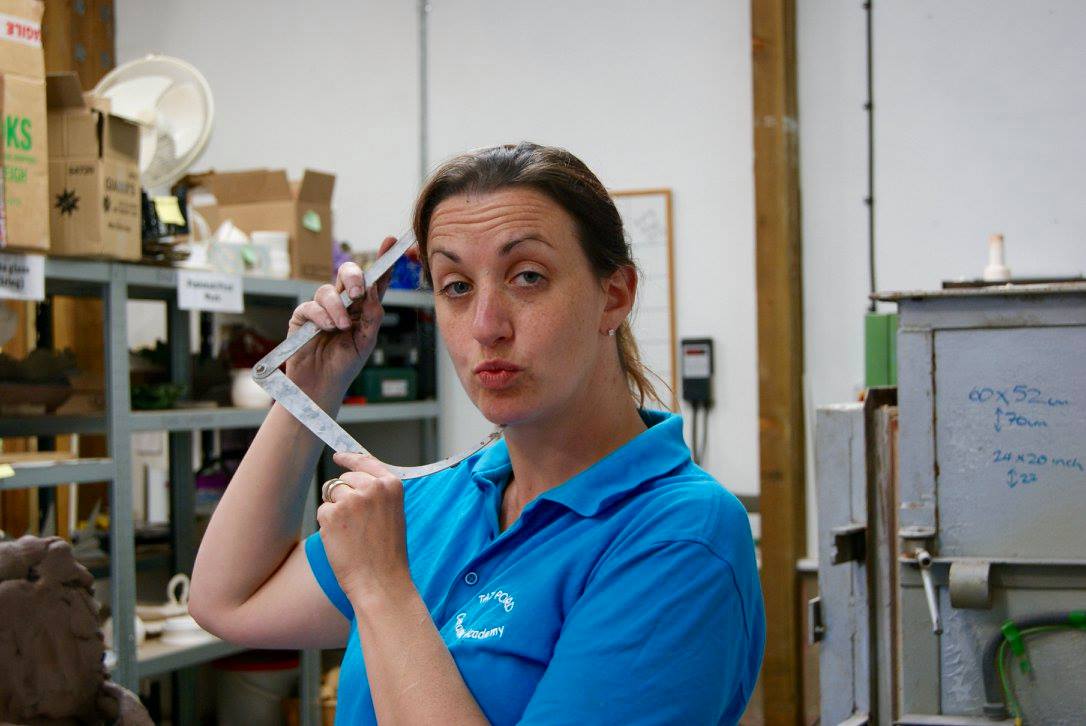
The measuring frees you up to be expressive with your modelling .
Add practicing and experimenting with your materials. And challenging your ideas by no- holds- barred discussion about everything with all kinds of people, not just artists. And understanding emotions by sharing your own with trusted friends and caring about others of all species.
Clay
I got into coil-building when I was 20, after my Foundation year (fantastic course in Banbury, Oxfordshire) when I was teaching pottery at a Summer Camp in the USA.
Life was very chaotic and stressful at that time and the rhythm and intense, absorbing relationship with clay that you get through coil-building and the slow, steady progression revealing the form drew me in like a sanctuary.
Big round pots, glazed hideously, developed into a-symmetric vessels with sheer clay surfaces, then to forms involving spirals, then sculptures incorporating birds, especially the Ospreys I watched on the New England lakes.
2 years on: I went to Exeter College of Art And Design here in the UK for a BFA in ceramic sculpture. The interior space of the forms ceased to be relevant and gradually the vessel openings were gone. My 2nd year was spent at Boston University’s excellent and intense Program in Artisanry, where the mostly post-grad potters could discuss foot-rings for hours with out being boring.
For 18 years, until I was 30, I did stints of waitressing double hours for a few months and then studio work for as long as my money lasted. I always worked from home, including when that was my Van. I fired at community centres, taught pottery and sculpture to Adult Ed, special needs and Summer Camp.
When I was about 28 I had gotten to coil-building naturalistic figures and of course I was struggling because that’s a fool’s errand right there.
I had made one that wasn’t too awful and this guy says to me, “yeah, that’s pretty nice, I guess you built it solid and hollowed it out, right?”
What?!
So I switched techniques for the figures and realised that wedding your-self to a technique isn’t loyalty, it’s absurd!
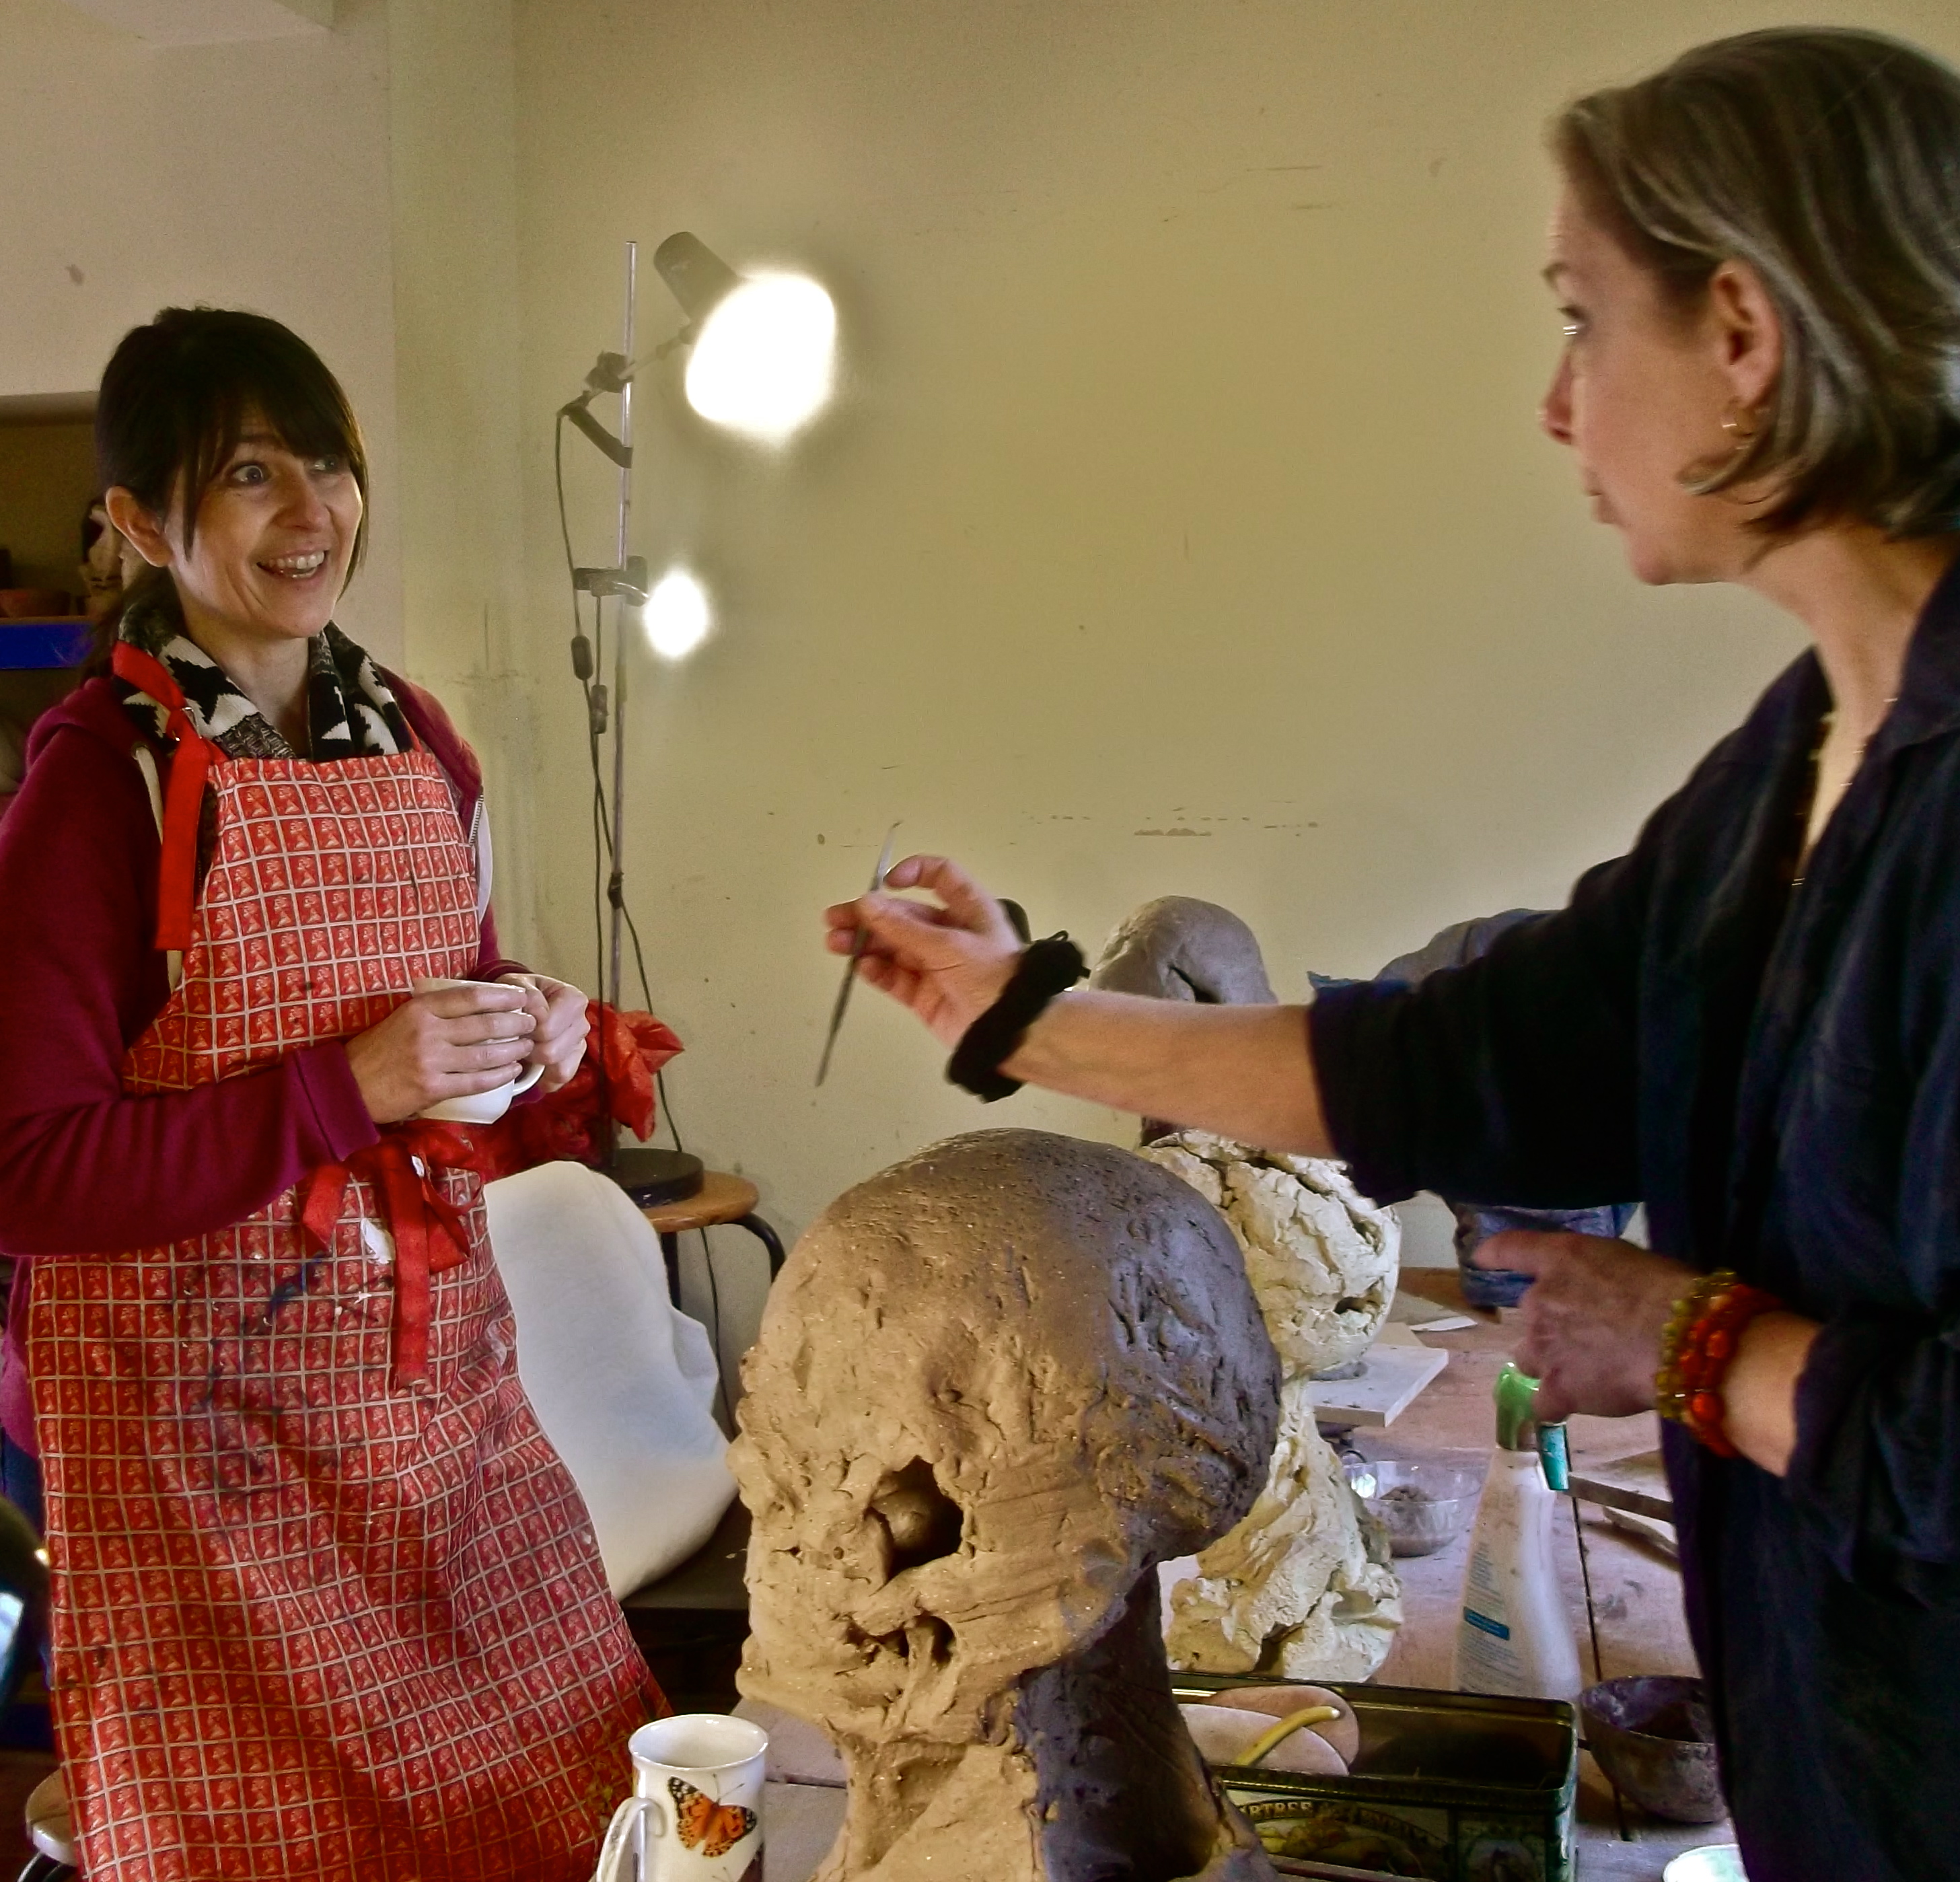
Always get outsiders to look at your work in progress. Ask them “ what’s the first thing you see?” and remove the plastic. Those fresh, first impressions can be so helpful. If there is a figurative element ask “is this about a character? Who are they, what are they doing?”
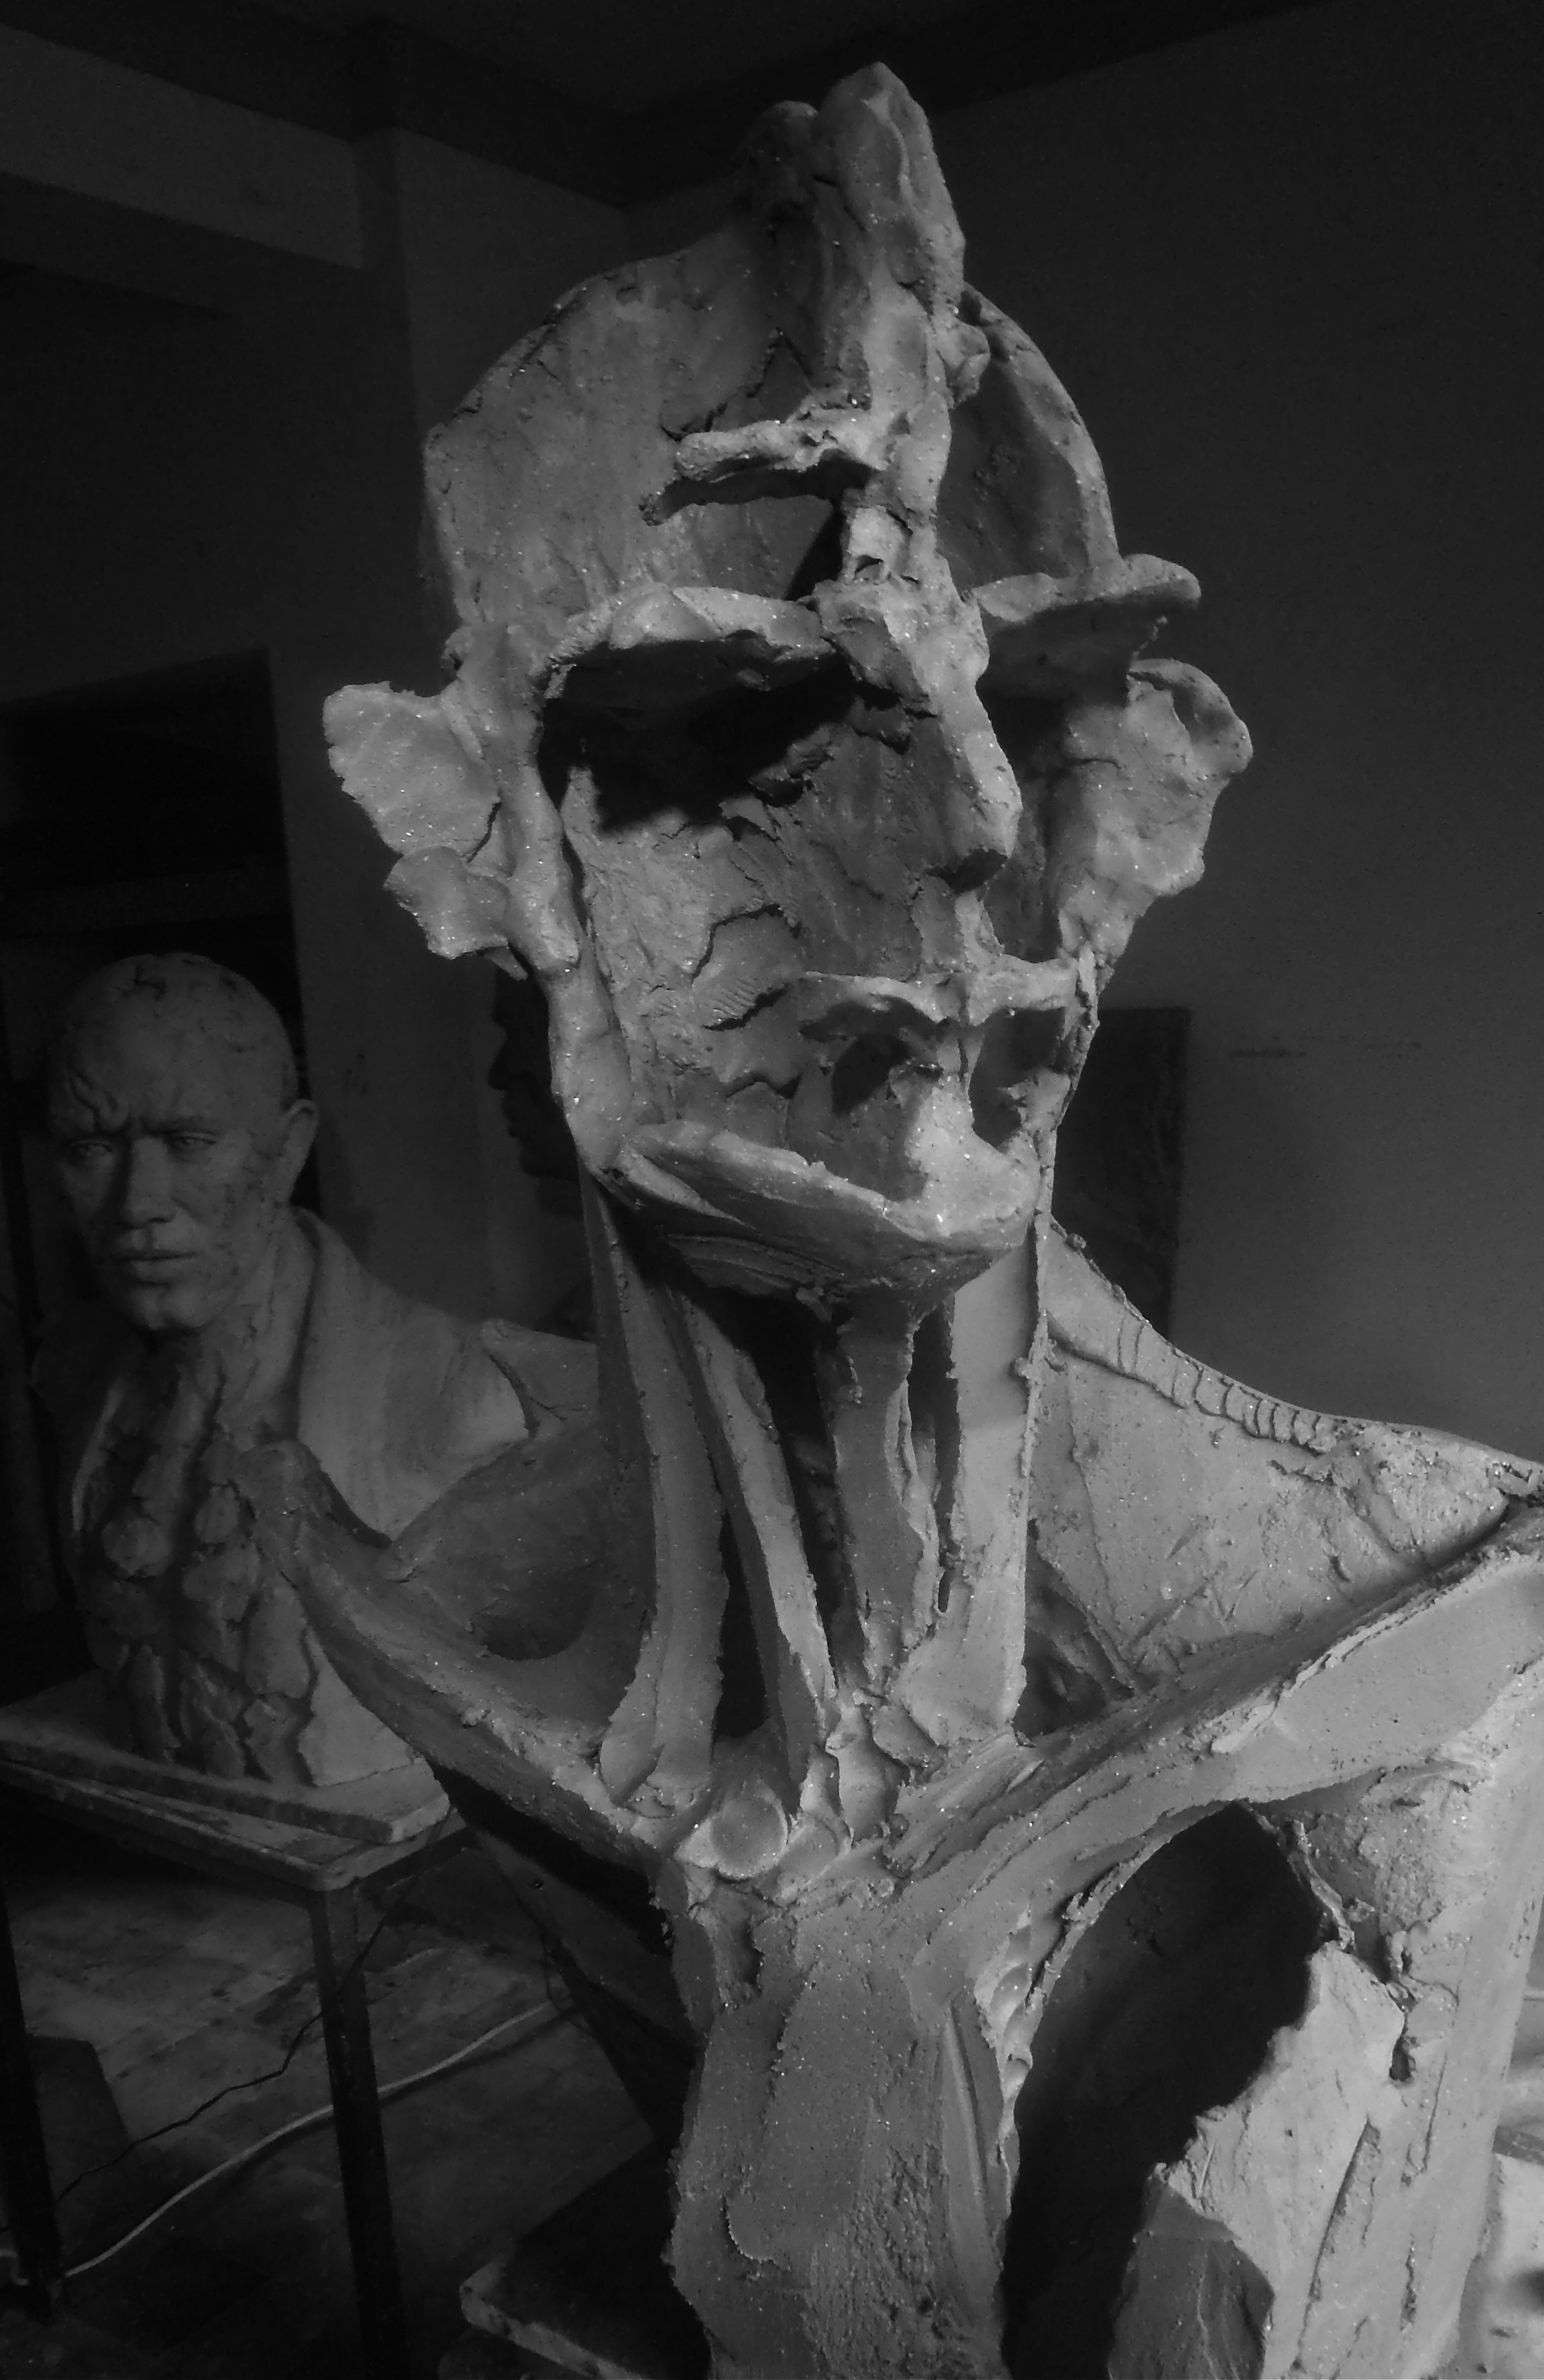
If they say “it’s a rooster running away” and you were aiming for “The Leviathan, Guardian of the Aquasphere, shape-shifted to the form of a rampant horse raging through the oceans” consider the differences between the two and you have the bit that needs work: the head was too narrow and the ears needed to be stronger.

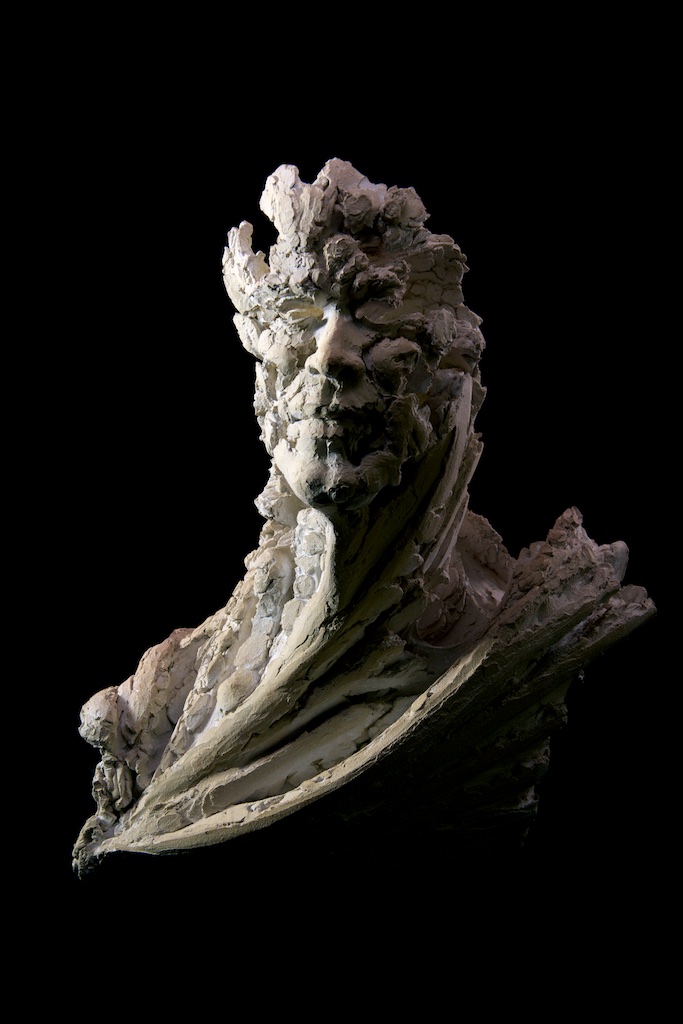
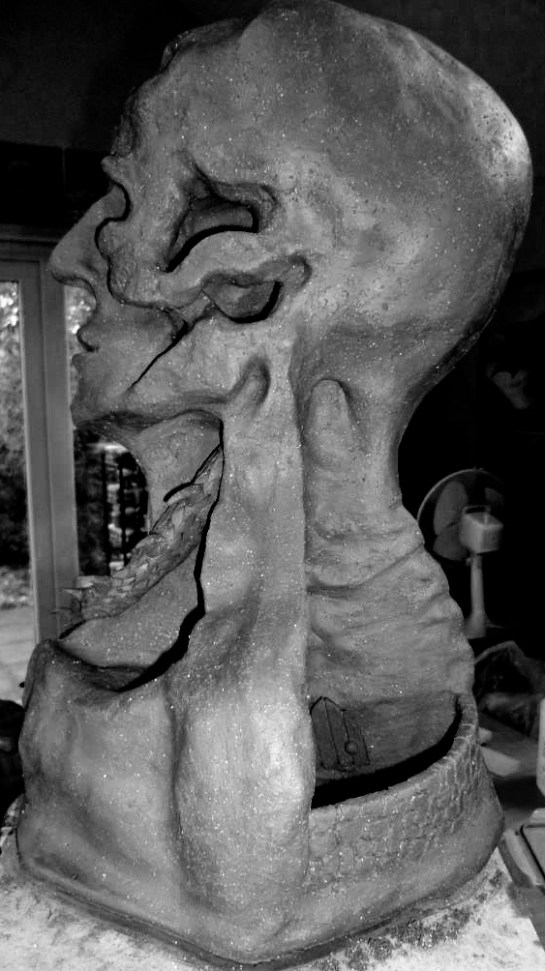
Leviathan VIII, 56cm H x 97cm L x 28cm D.
Do it yourself: Take a break every 1 1/2 hours and go clear your eyes for 15 minutes. Load the washing machine, check messages. When you go back to the piece what’s the first thing you notice? It might be a problem. It might be a lovely bit.
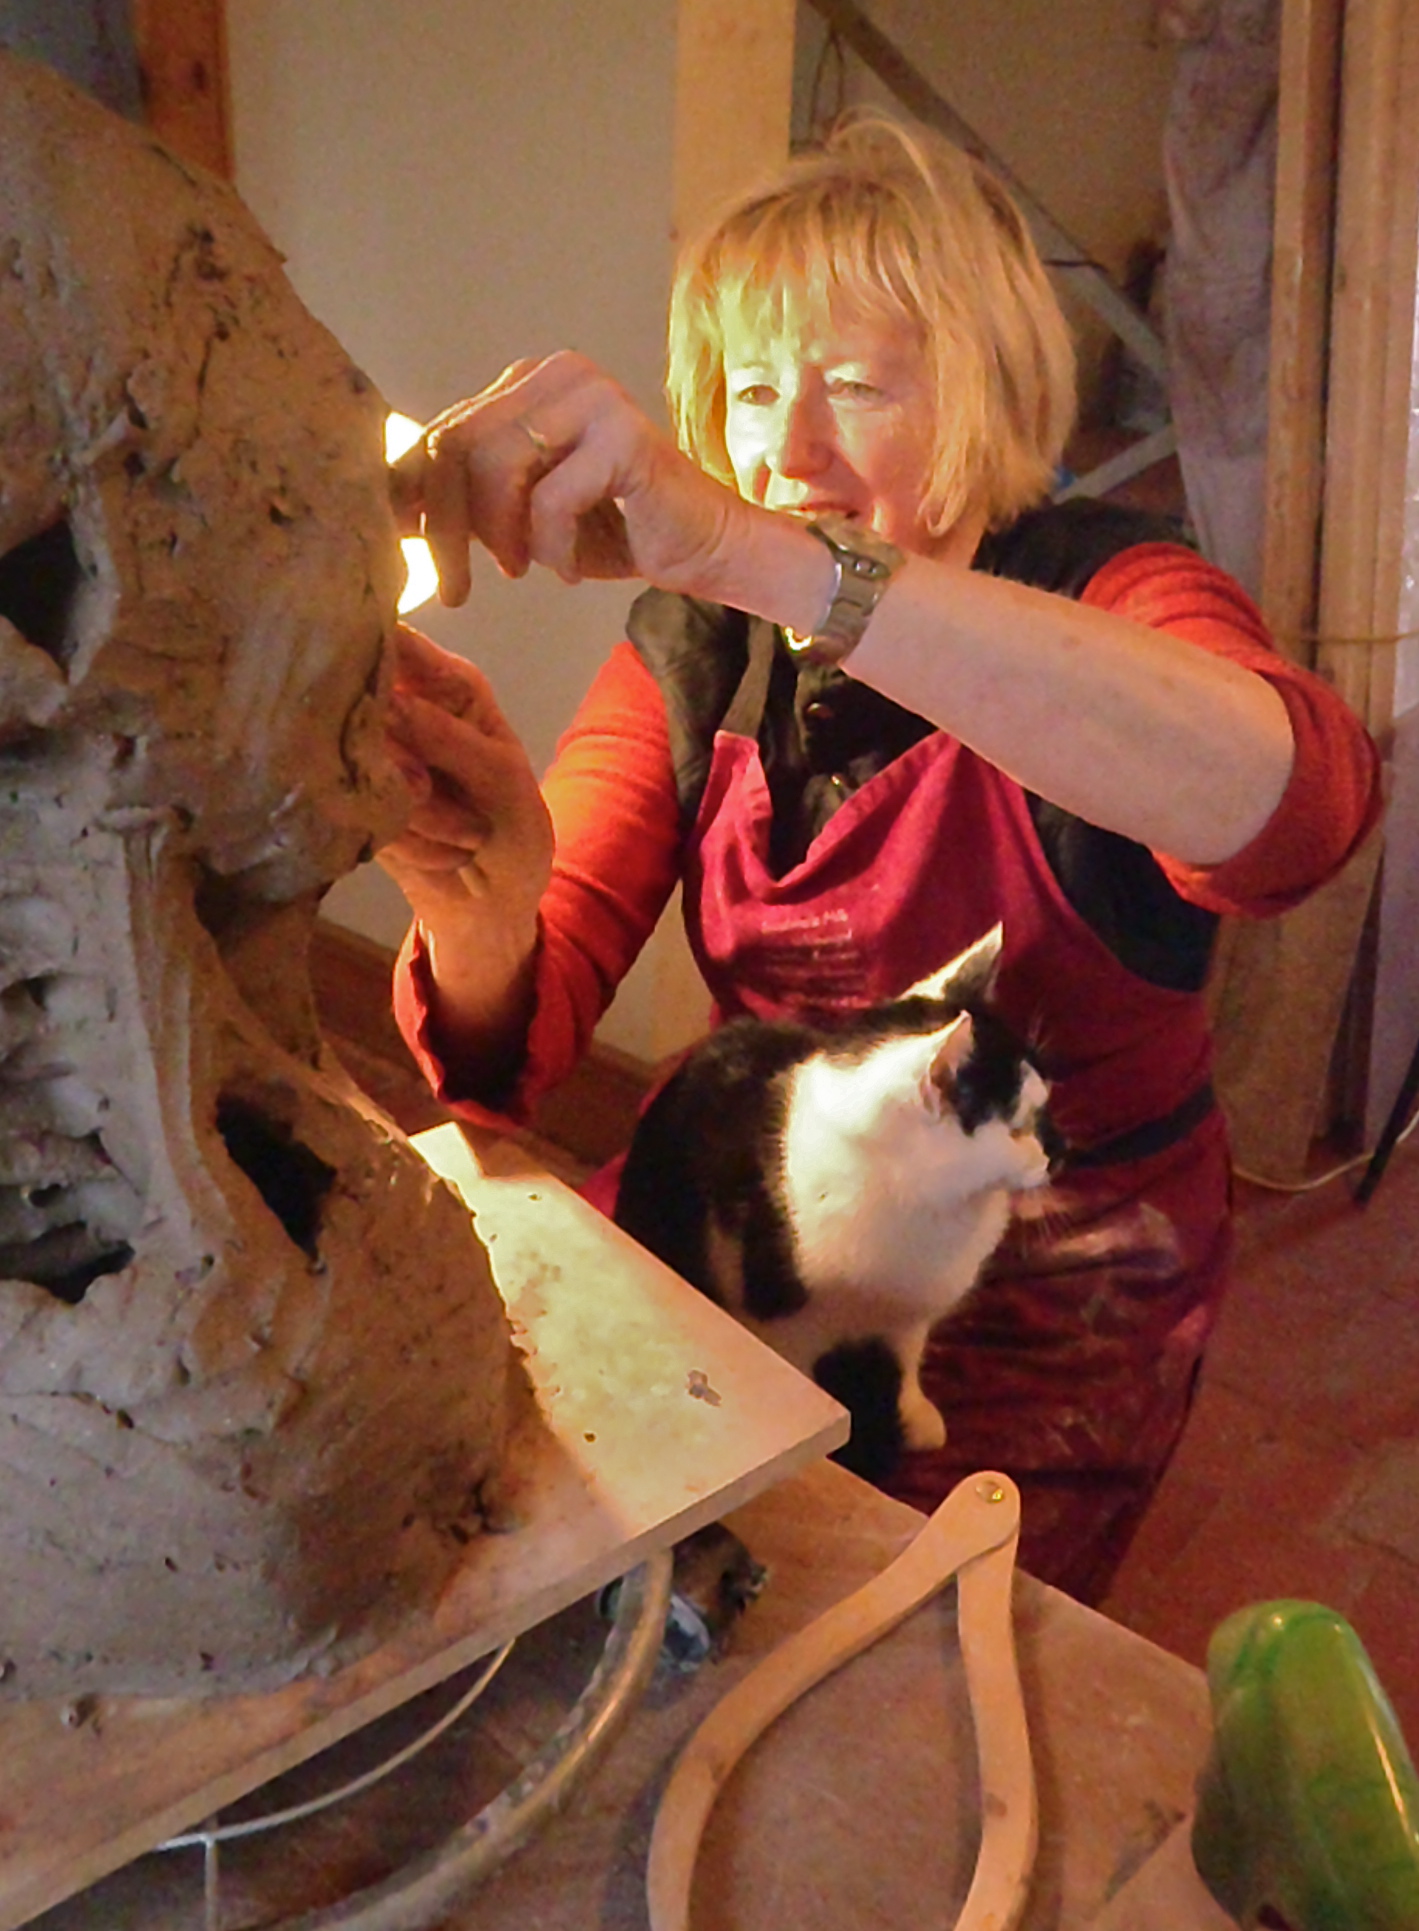
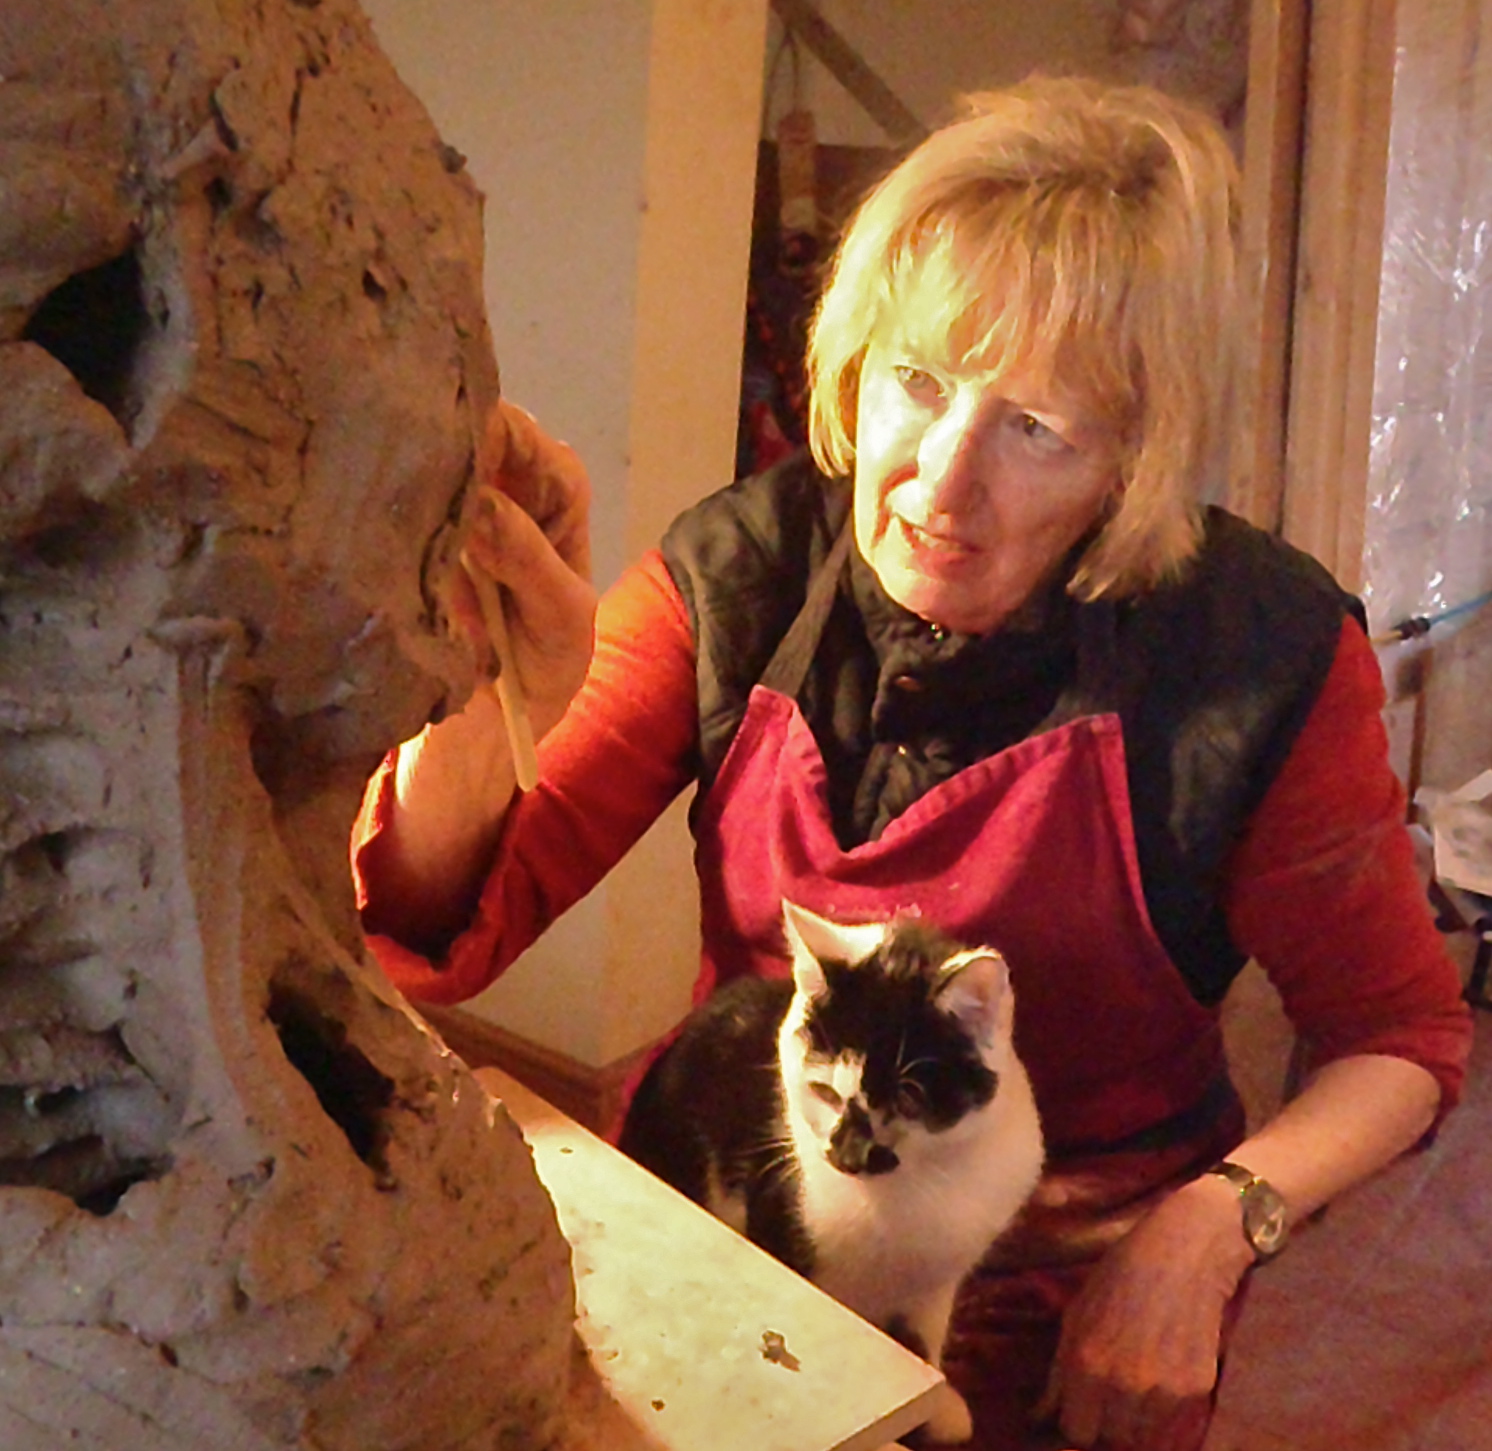
Working Solid and Hollowing Out
So I spent the next 10 years working solid and hollowing out, loosing the advantage of the rhythm and voice of coiling but gaining the advantage of working on the whole form from the outset and being able to change your mind right up to the last minute.
You can separate the artsy work from the technical stuff: they use different parts of your head and don’t always mix well.
You block out the basic sizes,
Rough out the form
Refine all over in at least 5 cycles of adding/ subtracting.
Let it go leather hard on the surface,
Cut/Hollow/rebuild.
Do finishing touches in 3 rounds: Remove, Add, Burnish (especially the edges)
It’s a great method for any shape up to 75cm x 50cm – above that the weight becomes a pain and you are better off working hollow with a clay armature. You still might hollow parts out.
Or you can Coil-build from a scale model using an internal support structure made of clay….
Large scale sculpture in clay.
Around about when I turned 42 I got the opportunity to do something I had always wanted to try: working really big.
I made a 6m long x 2m high sculpture with 9 life-sized figures and a 2m x 1.5m piece with wildlife, both incorporating seating for a community regeneration group.
Both were ‘blocked-out’ in large brick-clay coils using a scale model, then continued by adding and subtracting clay. They were then cut into sections which were hollowed out. The internal supporting structure (built w/ smaller coils) was discarded. The sections were fired and reassembled by a builder with cement, concrete, steel reinforcing and a lot of swearing.
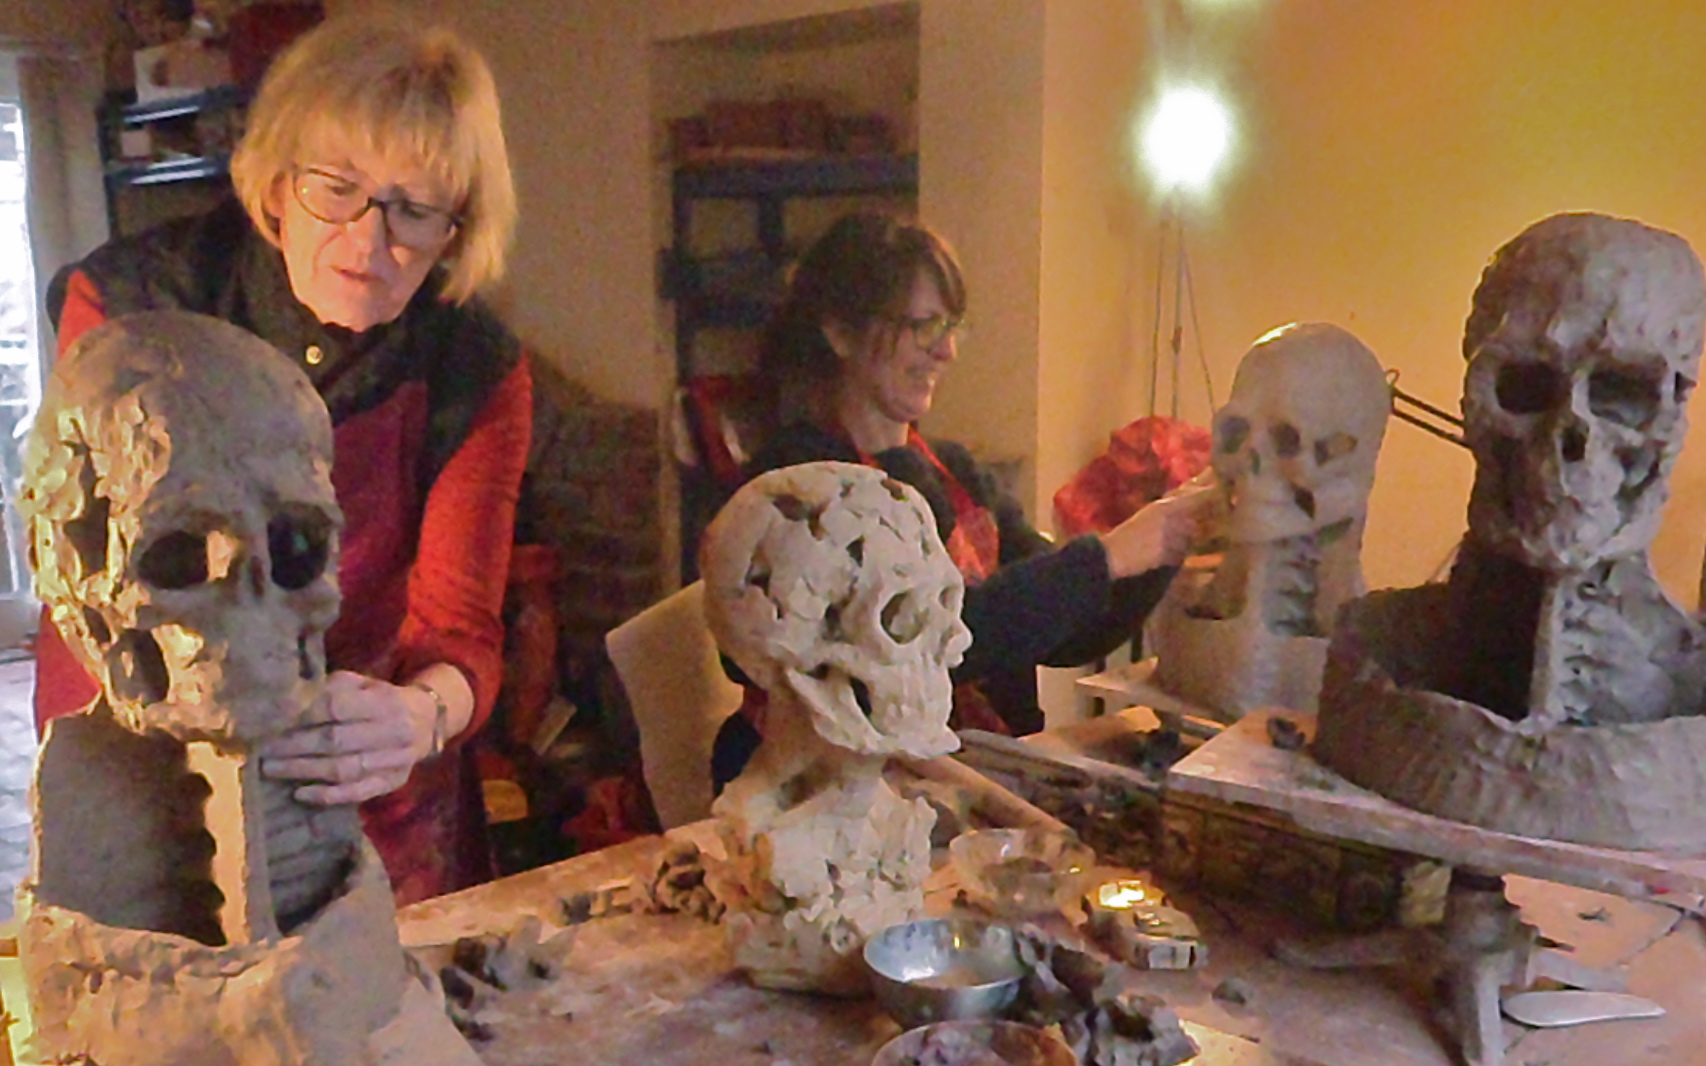
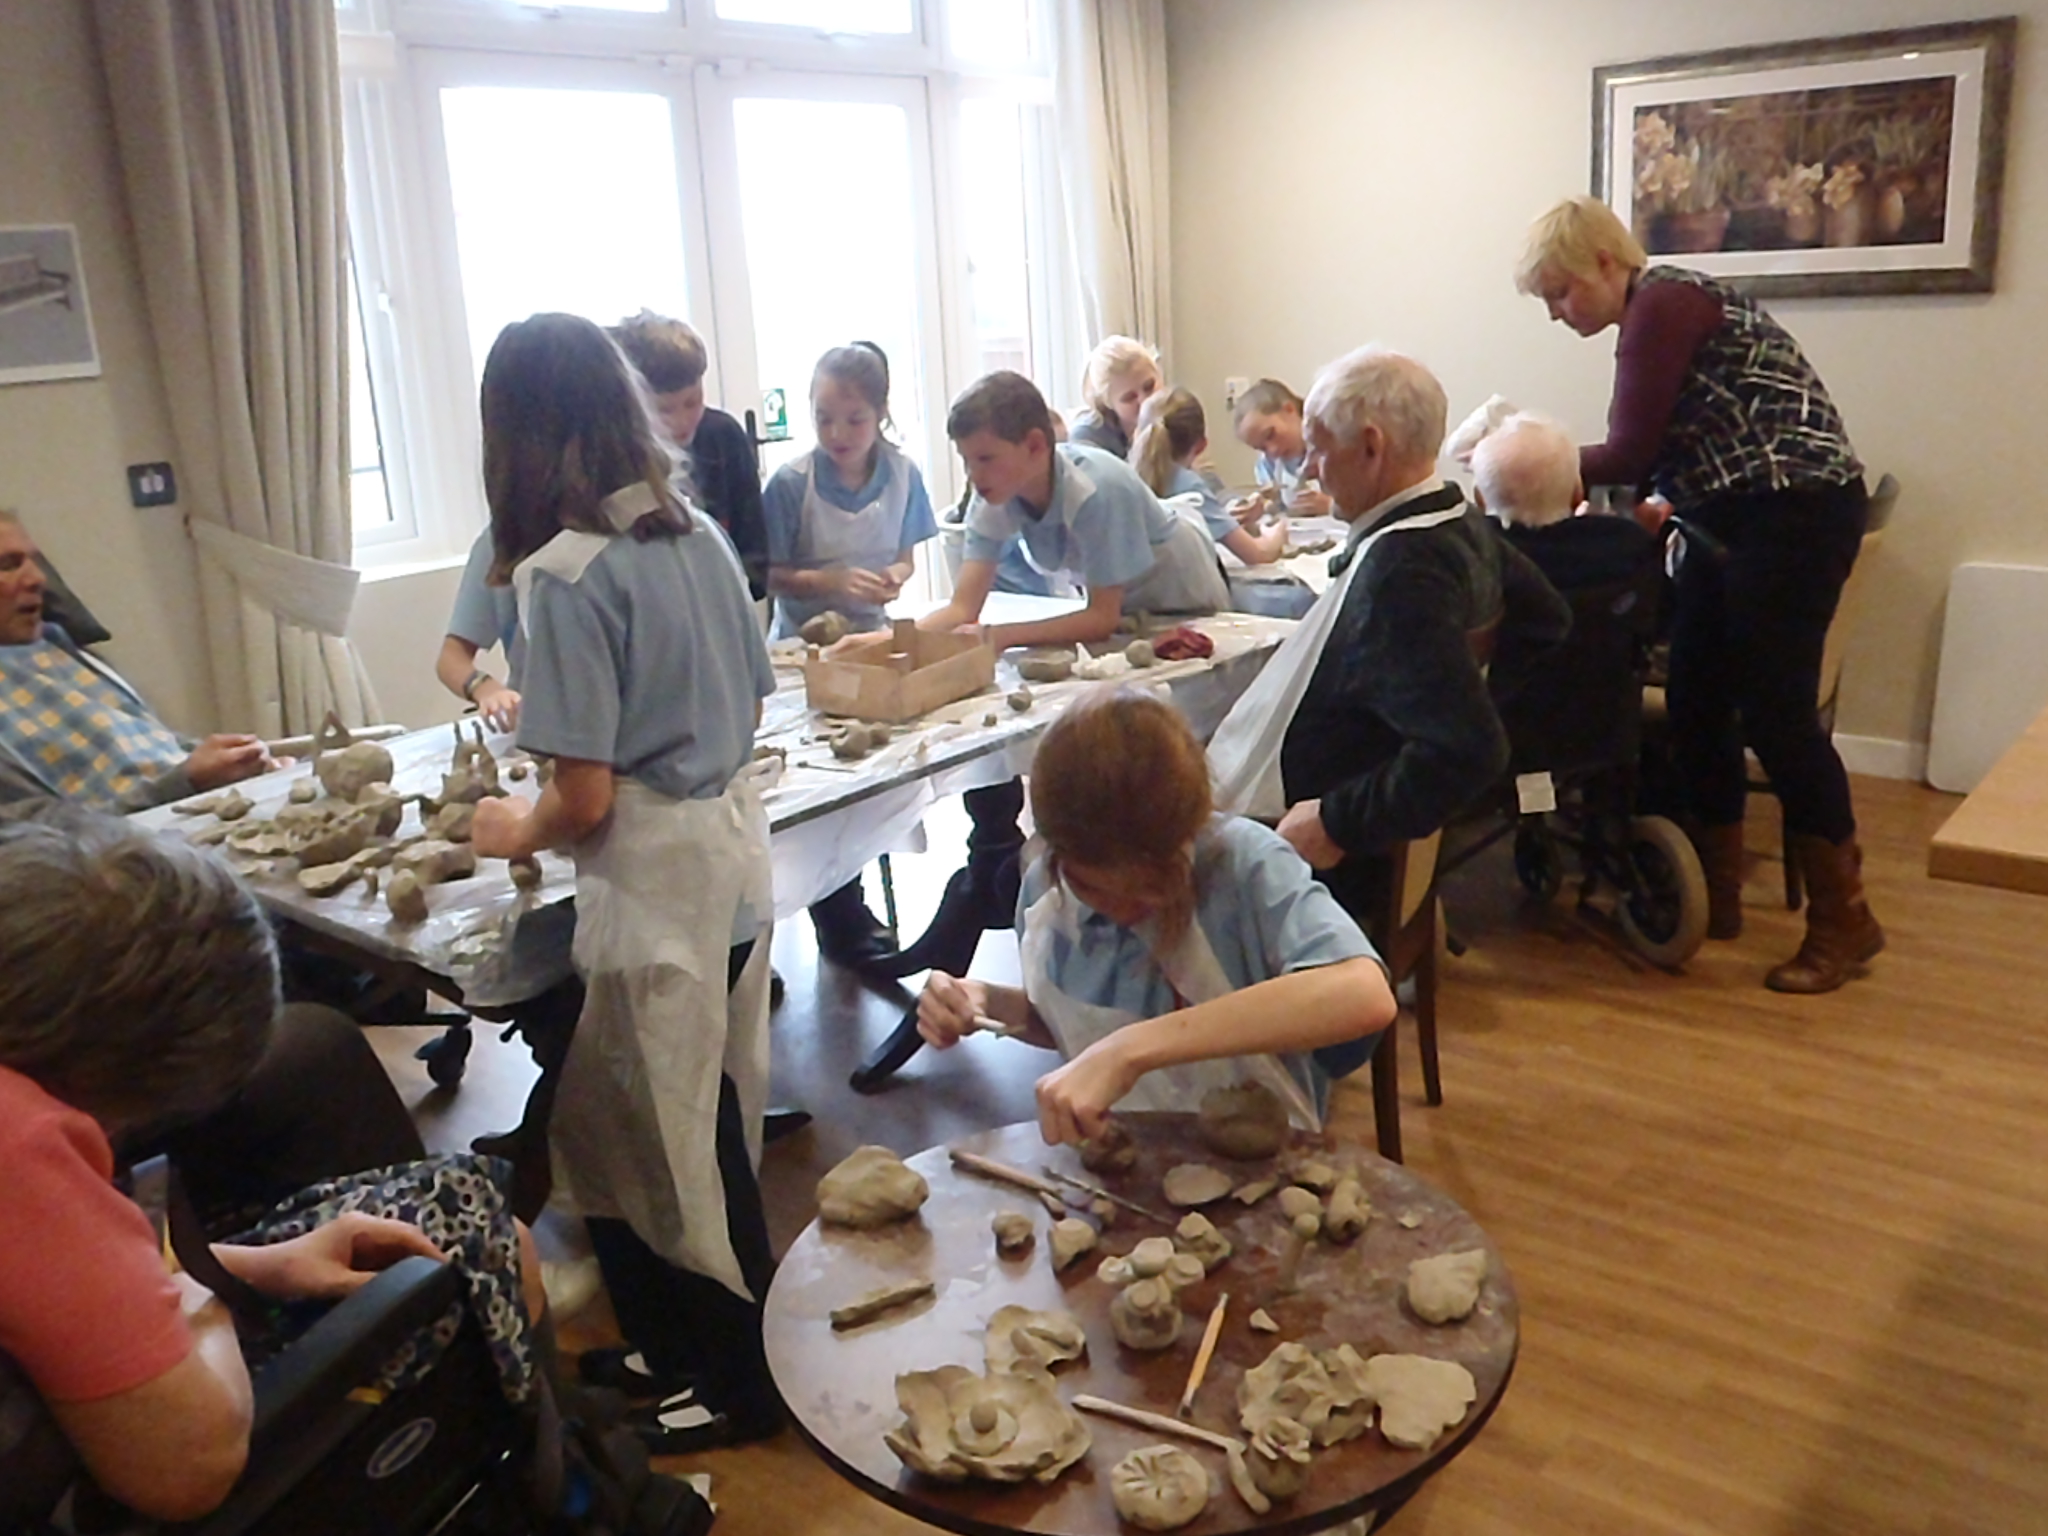
A year or so later I was running a community Sculpture Studio aimed at ‘The Hard To Reach’ by a fab Regeneration group The Creation Development Trust in Blaengarw. (near Bridgend, UK). My group were awesome. They were mostly dealing with awful mental health problems so they couldn’t get jobs and had time, energy and intense life experiences to burn.
After they had all made some lovely things for friends and family it became clear they were going to drift off. So we decided to make a big brick-clay sculpture together for the new park planned by the ferocious Community Council for a big area of waste ground.
Calon Lan would tell the epic story of Blaengarw from it’s notorious ancient history of un-tamable Silurians, through to the industrial revolution, mining, bitter strikes, a culture in ruins and a slow, often tortuous, re-building.
There was something important to do for every kind of Volunteer from researching through the local archives to the hard labour of building the structure 5m long x 2 m high in a basement barely big enough, designing letter stamps and carving narrative reliefs.
I’ve done about 14 of these intensely collaborative projects now in various sizes. Because the sculptures are big you can fit in loads of different ideas and styles. The Sculptor’s job is to find ways to included as many people as possible and make damn sure the piece looks awesome (because your Volunteers trust you and deserve no less in return for the huge amount of time they donate), while being safe and vandal-proof because it’s in a public place.
I use the frame-work of ‘Co-production’ for all my projects. The very interesting theory is that humans are naturally co-operative and strive to be a useful, valued part of the group. So a good group leader asks for something in return for what they have to offer. Studies have shown that if you don’t use this method your project will probably be ineffective in enabling real change to take place. (All my funders have been involved in Community Regeneration on some level).
People will go all out if they feel valued as a contributor. If you are the Benevolent Professional bestowing your gifts upon the weak and needy you are requiring them to stay weak and needy. They will begin to drift off when they can’t stomach being patronised any longer. They wont have gained anything so your project has failed, leaving you frustrated and stressed and your reputation damaged.
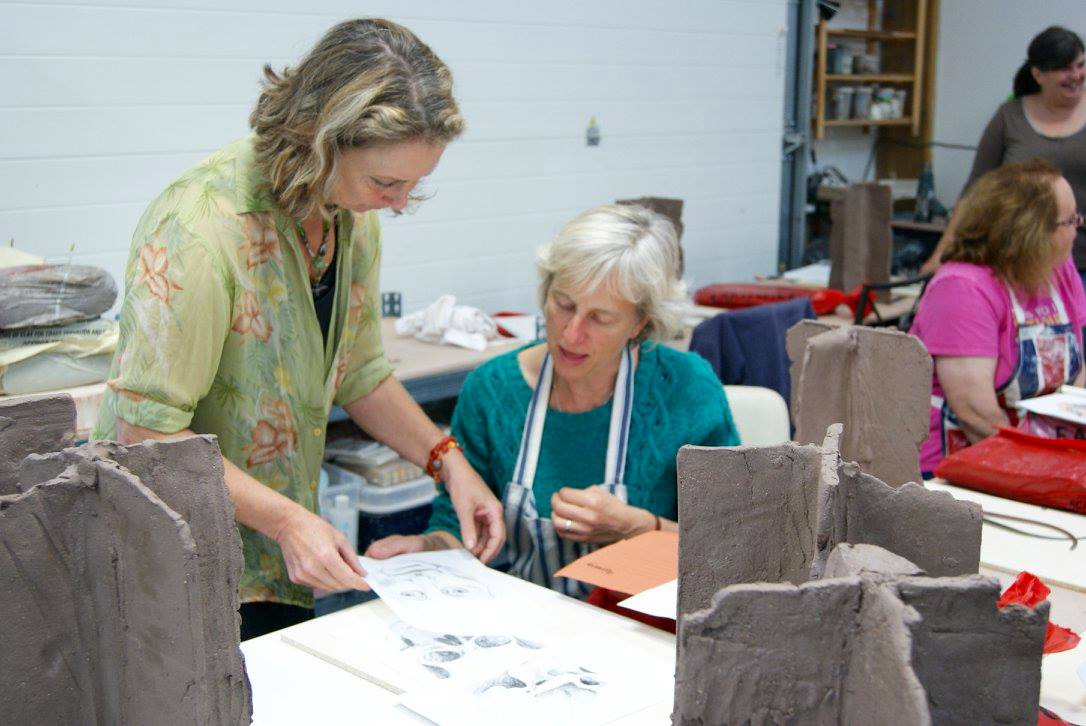
So I offered to trade my skills on the tricky bits (eyes, hands etc), teach skills and ensure the final sculpture was fabulous in exchange for the local knowledge and experience, stories and symbols and the work each person took on for the task.

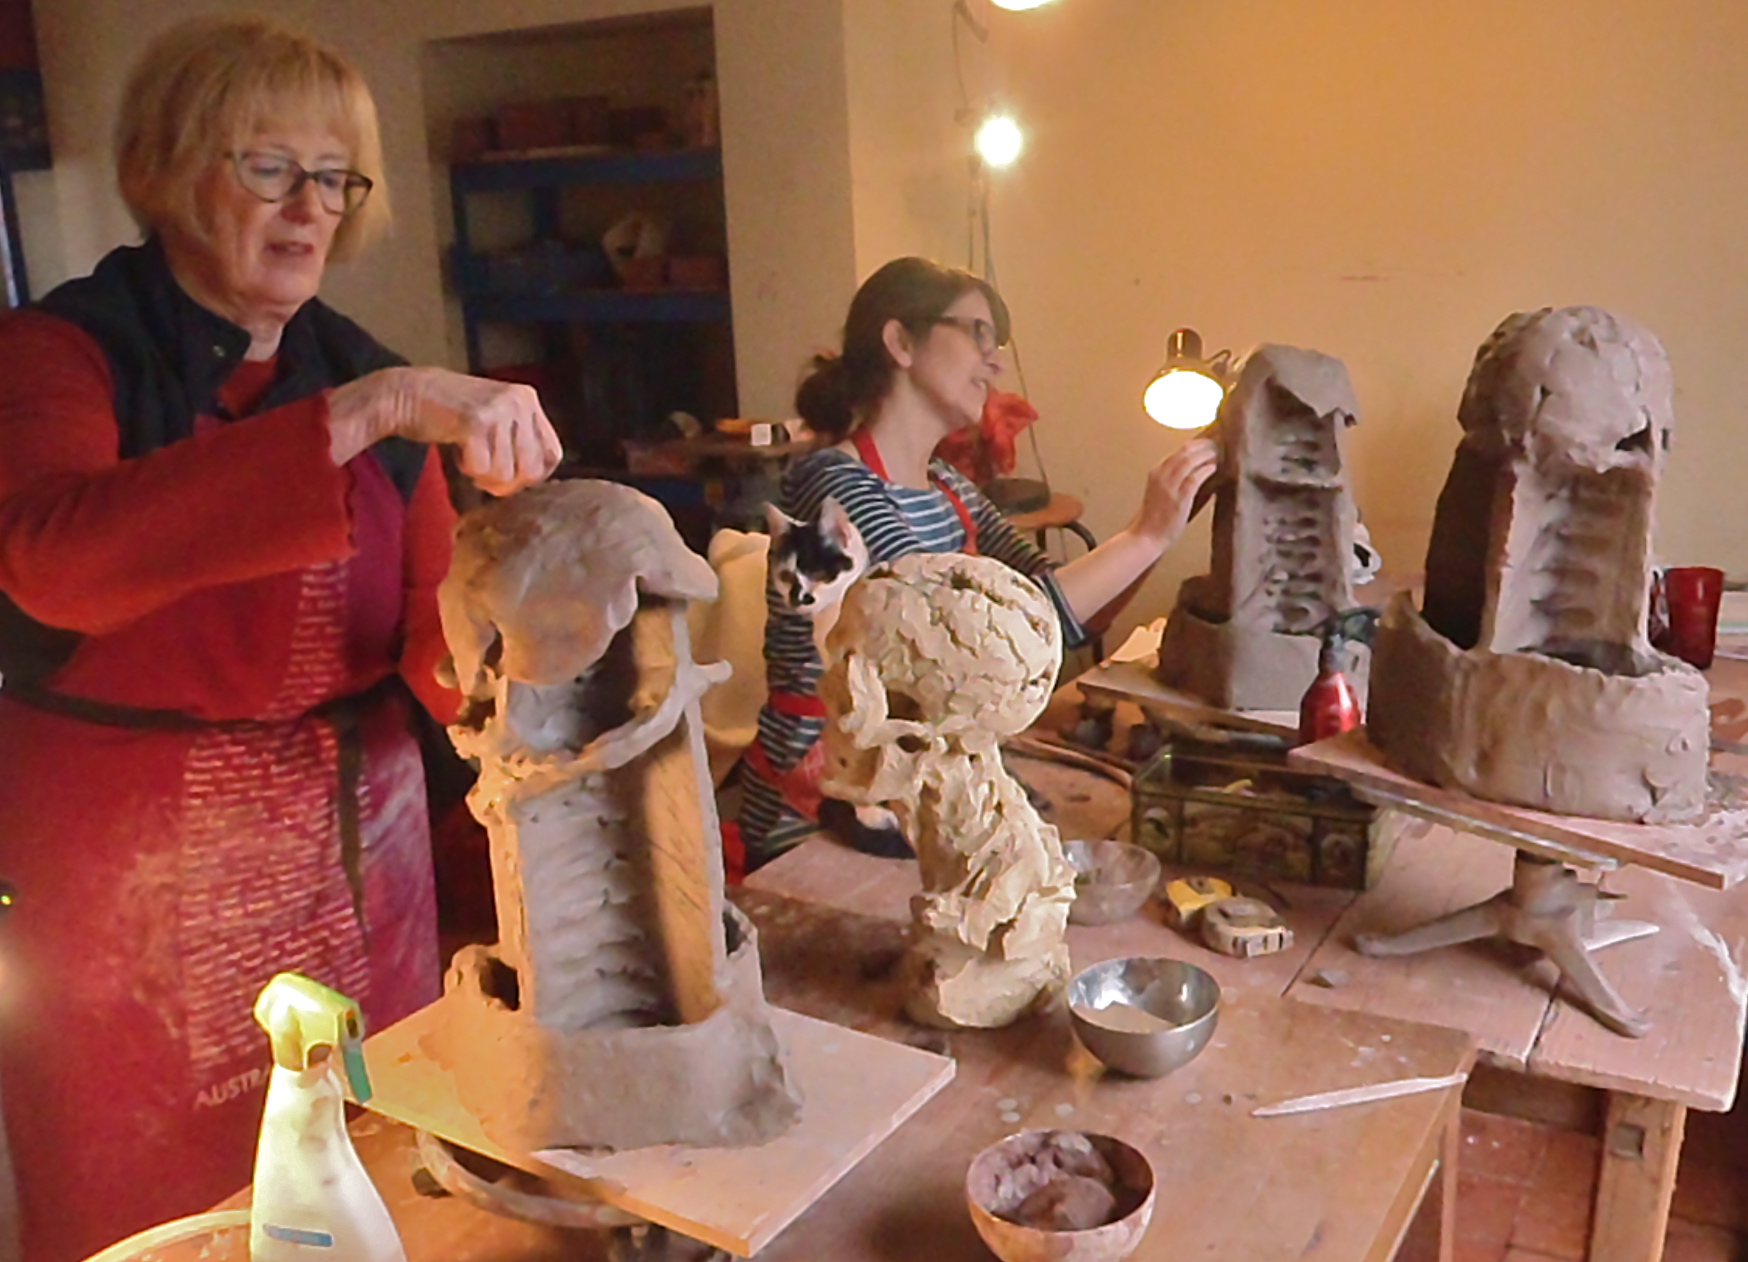
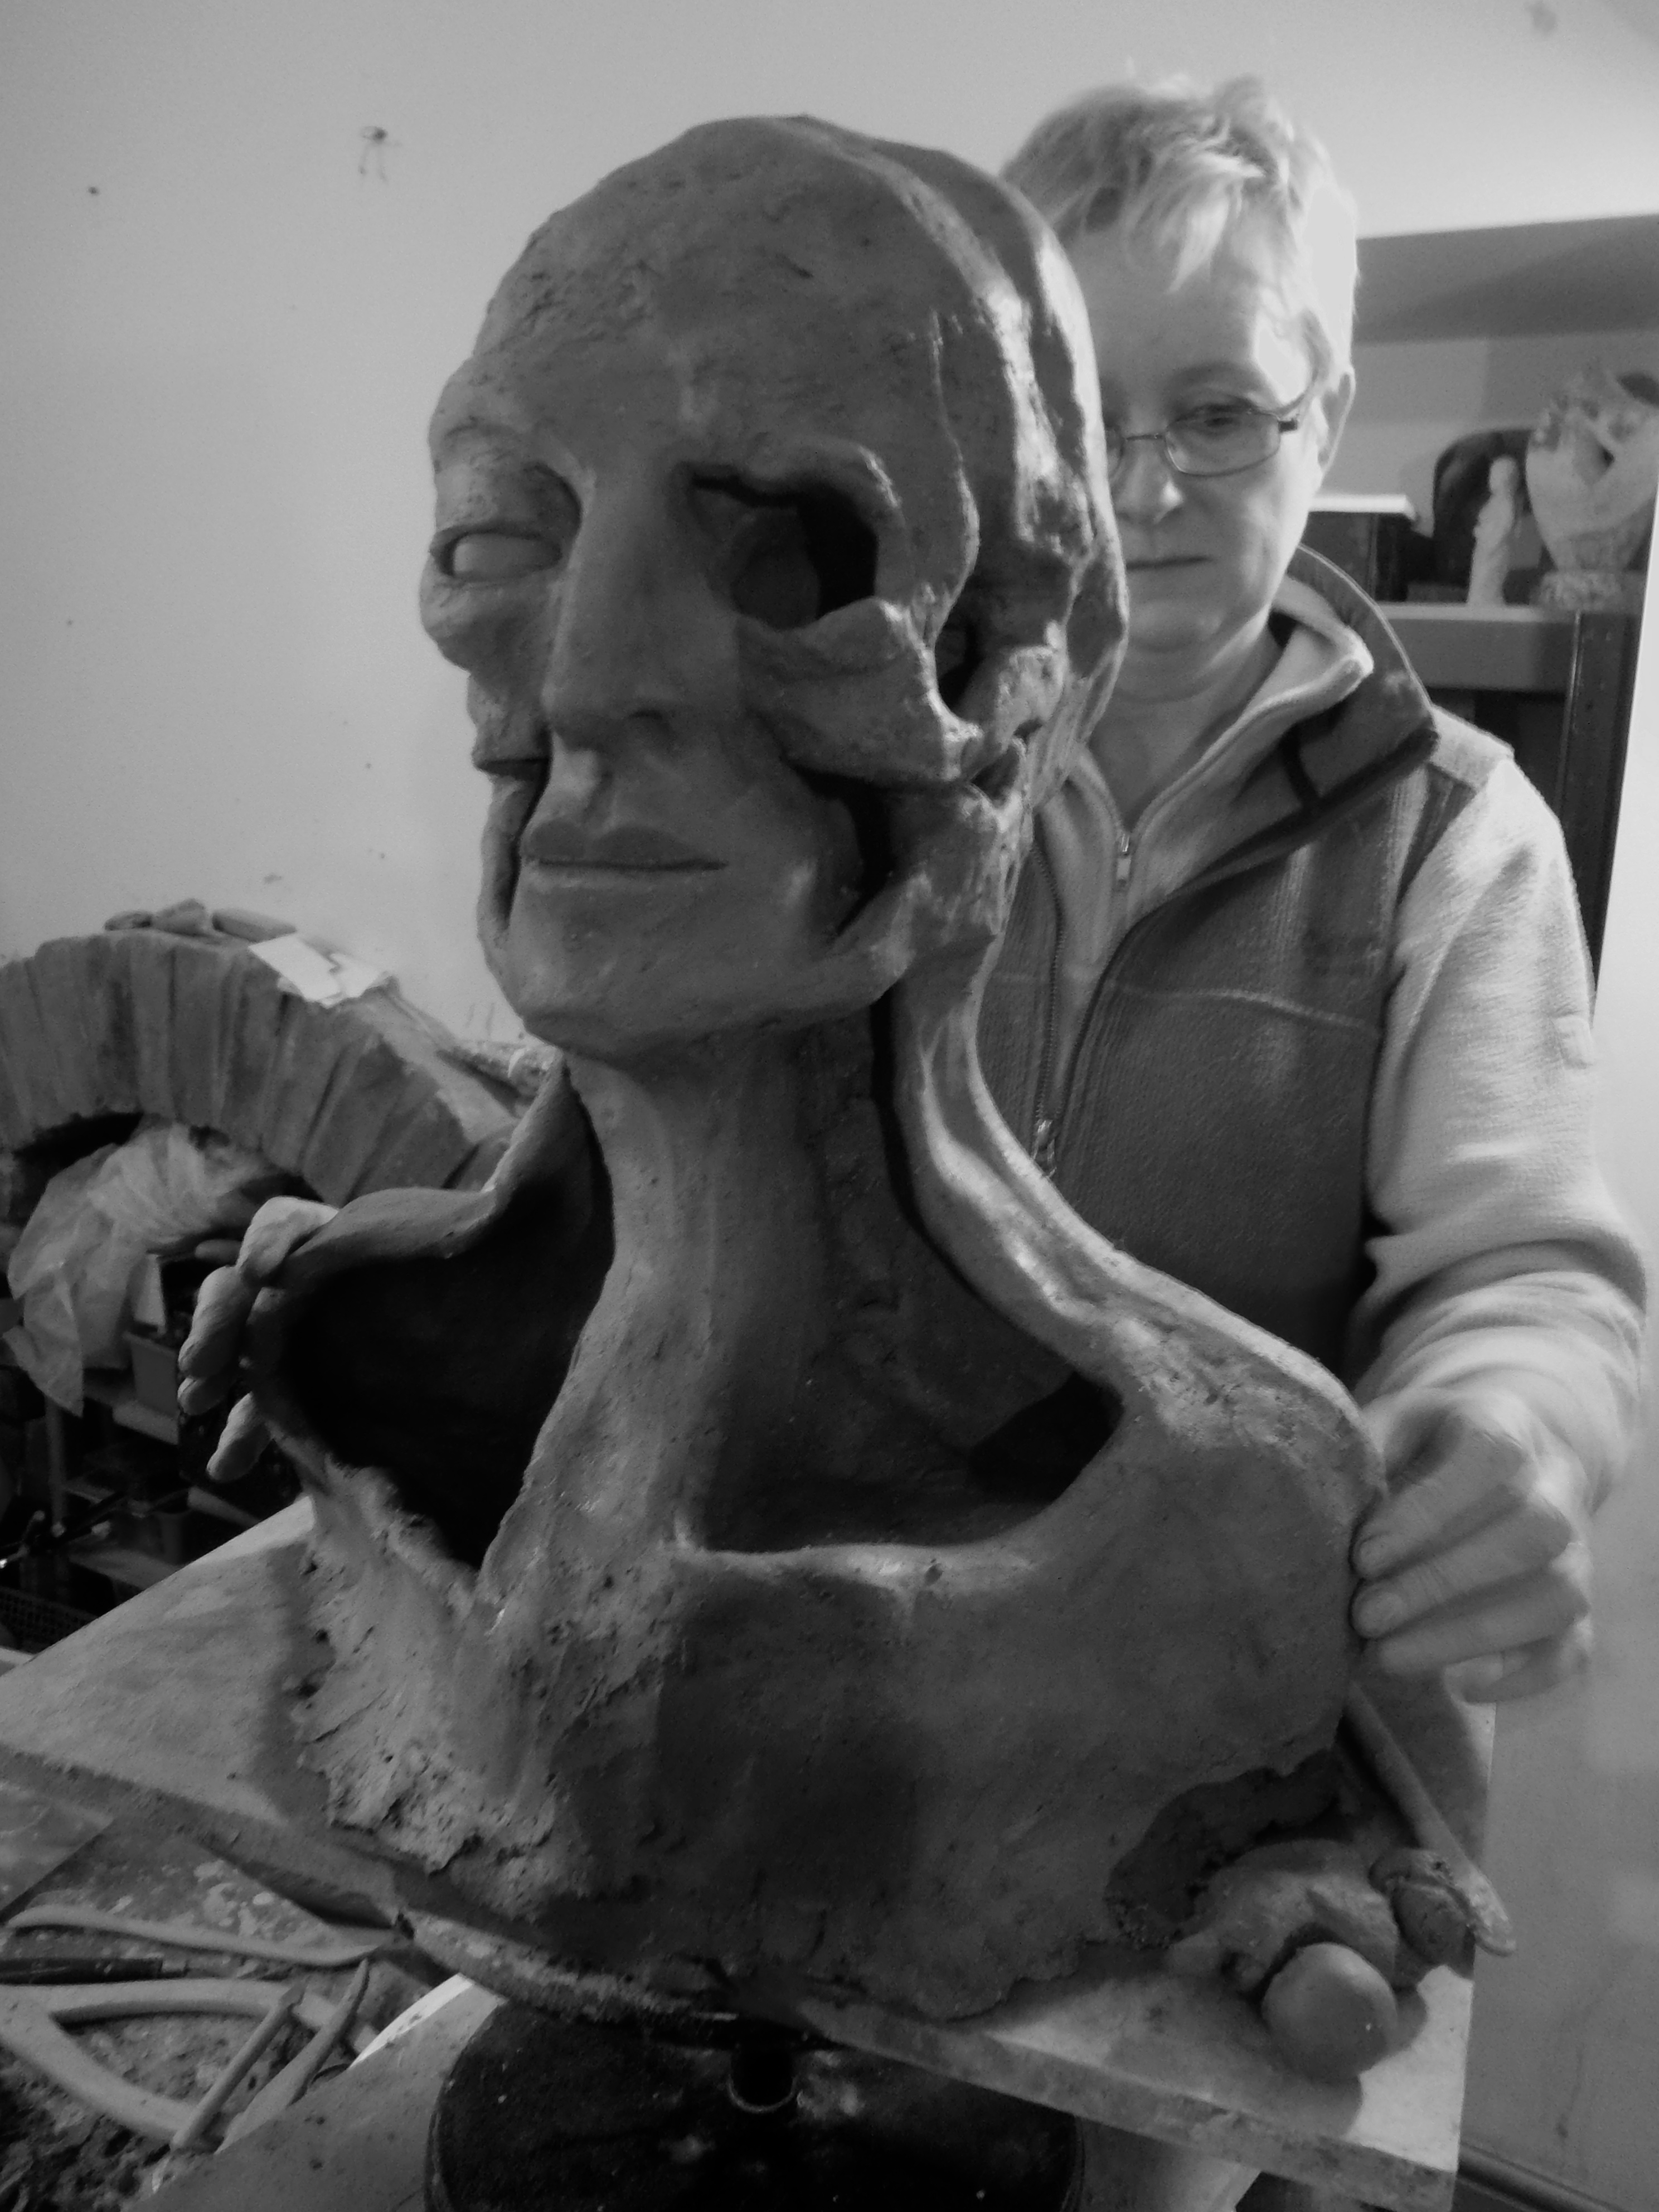
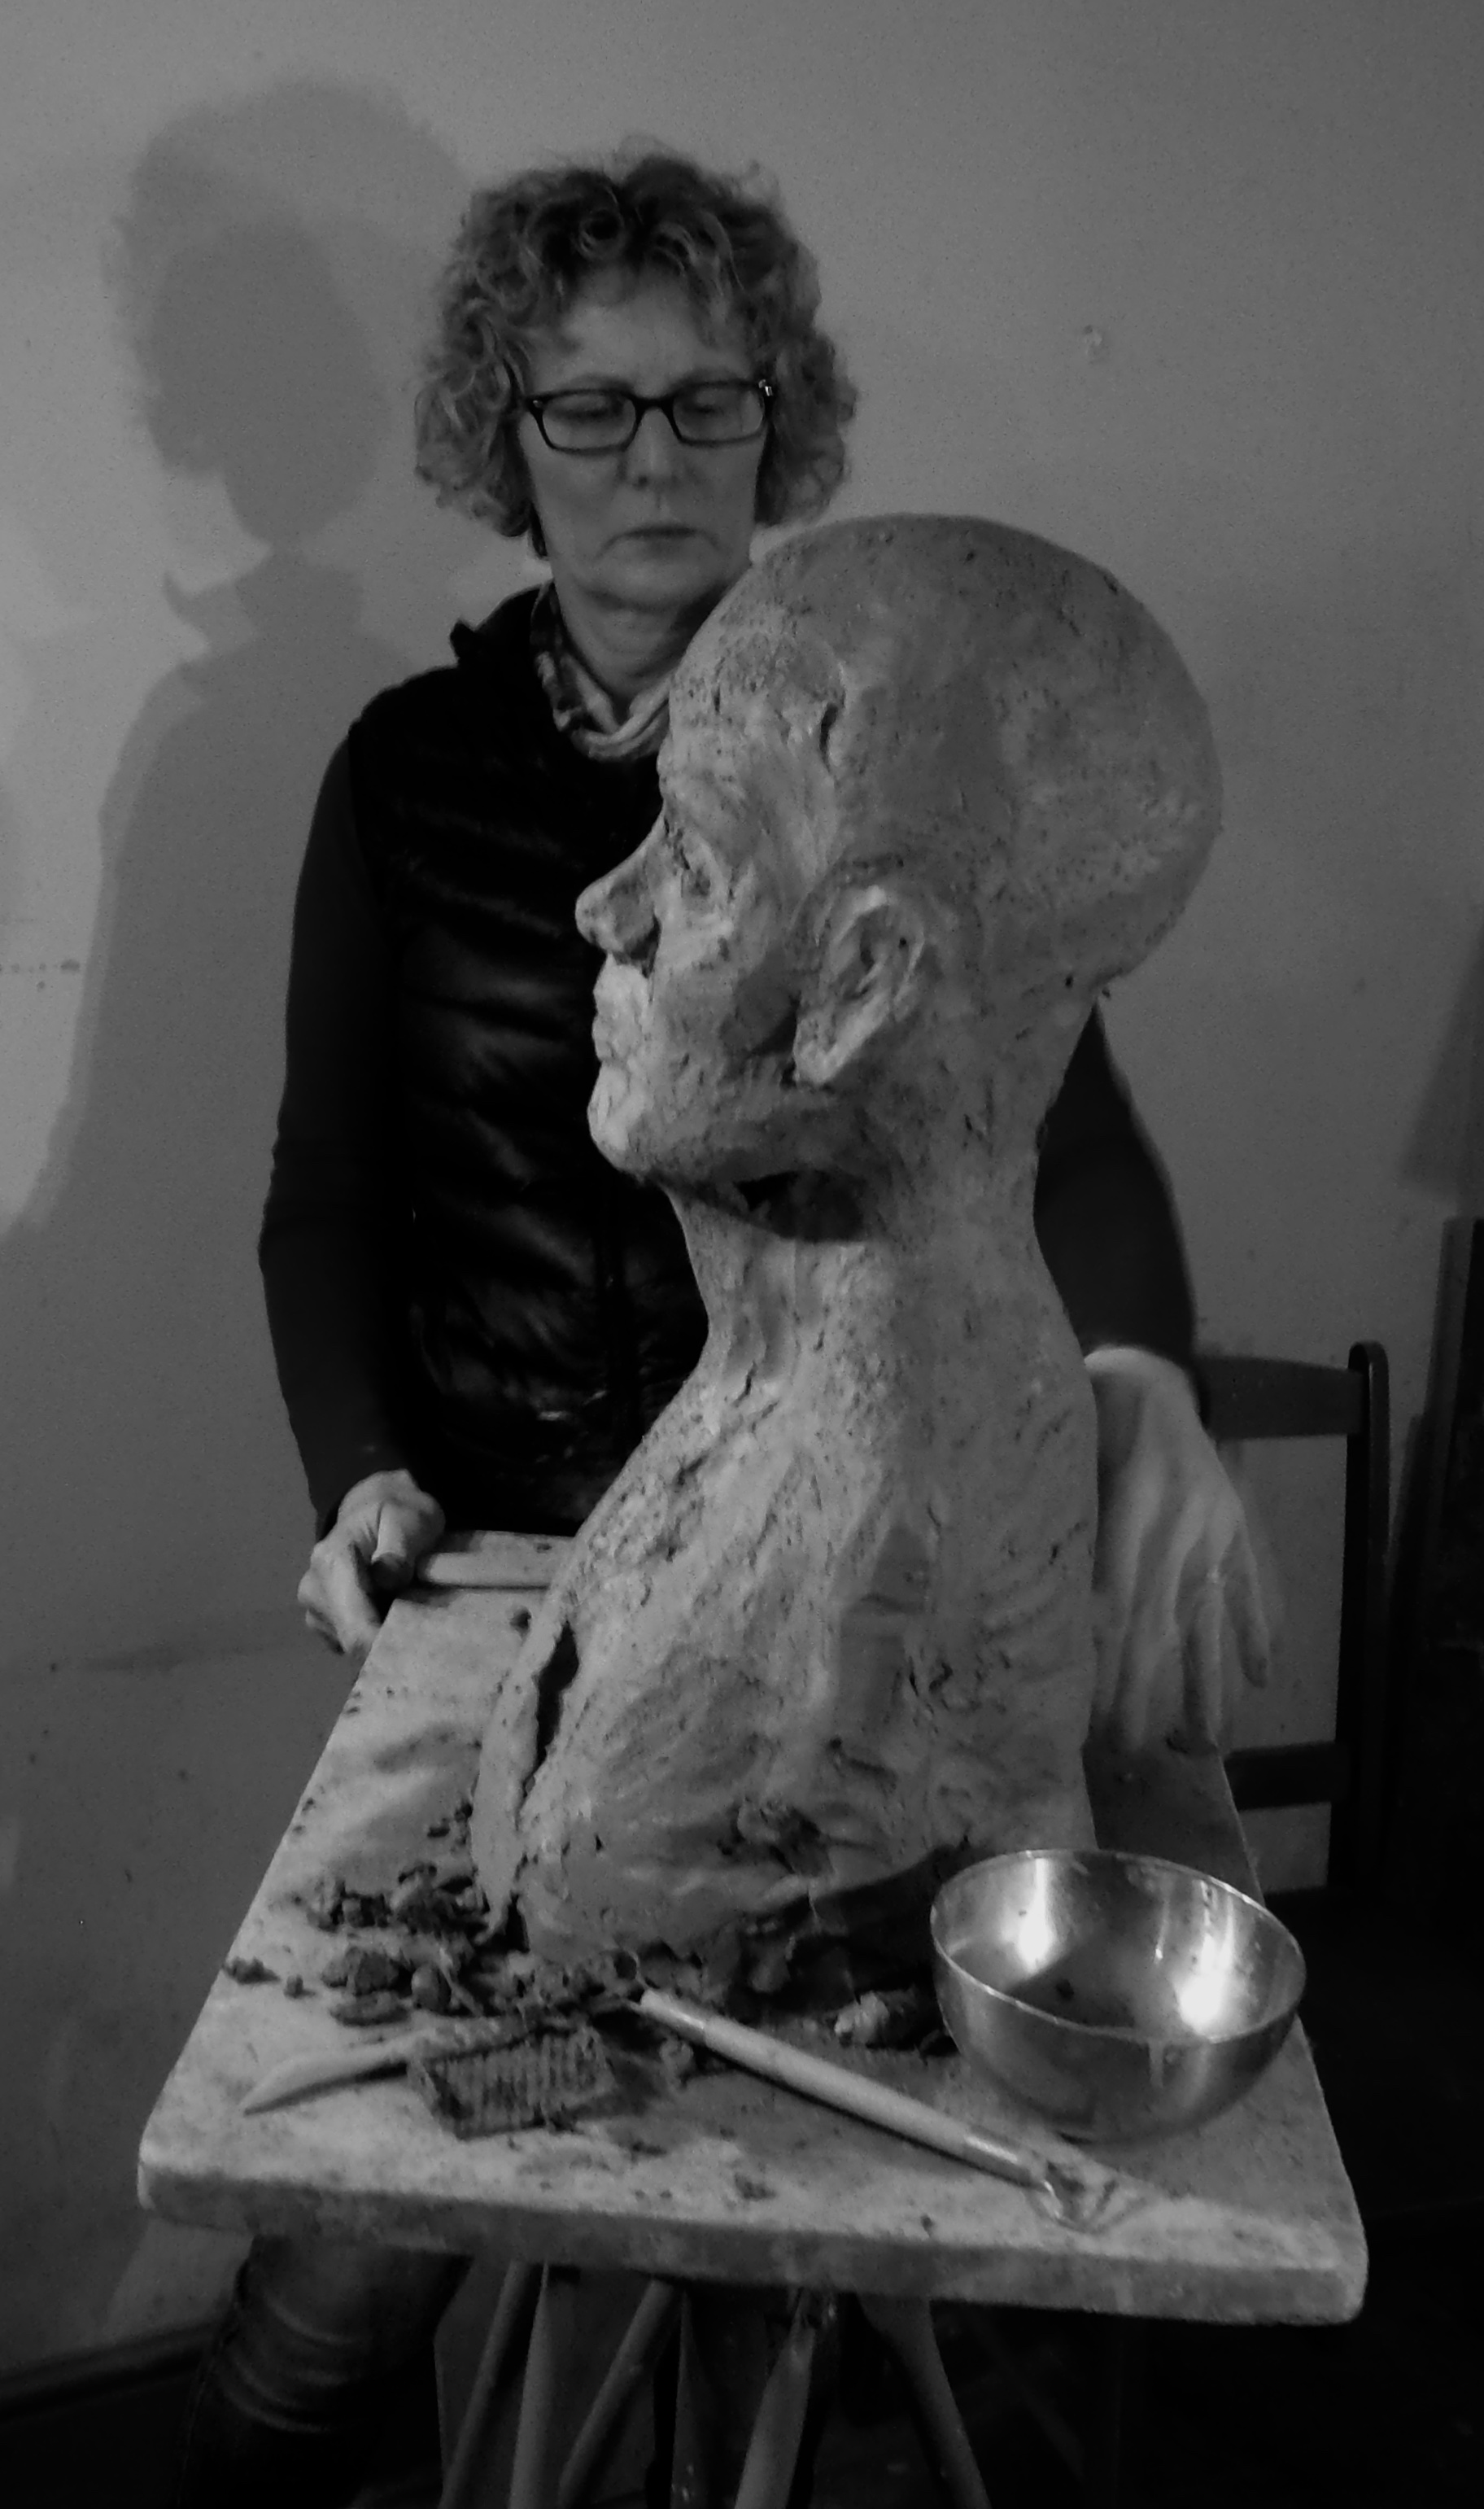
Building Calon Lan in a small basement. (How to..)

Sharon was invaluable. She worked on every stage.

Jim, ex-miner, ensured that the images were accurate.
A lot of Public Art is made like this though not always so hands-on. It’s expensive because Volunteers need a lot of time but you get massive value for money because all the skill-sharing and co-production feeds back into the community.
These projects really highlight how much Visual Artists have to offer.
Many Artists specialise in non-verbal communication. A lot of people learn that way and regularly struggle to ‘find the words’ particularly after a trauma. We can guide people towards the form of wordless communication that best allows them to express themselves ‘beyond words’.
While hands and eyes are busy on artwork people find talking openly feels much less dangerous. They start to take themselves less seriously as mistakes are made on the art and every one laughs uncritically. Problems fall into perspective and become interesting challenges.
We laughed and cried a river while making the big brick clay Pit Marker Memorials because of the stories we were telling in clay. We worked from the heart, unashamedly: we wanted to share the tears. Now people with generations of miners in their families go to the Ocean Colliery Pit Marker, set by a pond on the mountain where the pit head was, to remember and mourn. And visitors and new comers can go there and better understand the village and the history that shaped it.
This is good, important work that sustains the humanity of our society.
Creative work is at it’s best when it communicates emotion with a sincerity that genuinely connects with the viewer.
Sculpture and pottery have the advantage over many other art-forms of being overtly physical so they can reach people more directly.
A lot of what we make is decorative. Stylish. Attractive. Or Narrative. Intriguing. It is understood and appreciated by the brain. Sometimes everything clicks and a piece is able to reach into people and connect with the heart and perhaps the soul.
That’s the best.
But there is a huge need for all kinds of art-work and processes. Our job is to find our niche in there and get as skilled as we can at providing our part of the structure of civilisation no less!
I’ve taught clay work to all sorts of people with all kinds of abilities. Many have been inexperienced in creative work. Some people ‘take to it’ very quickly. They transfer skills developed in other activities easily, they are very dexterous.
It gets called ‘Talent’ but that has become a misleading term that stands in the way of a lot of creativity. People are lead to think Talent will come to you if you want it enough or that you are born with it as a blessing. And that others are denied it…
Talent describes prodigies and savants. The rest of us have born and acquired ‘aptitudes’ for particular types of work. As a social species humans come in various types for the good of the group.
Psychologists studying creative aptitude have put forward the idea of ‘Flow’. Flow is when you get lost and engrossed in an activity, time flies etc.
We all recognise this, yes? Nope.
They found that 7 out of 10 people experience Flow. 3 do not. Their aptitude is better for different work. Of the 7 that do there is a spectrum with those people lost in Flow or who need to spend a lot of time there at one end and those who can easily dip in and out at the other.
Go to the right point on the spectrum down at the ‘out there’ end, add circumstance and opportunity, training and practice and you will have an artist. All kinds of jobs require high levels of Flow and creativity. We are not crazy or weird, don’t let anyone call you that. Our passion does not set us apart either. People in every type of work pour their hearts into what they do.
I like this idea and it fits in well with my experiences with students and Volunteers. People often describe doing artwork as ‘therapeutic’. So why aren’t we all exquisitely calm?!
I don’t think artwork has medicinal properties but rather ‘nutritional ones: I’m pretty sure many people fall into mental health difficulties because their circumstance denies them access to creativity, non-verbal self expression and Flow.
Part of our ‘calling’ is to build bridges for these people through our own art-work and in guiding them to theirs. And that can be life or death stuff.
A lot of nonsense is bandied around about mental health illnesses fuelling creative genius. It is a cruel Myth. Some geniuses have done what they can to make the best of the awful, destructive diseases they are stuck with. Many people living with all sorts of disabilities are denied jobs so they choose to spend time productively on art-work.

Gwalia Mynydd Mawr Home. This lovely man couldn’t speak any more but he drew beautifully and loved clay.(How to..)
————————————
So Sculpture is my first language, the one I use to understand the world and sort out my thinking. And I also use it to communicate with other people.
It can be very difficult to tell if people are picking up on your message. They may have a strong, visceral reaction to your work but, not being able to find the words, say nothing.
A website and Facebook are great for making your work accessible, your ideas clearer and your self approachable. And I have found to my own surprise that I really enjoy running mine. I think my work has made big steps forward since I got into this stuff three years ago. Writing posts has clarified my ideas and getting really nice photos of the sculpture has helped me to look at it very objectively while rewarding me for putting in those hours spent on the edges and surfaces. People’s kind words, likes and shares are very encouraging.
And best of all I am part of a world-wide network of Makers of all kinds sharing photos, techniques, ideas, understanding and encouragement. I have learned a tremendous amount. Online stuff now fills part of that productive work pattern : 1.5 hours in the studio then break for 15 minutes. I used to do long, punishing hours deep into the night….that’s not ‘Work’. That’s looking a bit like ‘Obsession’ right there. Now I work 6 days a week, 7-5ish, with proper breaks. Some of that time is paper-work and internet stuff. Some is outdoors walking, thinking, taking it in. Talking with peers, reading, listening.
Music plays a crucial role in my sculpture. I use particular playlists for each Series. That inspires and guides the forms and brings me back to the right point after a break. My sons are into the vivid, wildly creative Games and animations that have become the voice of their generation and their influence has lead me to my best work yet.
On a good day I know look like an Olympic athlete, or at worst, Miss Marple on steroids, but the inconvenient truth is that I’m a dilapidated wreck. So everything in the studio is on wheels and, happily, I have the best assistant on the planet who can pack more sculpture into a kiln than physics can justify. I don’t intend to retire. I’ve already thought through how I could keep making stuff after the loss of any body-part. But will sculpture continue to work for me? Many artists see switching to a different job and life-style a failure or heresy. But our hard-won skills are entirely transferable, especially in a global, multicultural era that relies so much visual communication.

Osprey Studios. SA9 1YT.