This Series is a collaboration with Photographer and Documentary Cameraman Stephen Foote. Click on any picture to see it full size.
Stephen Foote and I met up after 30 years in 2014. We were good friends as teenagers, both rather disengaged with school, both making art in our own time. 30 years on we both still use art work as a major part of our interaction with this nutty world. Sharing our images was a key way we got to know each other again and harnessing that process in a joint project was simply a way of capturing what was occurring naturally. We set a straightforward ” Artists Respond to Landscape ” brief and kept a very open mind while we walked, talked, Steve took pictures and I just took it all in. We met every few months and sent each other pictures of the ensuing work in-between times.
Steve is also a Cameraman and was involved in filming for Panorama during the early, very heated phase in Kiev and the Crimea. I was coming to the end of the Up Is Down Series . Our first visit was Bracelet Bay, Mumbles, Swansea. Then we went into Porth Yr Ogof caves and had a mind-blowing day for me; we spent hours in the dark, natural cave while Steve took a fab series of photographs. I stood in the river in the darkness, held the lights and listened to the flow of water, felt the under-ground breezes. From there the project clarified for us as the travels of the water from the sky above the Brecon Beacons to the river, especially the Tawe, on down to the wide bay at Swansea, and out into the Ocean where much of it will return to the clouds and begin the circle again. As it flows it leaves it’s mark on the stone, the ground, the life it passes.
These pictures are roughly in sequence for the progression of work over time, with Steve’s photos next to the related sculptures in some cases.


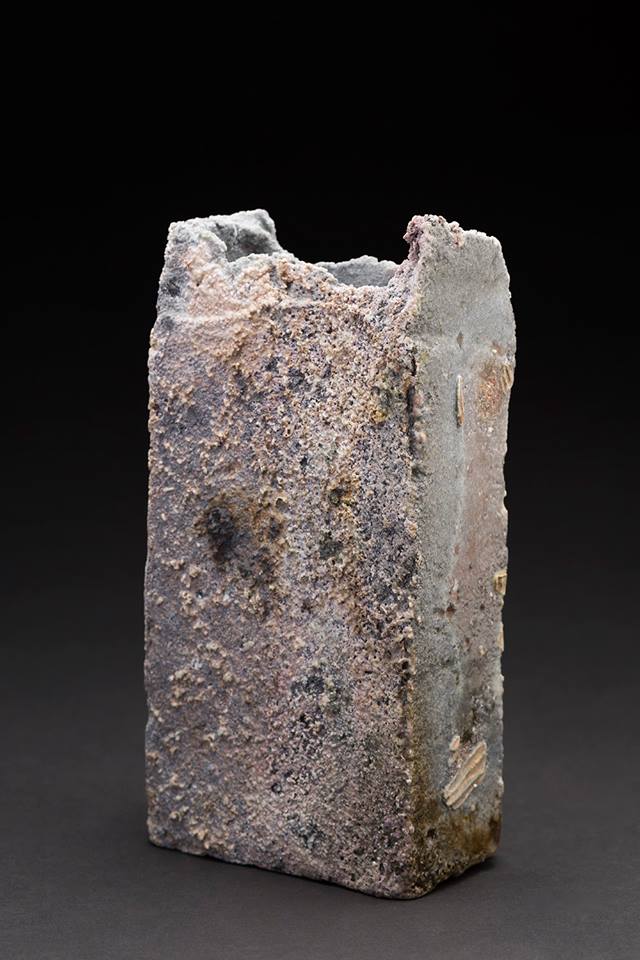
Wyvern, 10cm H x 18cm L x 11cm D.

Wyvern, 10cm H x 18cm L x 11cm D.

Wyvern X, 21cm L x 12cm H x 11cm D.

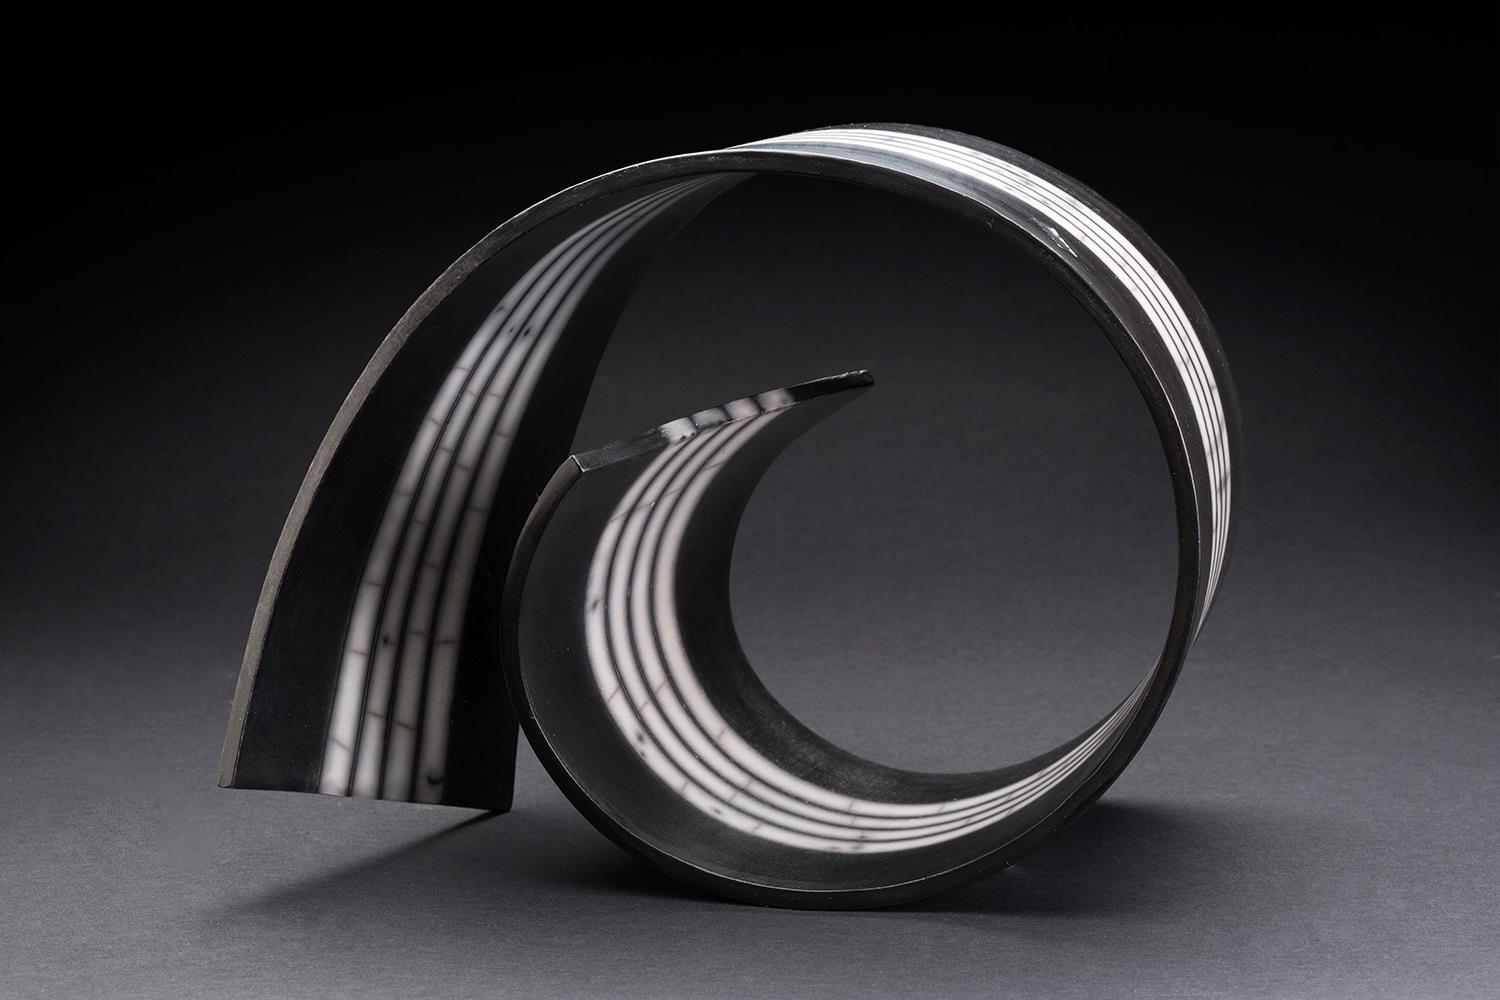
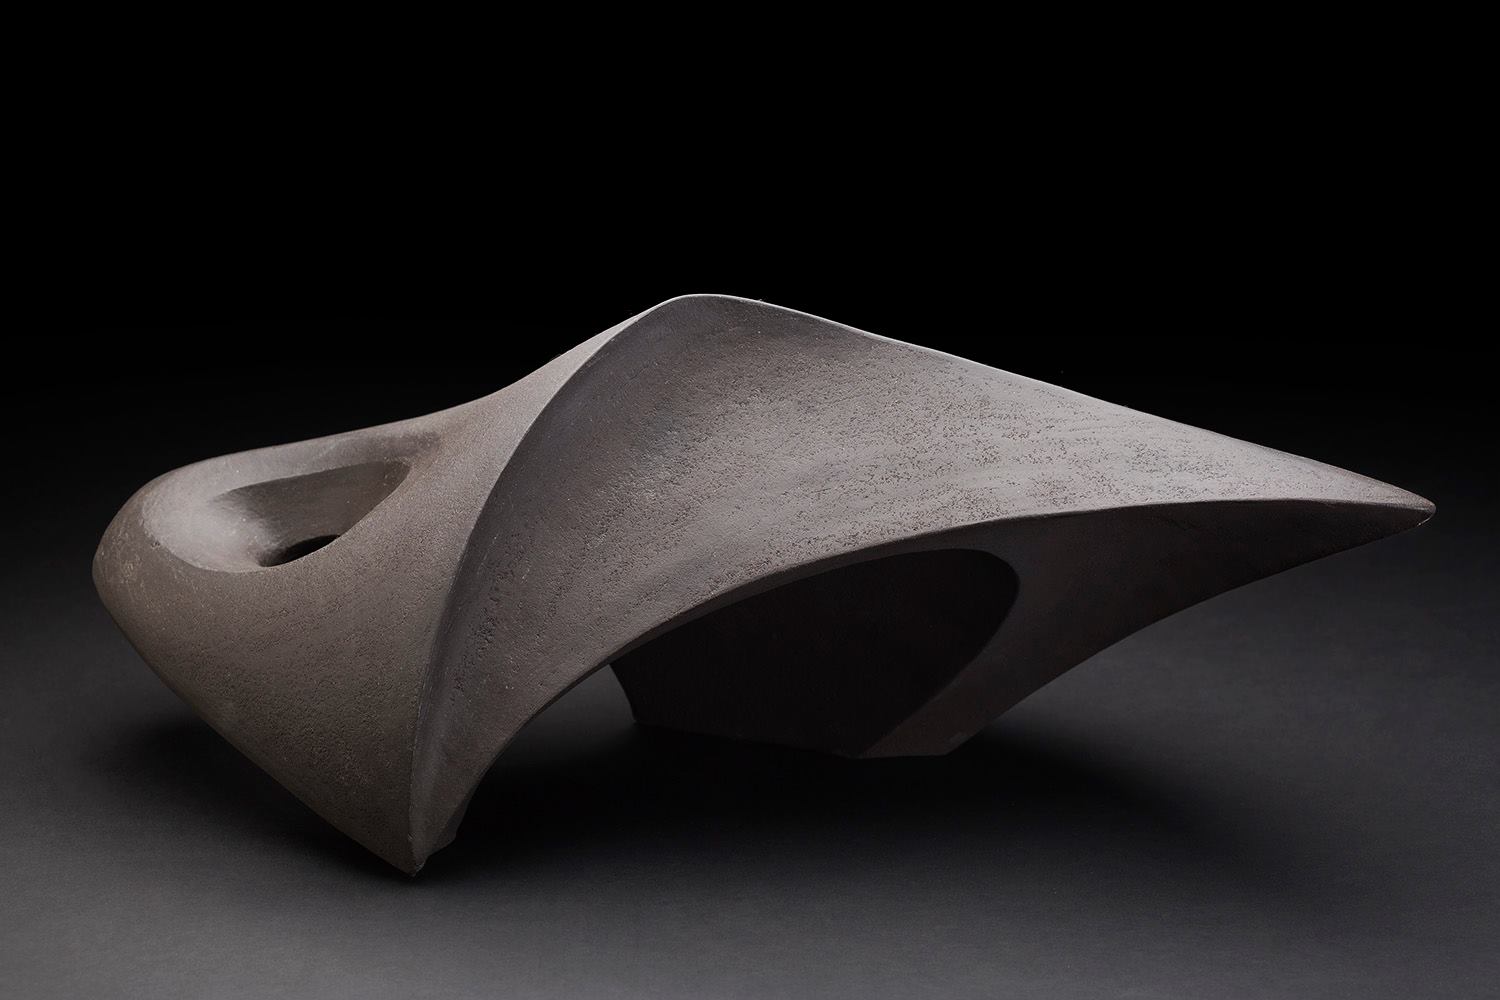
Water and Stone, Bracelet Bay, 2014, 24cmH x 56cm L x 33cm W, Marbled architectural ceramic. Photo by Stephen Foote

Stephen Foote; Dunes

Bracelet Bay, Mumbles, Swansea by Steve Foote

Wyvern I in progress, July 2014. 68cm H x 64cm W.

Bracelet Bay, Mumbles, Swansea by Steve Foote

Bracelet Bay, Mumbles, Swansea by Steve Foote.
It was this fabulous picture of Bracelet Bay that shifted me abruptly into figures, much to my own surprise. The character of the Wyvern developed while making the public sculpture the Balarat Pit Marker in The Edge Series: the coal, a buried treasure to be used wisely or there would be consequences, watched over by a shape-shifting Welsh dragon.

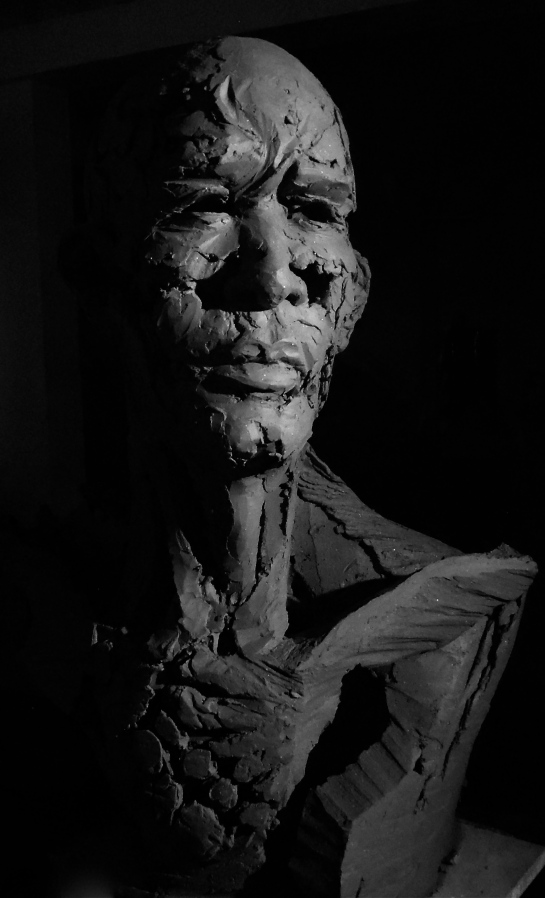
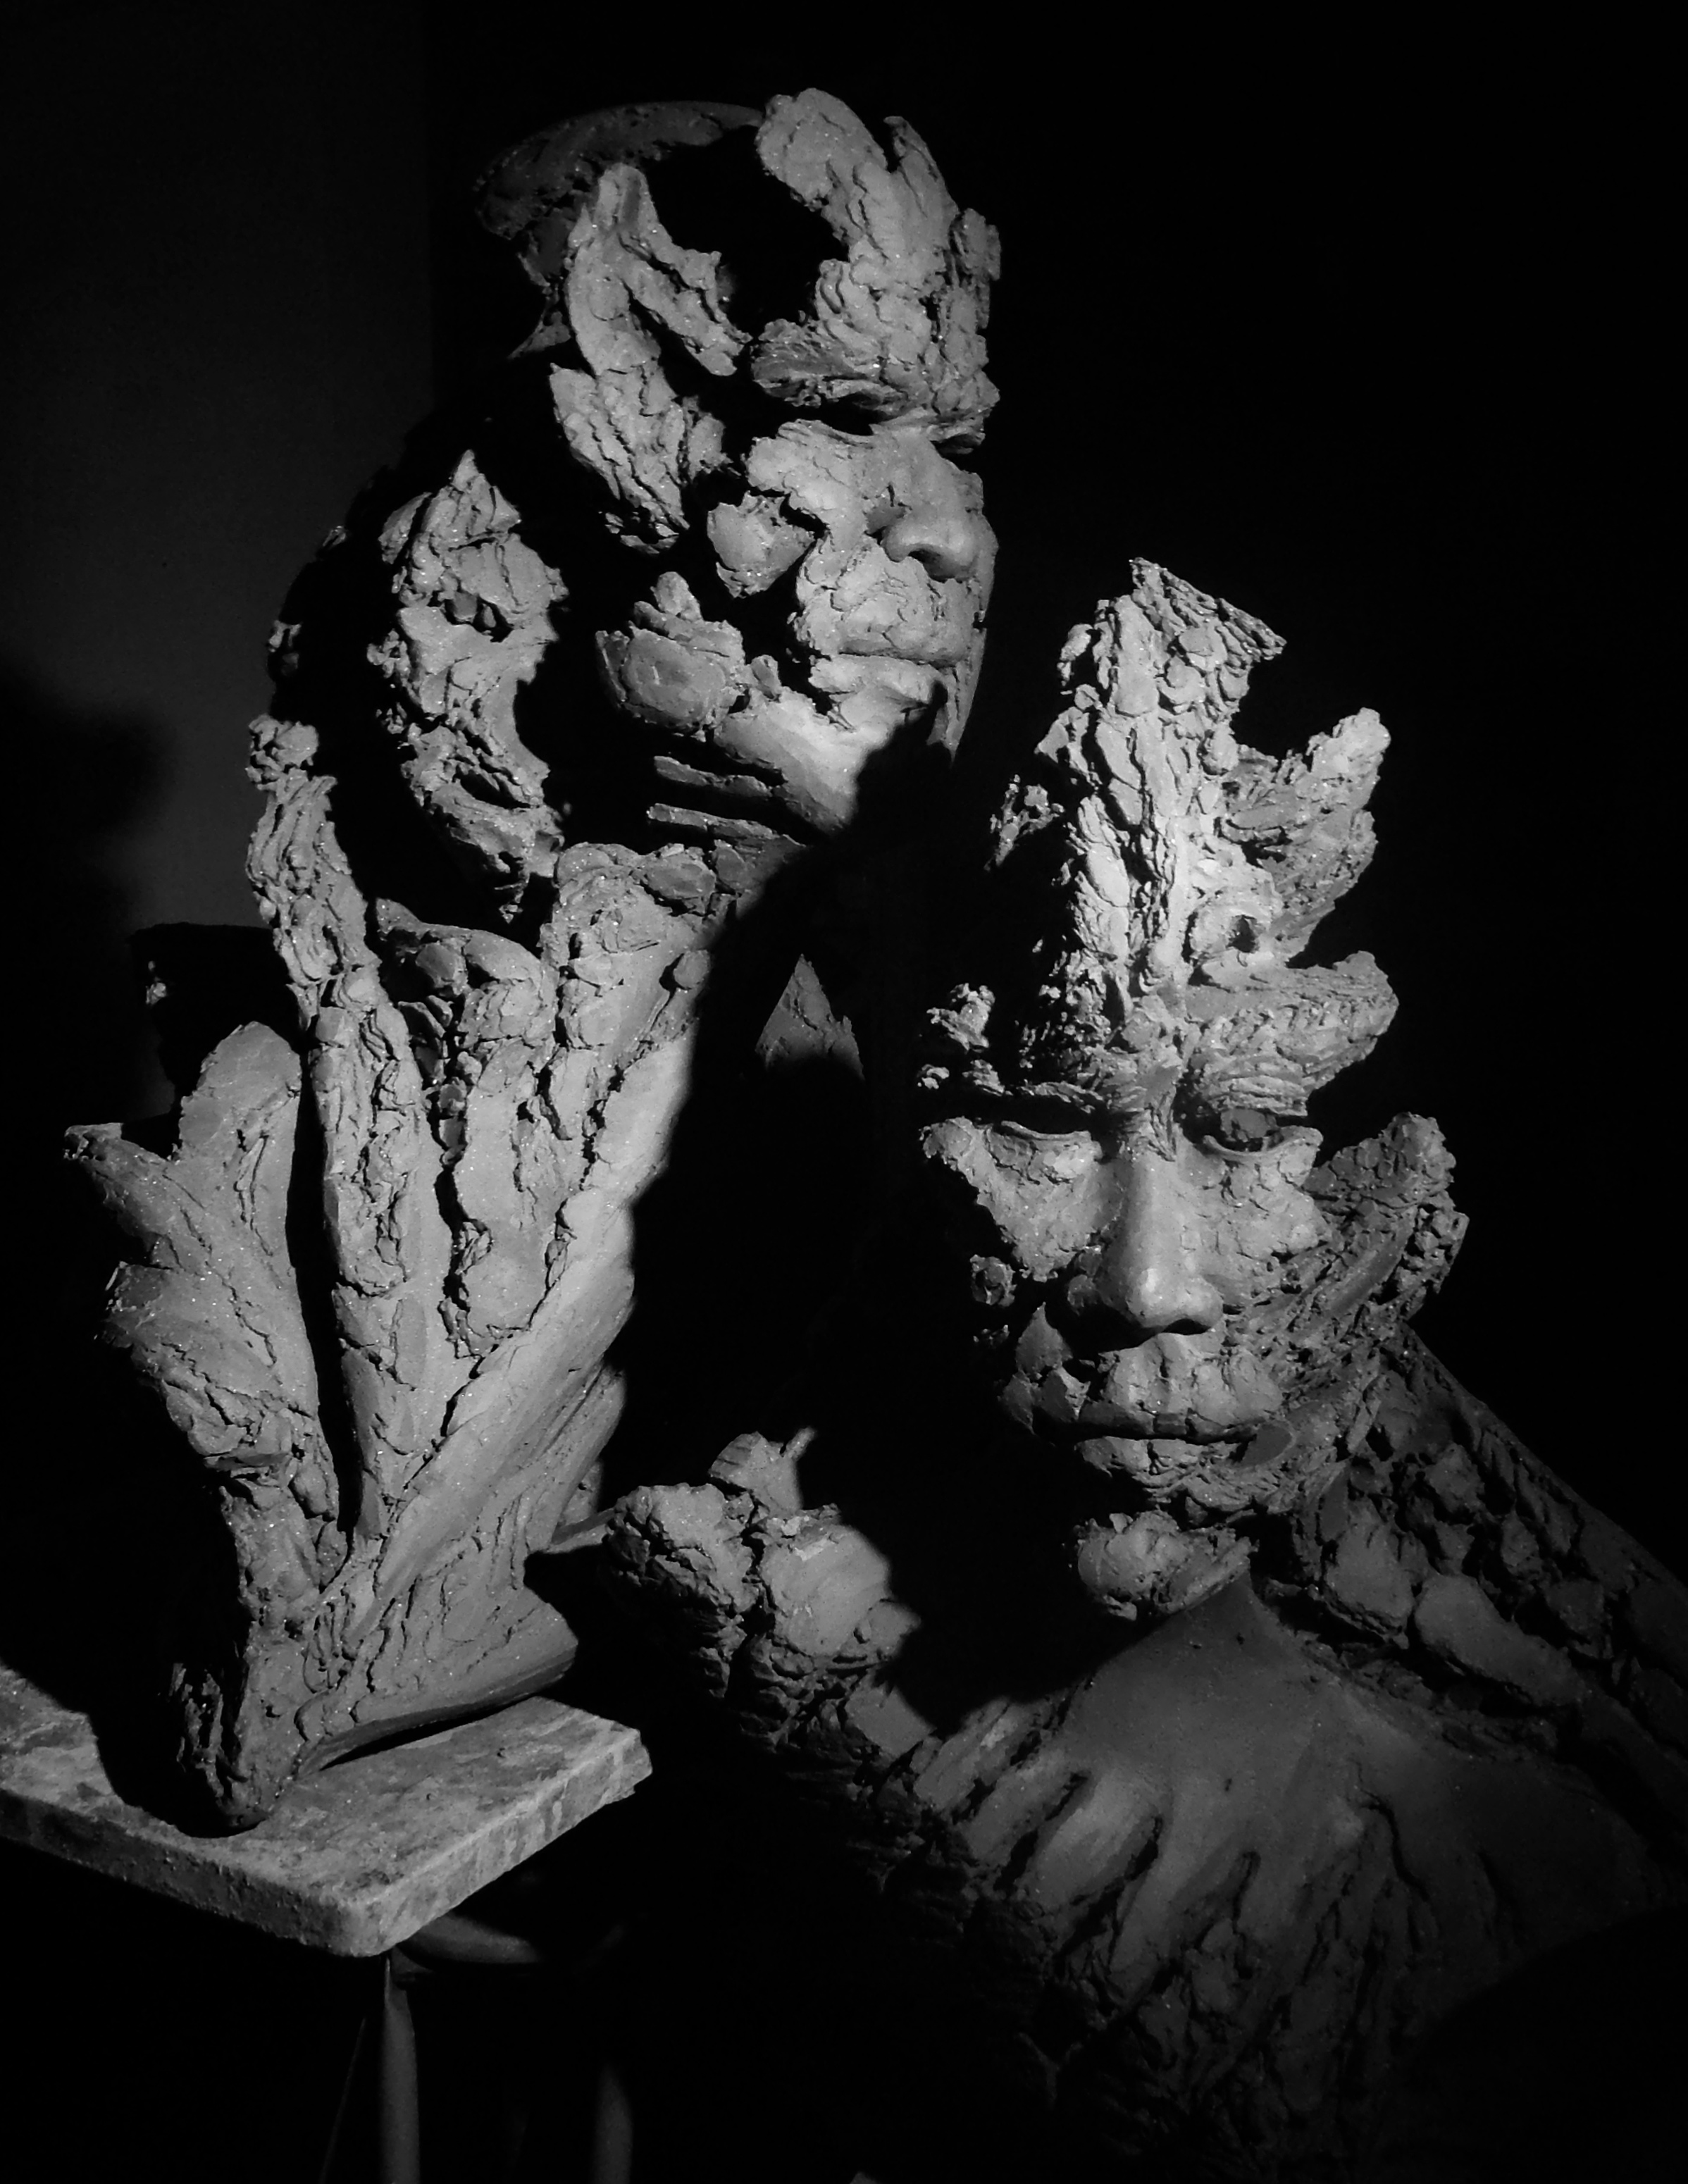
Wyvern busts in progress, Aug 2014.
Here the Wyvern is a guardian of stone.

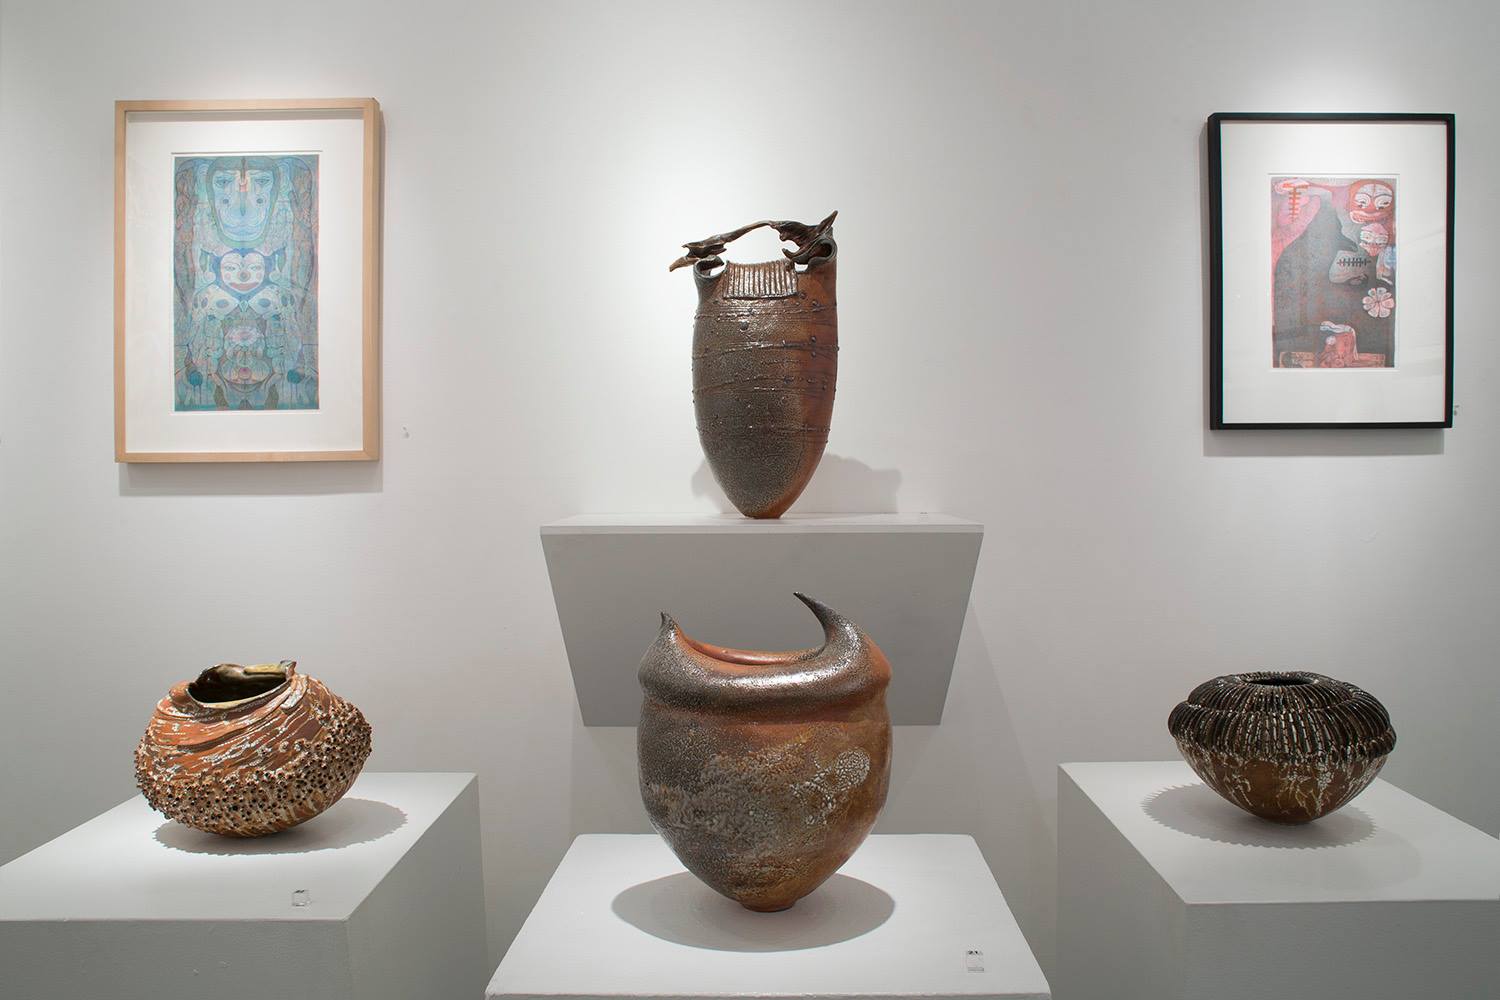
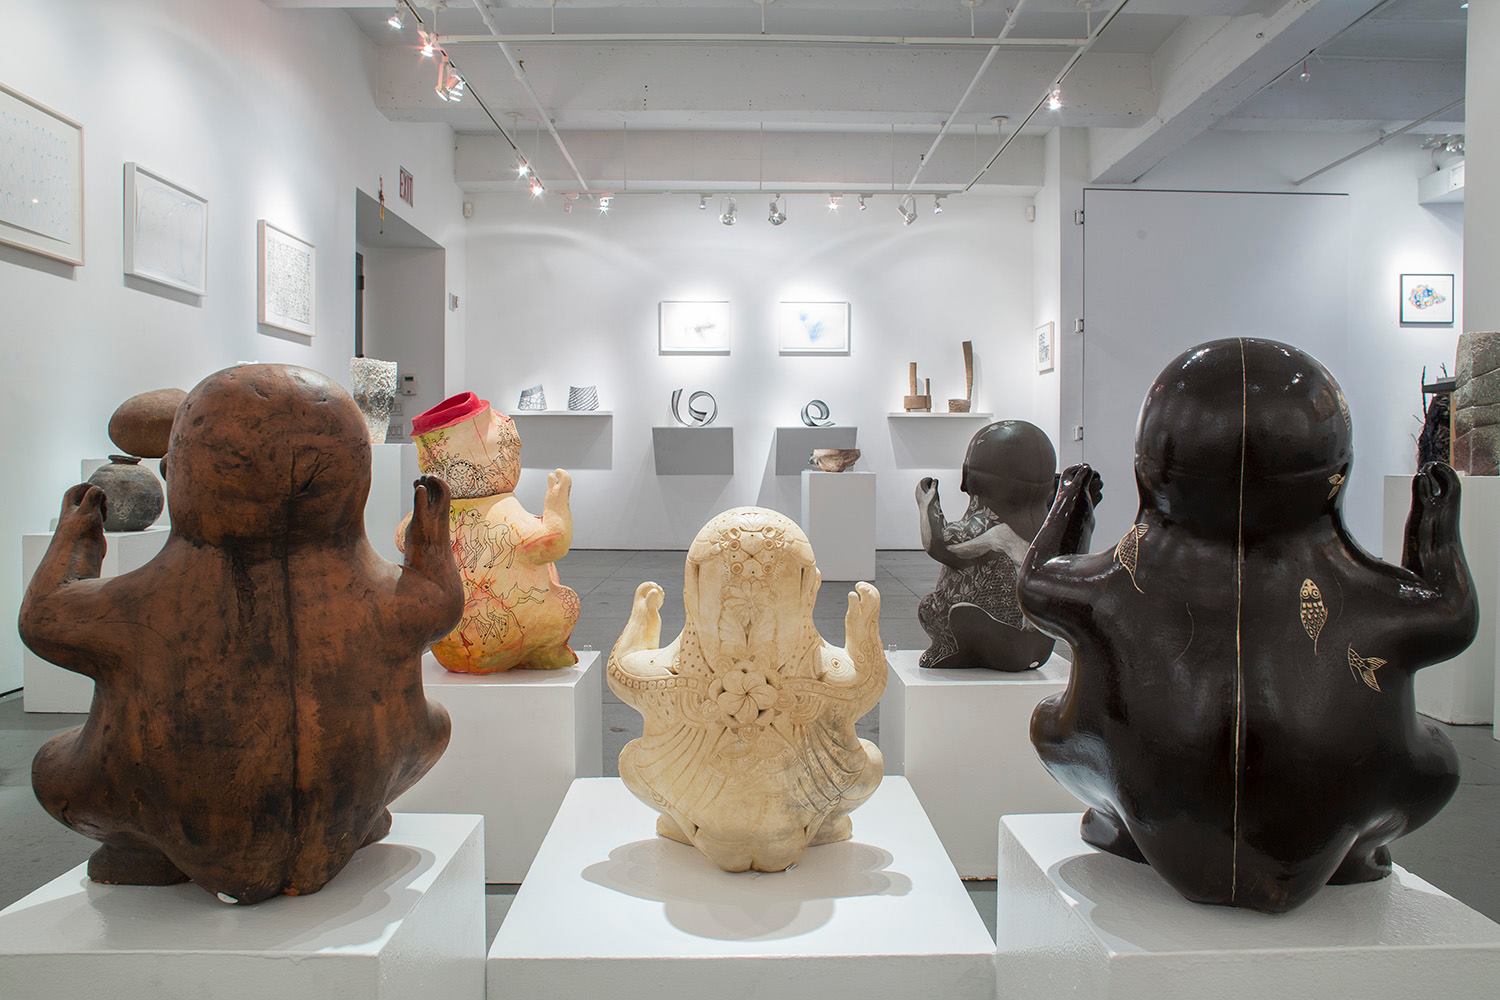
Wyvern V, 2015, 27cm H x 51cm L x 25cm D, black ceramic. Cavin Morris Gallery, New York.

Wyvern V, 2015, 27cm H x 51cm L x 25cm D, black ceramic. Cavin Morris Gallery New York.

Porth Yr Ogof Cave, Brecon Beacons, by Steve Foote, 2014. We spent hours down here and as I assisted the photography, standing in the river and pitch black, I felt the underground wind and heard all the sounds of water travelling through the rocks. Extraordinary. A living, breathing world of unparalleled beauty.

Bracelet Bay, Mumbles, Swansea by Steve Foote

Bracelet Bay, Mumbles, Swansea by Steve Foote

Bracelet Bay, Mumbles, Swansea by Steve Foote
The Wyvern III, 2014

Wyvern II, 2014, 69cm H x 54cm W, x 31cm D, ceramic. Photo Stephen Foote.

The Wyvern IV, Sept 2014

The Wyvern and The Leviathan. in progress, Sept 2014.


Wyvern VIII, 2015, 39cm H x 71cm L x 34cm D, ceramic. Cavin Morris Gallery New York.

Wyvern VIII, 2015, 39cm H x 71cm L x 34cm D, ceramic. Cavin Morris Gallery New York.

Wyvern VIII, detail. Photo Stephen Foote.

Wyvern VIII, Cavin Morris Gallery New York. Photo Stephen Foote.


Water moves from one sphere to the next in all it’s forms, changing everything it passes. On heavy, stormy days here in the Brecon Beacons it careens in sheets 10cm deep across the grassy hills, colliding in the streams and rivers to tear down towards Swansea Bay. It drops through the gaps and cracks it has left in the stone to the fabulous caves it has been cutting for Millenia. Standing out in the middle of all this you can see the mountain ponies, uncompromising, resolute and beautiful. They became the Guardian of the water, the Leviathan, in it’s mountain form.

Leviathan V, 2015, 11.5cm H x 25cm L x 9.5cm W, ceramic. Photo Stephen Foote.

Leviathan VI, 2015, 12.5cm H x 21cm L x 8cm W, ceramic. Cavin Morris Gallery New York.

Leviathan V, 2015, 11.5cm H x 25cm L x 9.5cm W, ceramic. Photo Stephen Foote.

The Wyvern and the Osprey, 2014.
The Osprey followed as the guardian of the sky.

Stephen Foote Photography.

Osprey II, 65cm W x 50cm H. Photo Stephen Foote.

Osprey II, 65cm W x 50cm H. Photo Stephen Foote.

Osprey I, 40 cm W x 25cm H.Photo Stephen Foote.
Steve’s landscape photos unify everything exquisitely, portraying a vivid place with such clarity you can feel it around you. My sculptural response inevitably, and with some regret, separated the features which got me thinking more carefully about their connections.
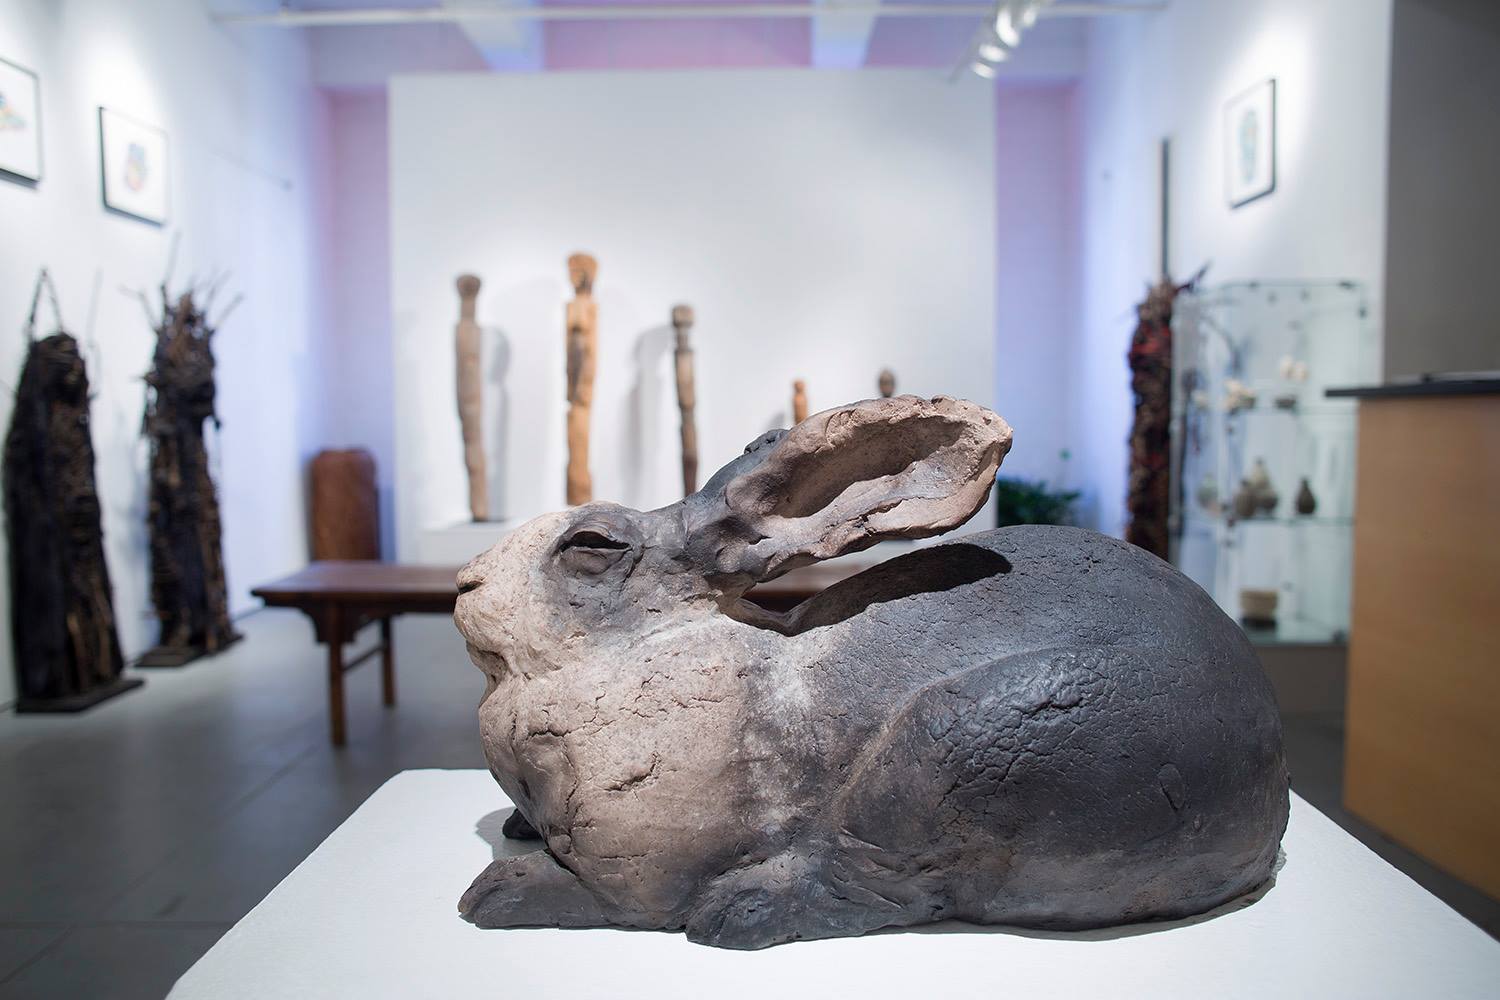
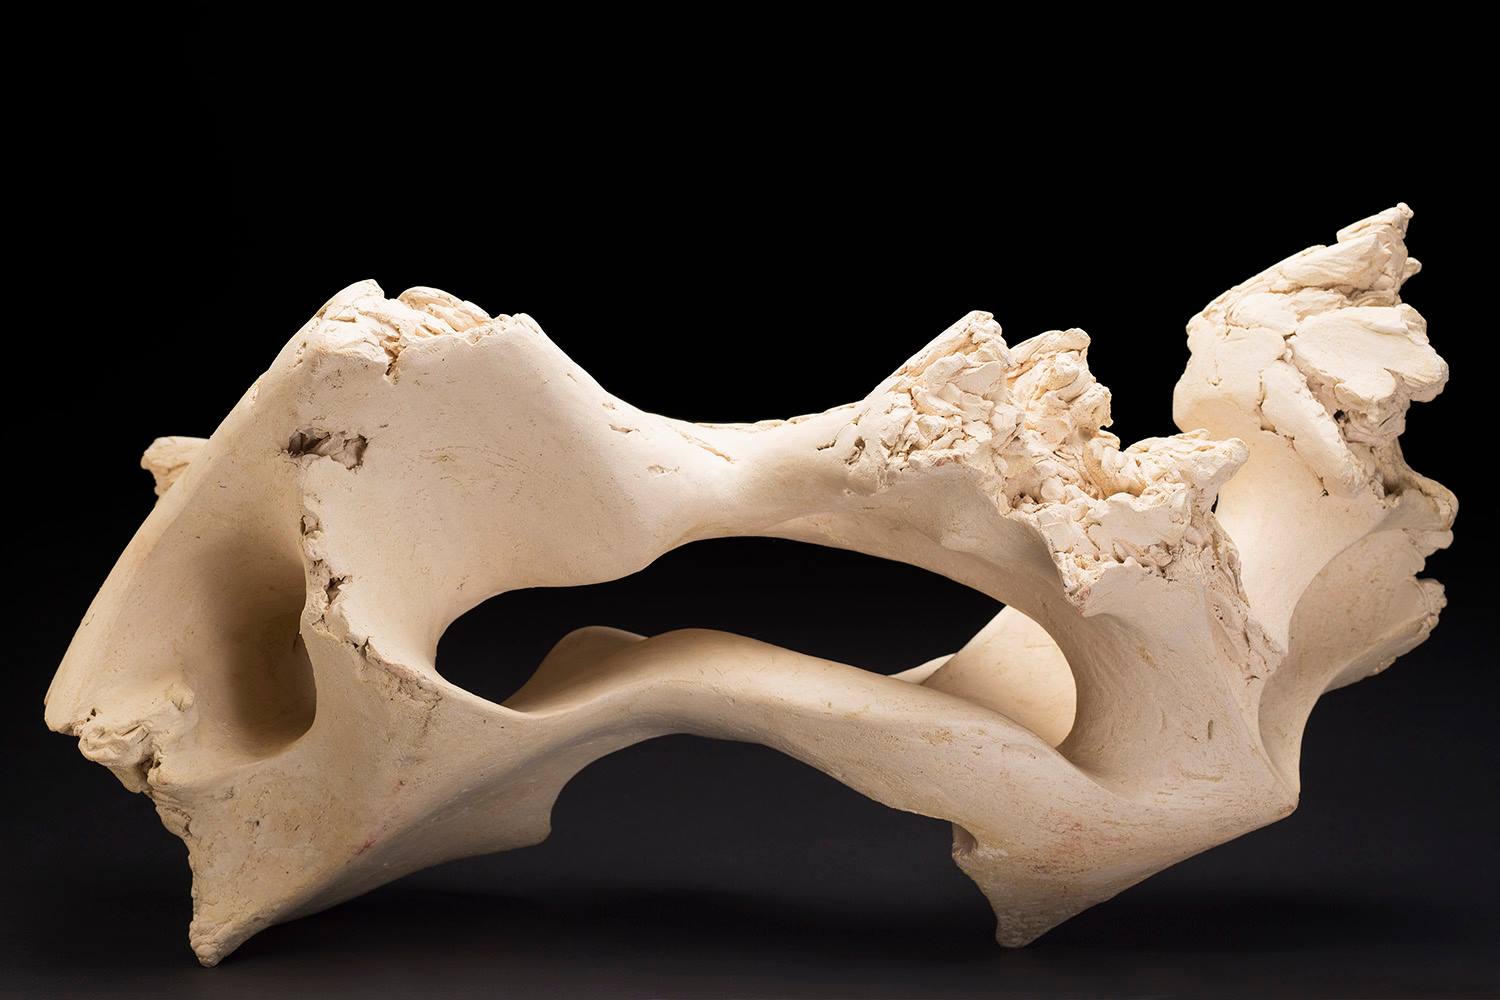
The sphinx-like form and majesty of the Brecon Beacons also showed up first in the Balarat Pit Marker. A classic sculptural motif, the reclining figure, with it’s many options for themes. Like the complex internal aspect of the Beacons complete with breath, life (water) running through veins in the rock, hidden secrets, moods, supporting of forests, wildlife, and us since the dawn of time. The subtlety of age: the Beacons are especially ancient and have been many things in their past. ‘The Land’ sculptures are about this part of what we saw.


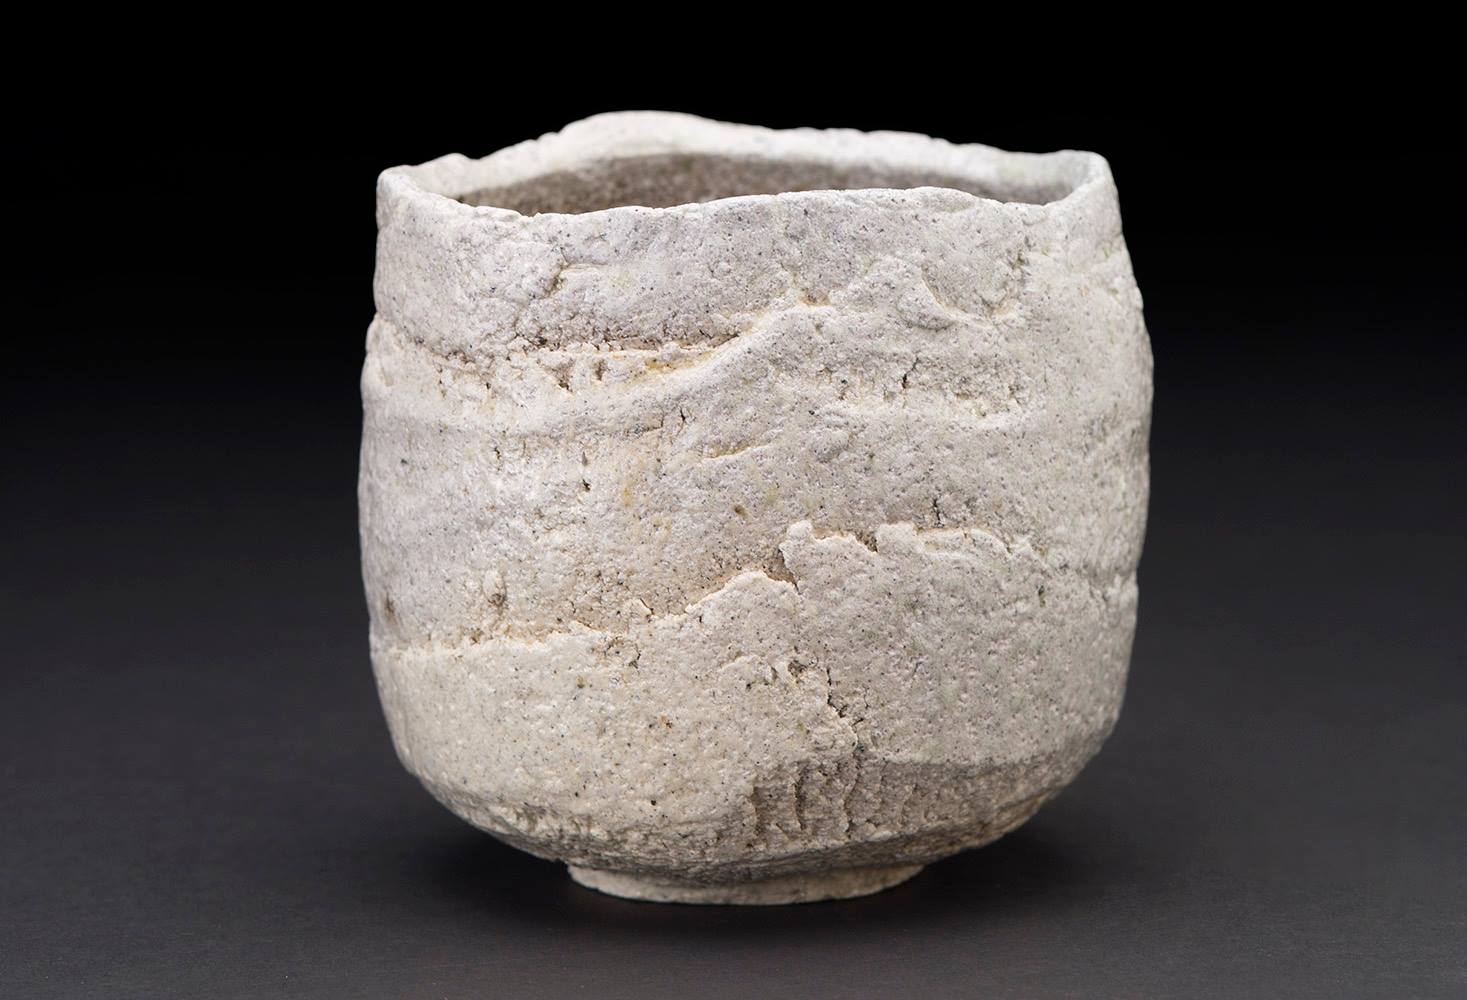
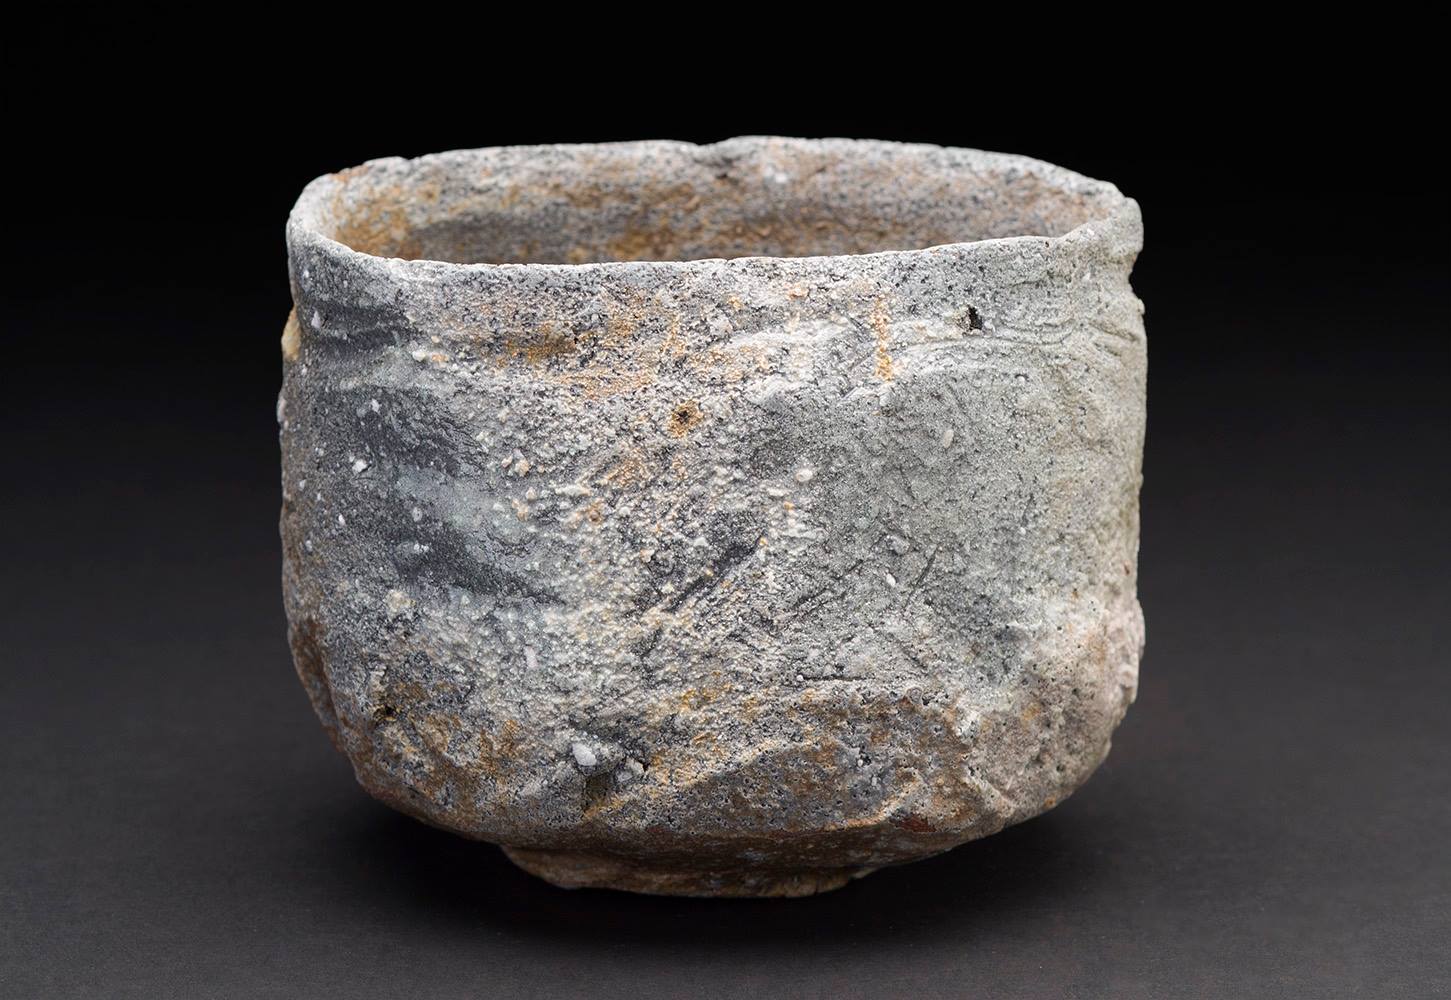
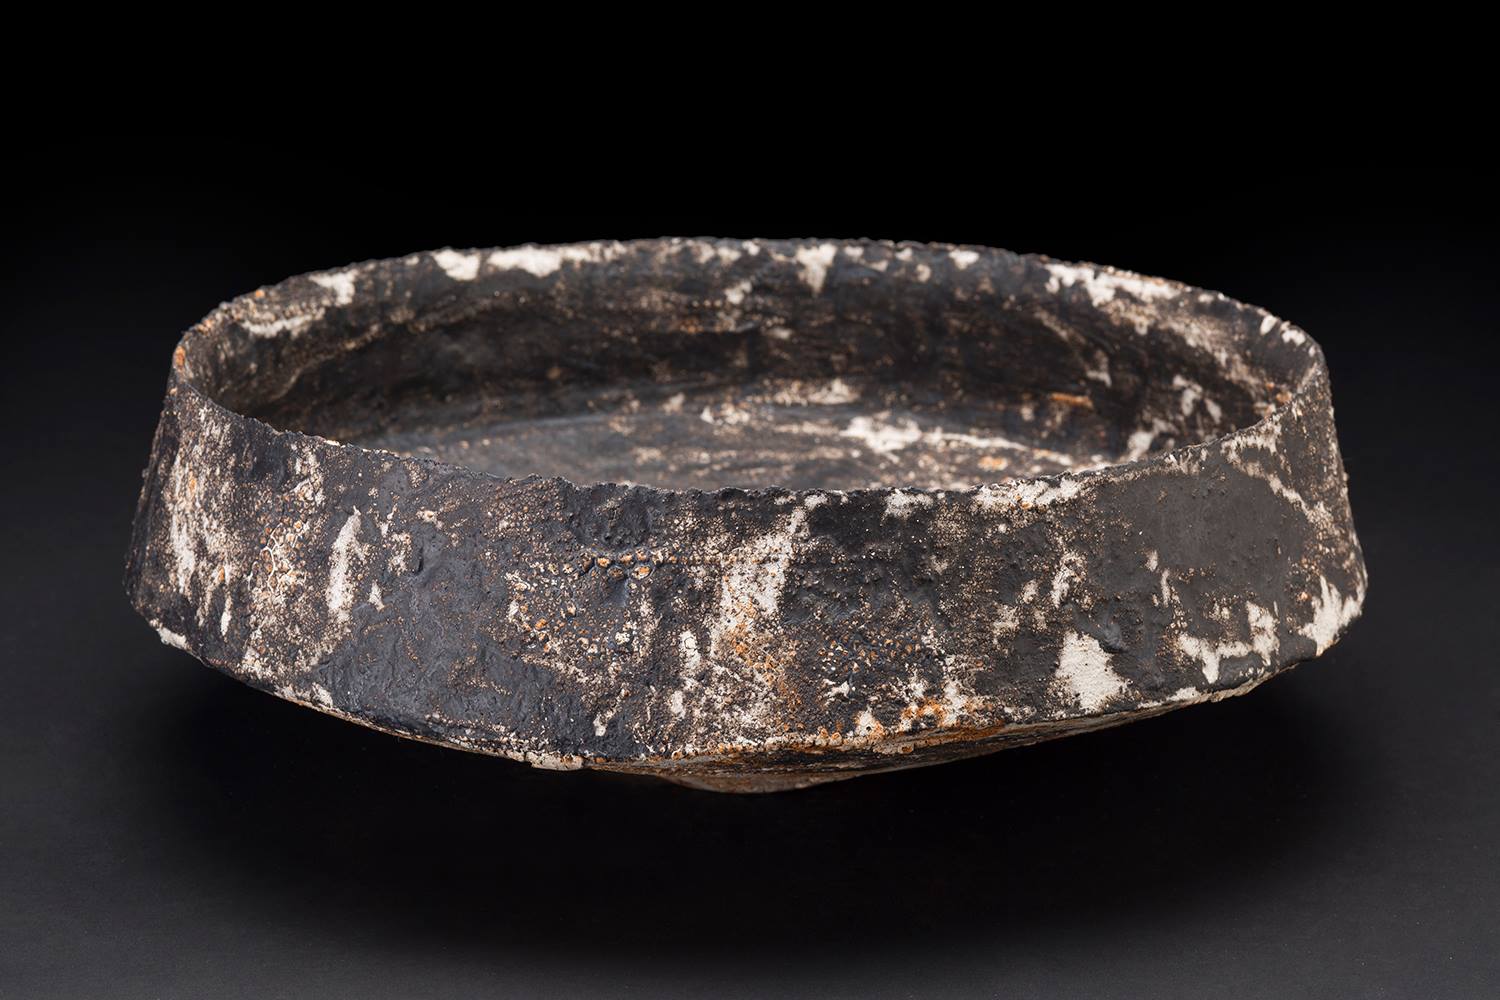
The Land II, 21cm H x 52cm L x 27cm D. Cupola Contemporary Art, Sheffield, UK.

The Land VIII, 21cm L x 12cm H x 11cm W.

The Land III, 15cm H x 43cm L x 12cm D.

The Land IV, 15cm H x 26cm L x 14cm D.

The Land I, 24cm H x 65cm L x 19cm D.
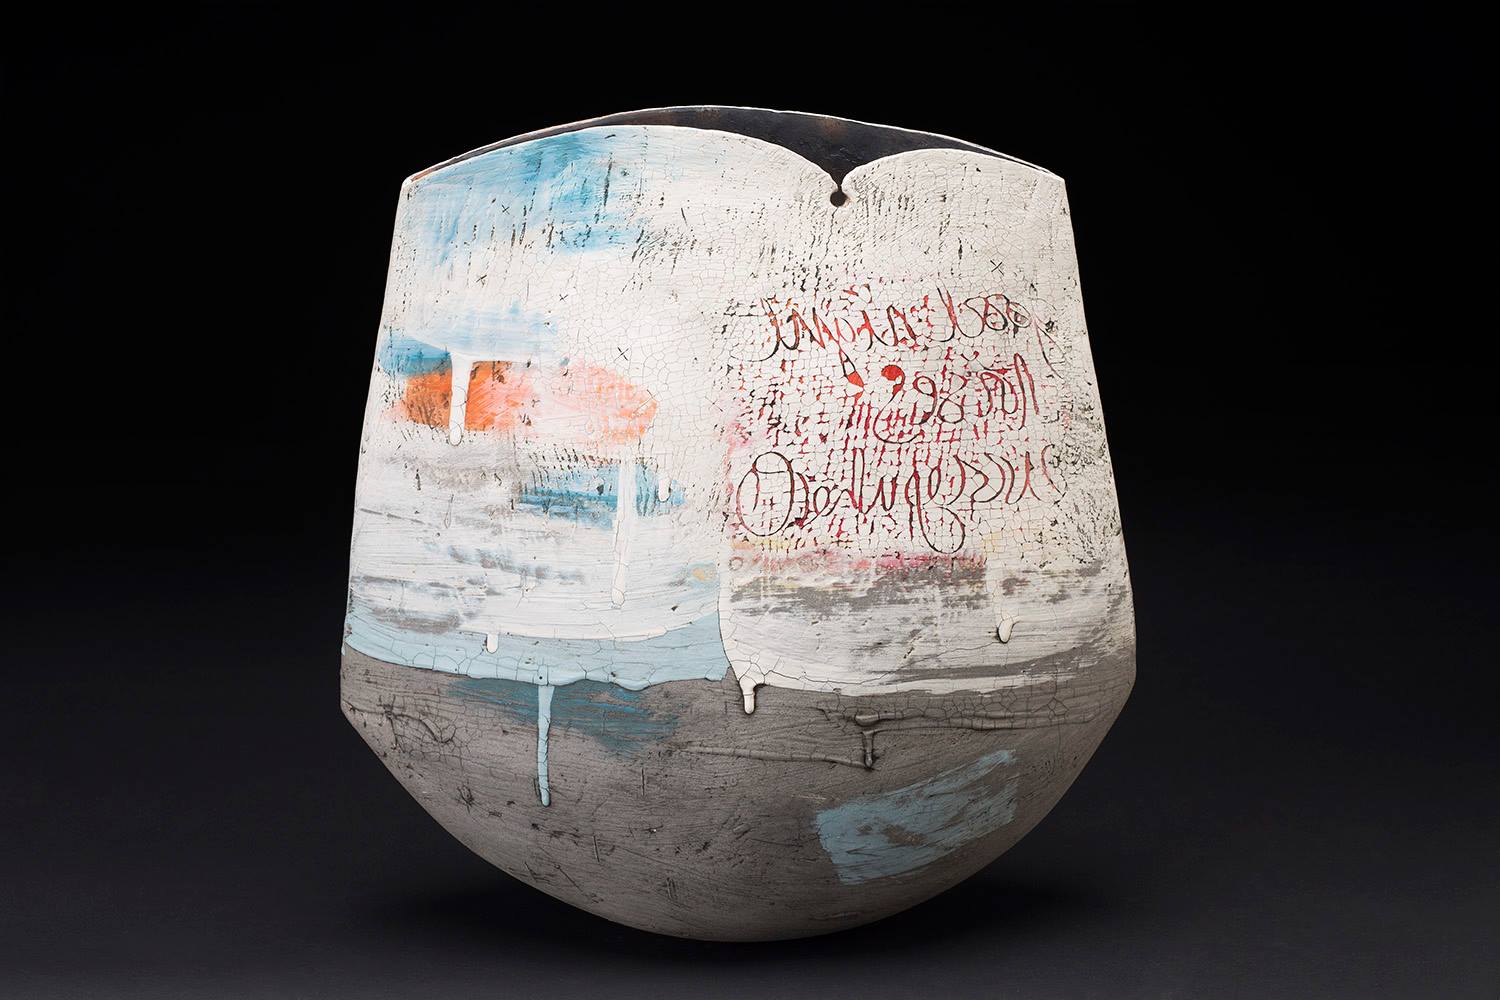
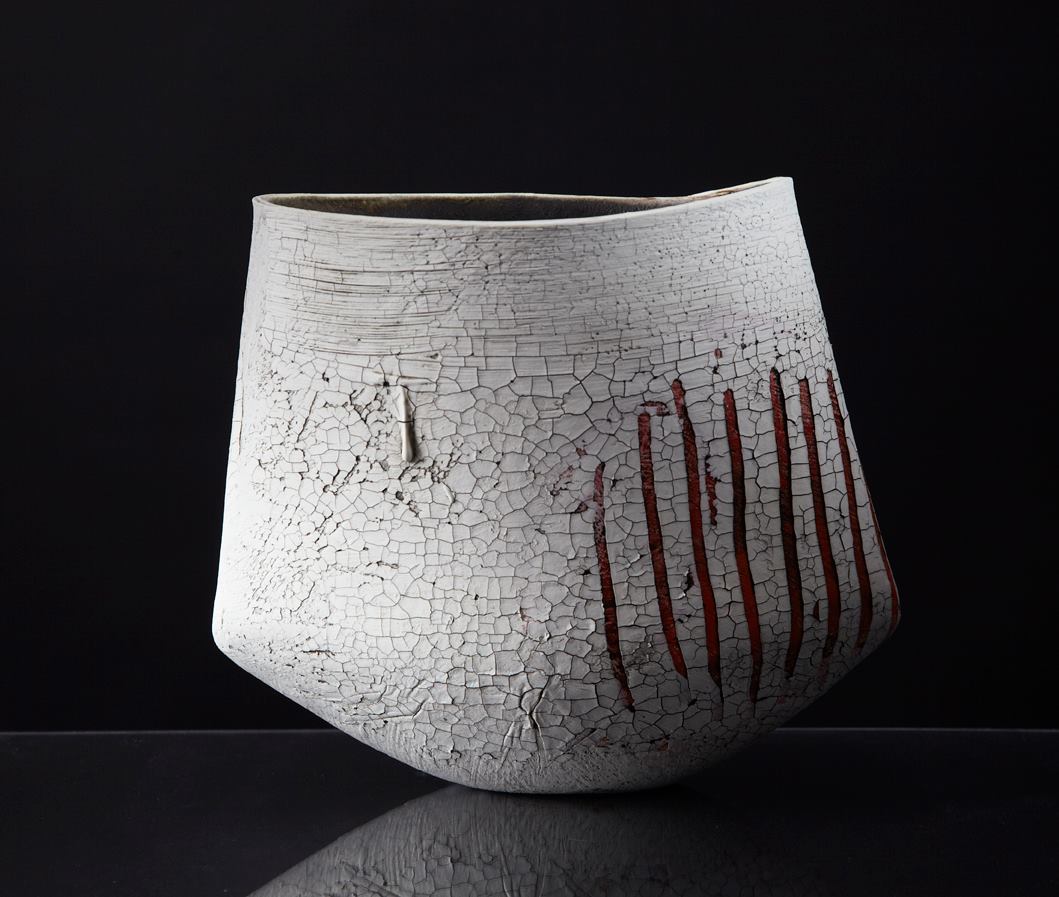
At this point the Series branches off into new territory lead by images and news about Climate Change rather than Steve’s photos and my local landscape. I have been following the fascinating progression of Climate Change for 35 years. At last it is a main-stream subject. It’s intriguing how people are still trying to avoid seeing it, the deniers but mostly the avoiders. My guilty secret is that I see it as thrilling: nature rejoicing in it’s power and spectacular magnificence, the wonder of transformation. Throwndown at Hoedown is an ongoing Series now.
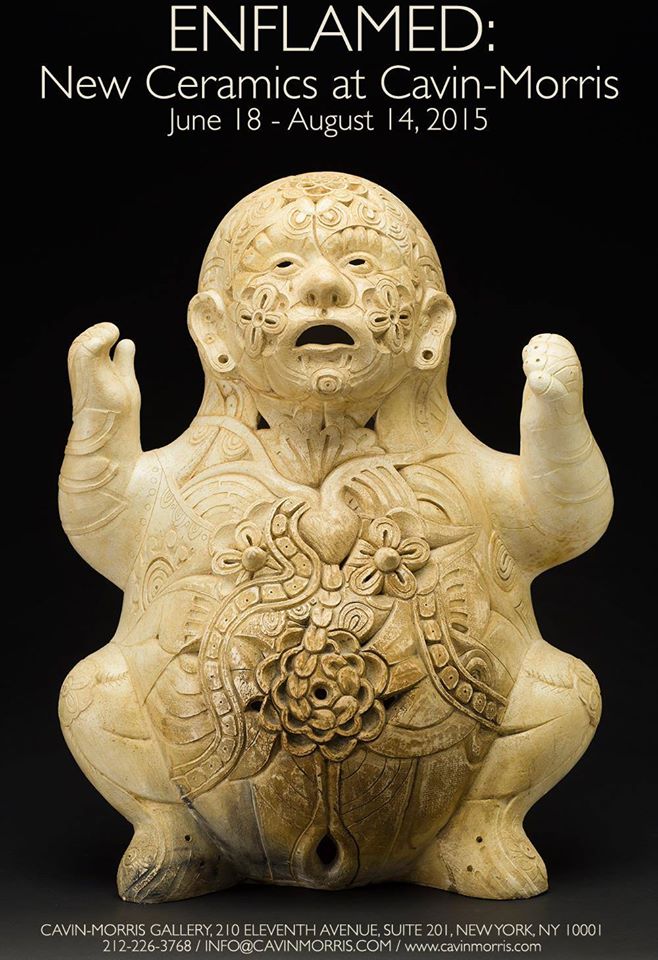
This fascinating article by Randall Morris about Masks describes the process that I am trying to work through here. I have learnt a great deal from Randall since joining Cavin Morris Gallery. His amazing collection and beautiful writing brings clarity to, and pin points the essence of, what is important in art. I am an animist by nature and it is my job to portray what I see but the distractions can be over-whelming.
–The Up is Down Series proceeded The Landscape Series and was a transitionary point in how I put together forms, particularly in relation to their bases. The research involved clarified my thinking and ability to see.
Most of the sculptures in The Landscape Series are built with the technique explained in Heads and clay armatures.


 Osprey.


