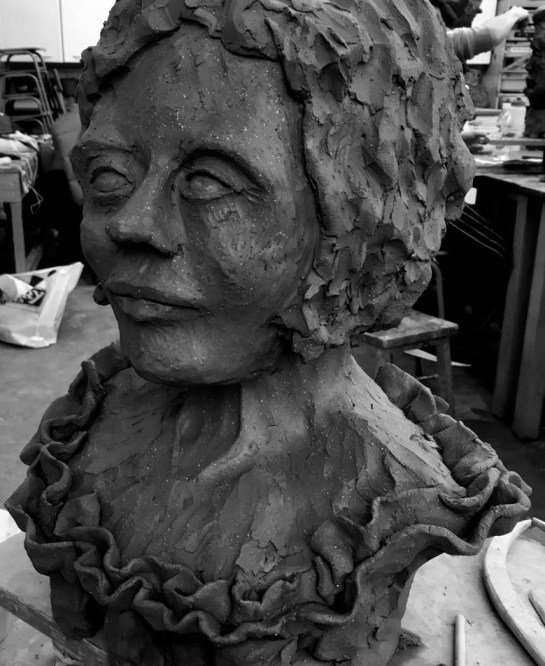
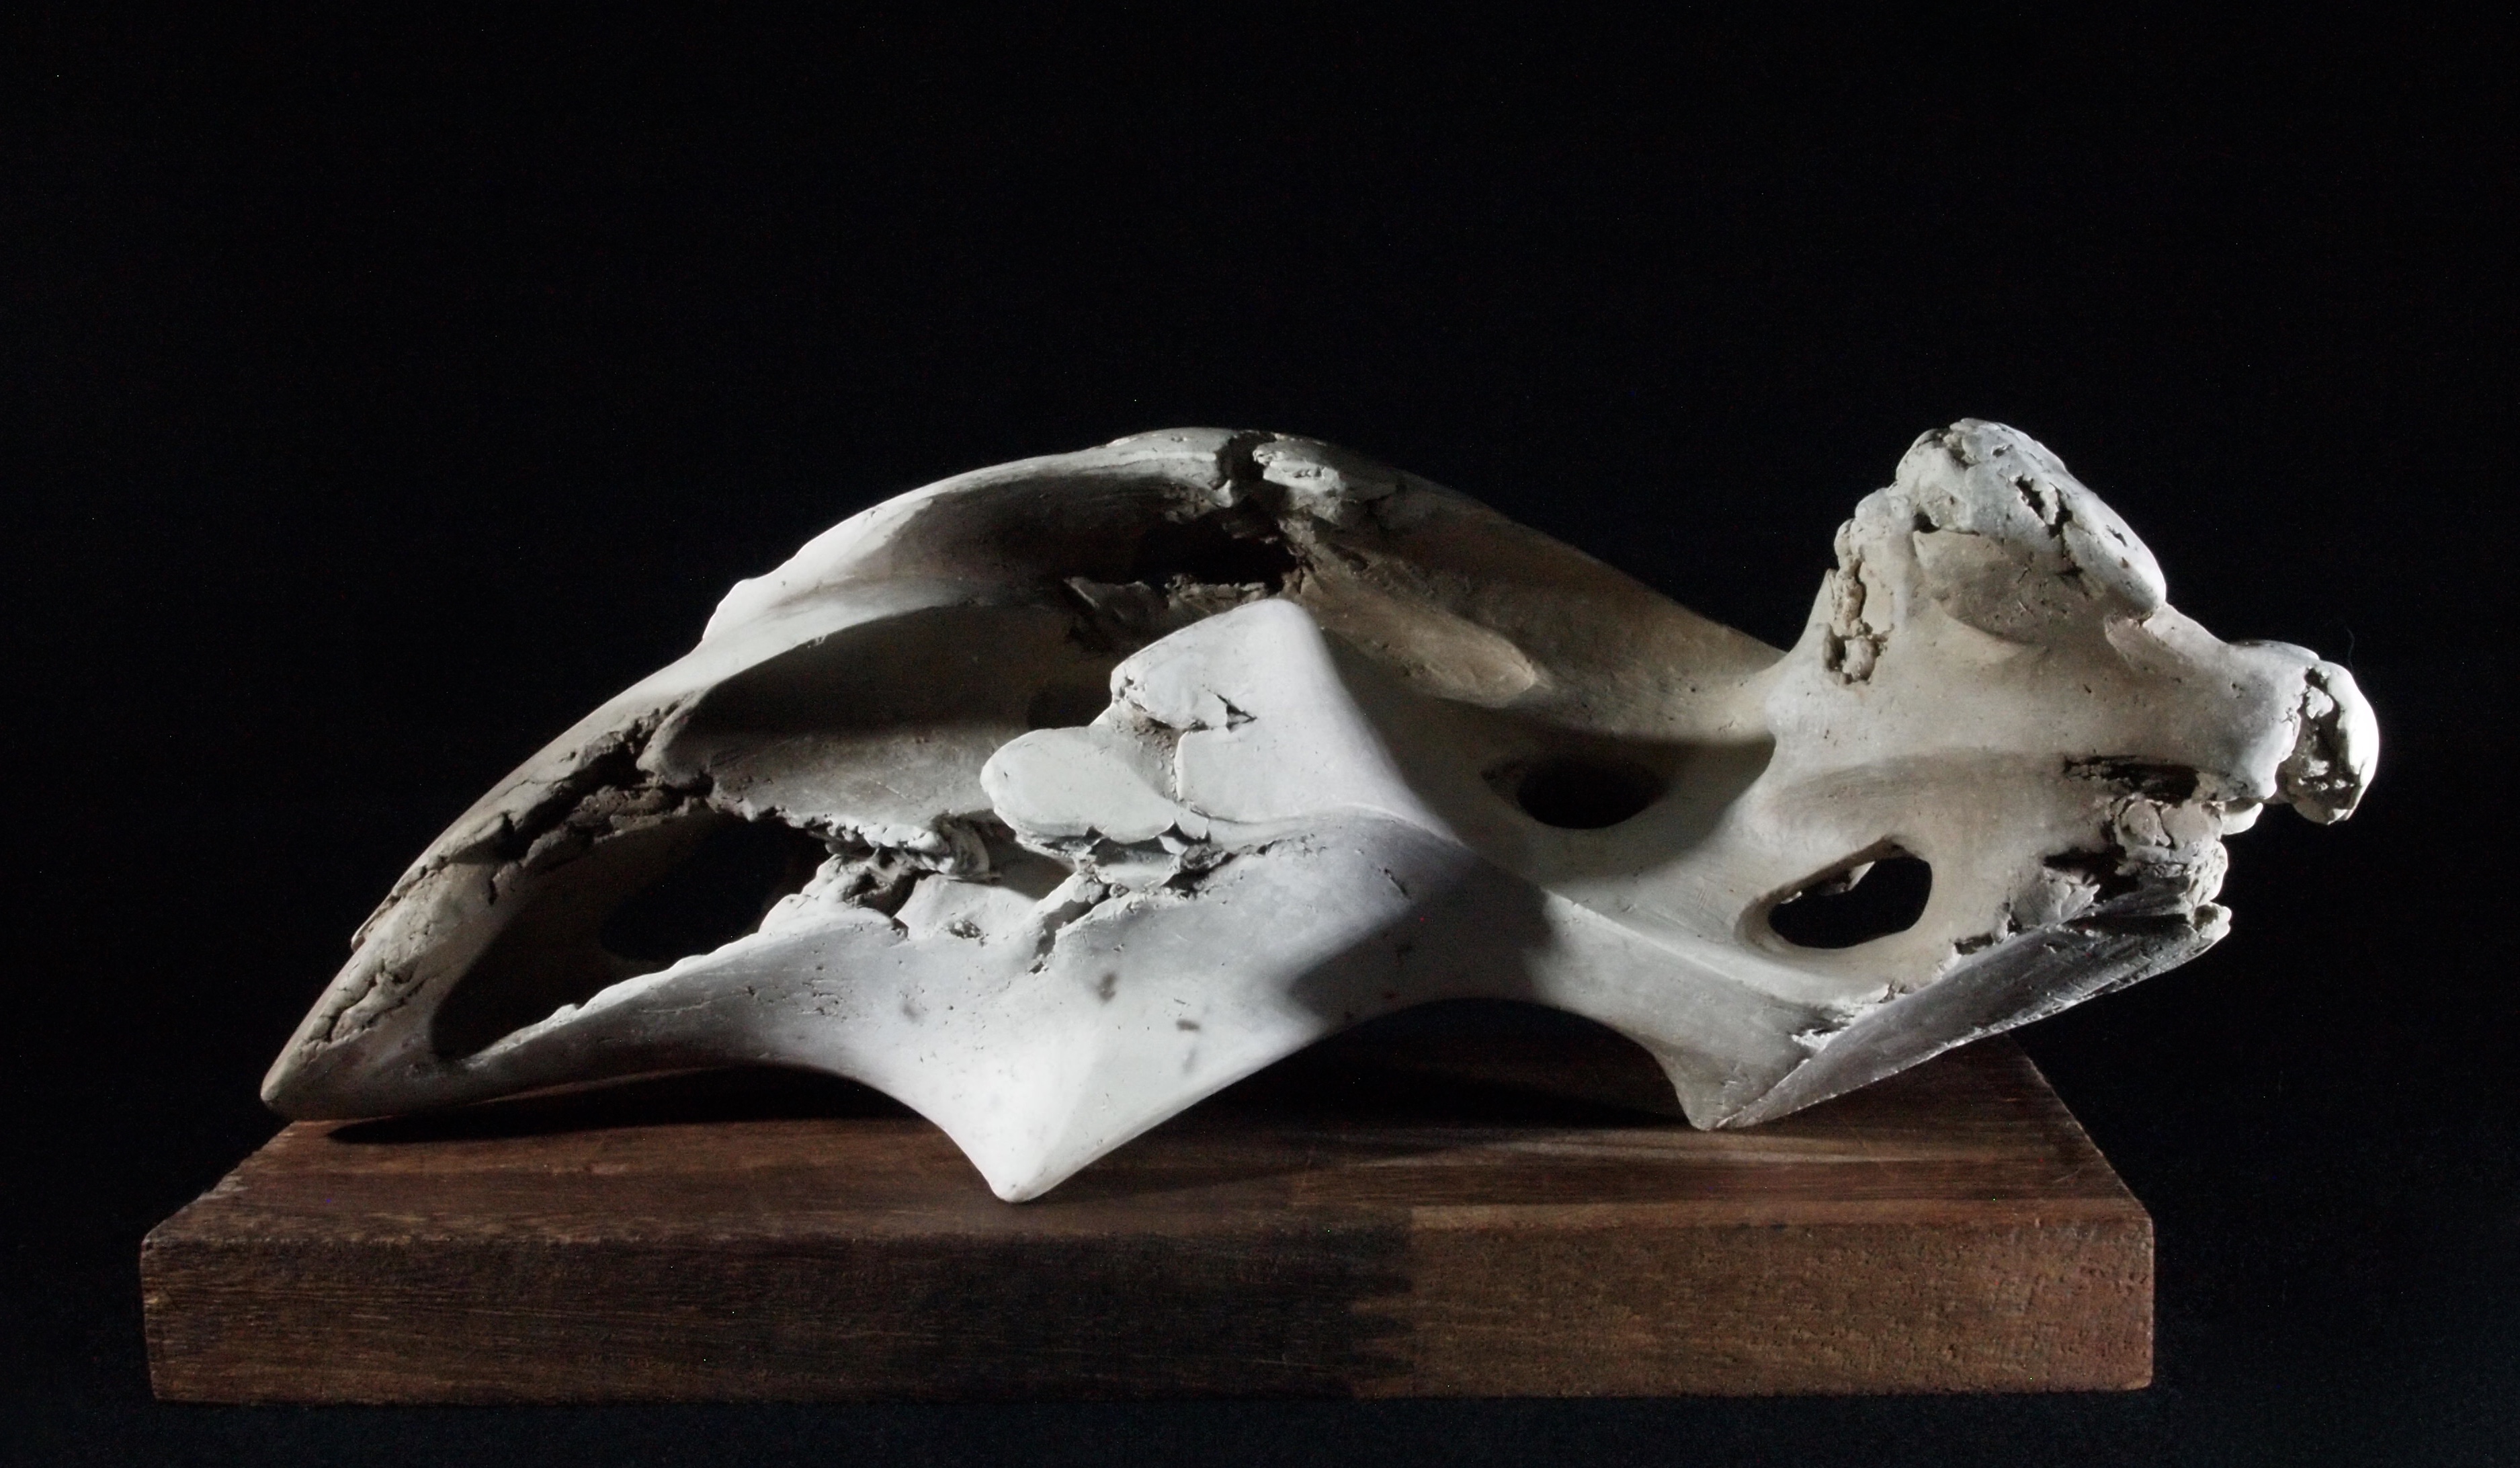
The Call-Karst IV, 44cm W x 21cm H x 31cm D £1700.
The Call Series started in 2019 just as we moved into the next chapter of the Throwdown at the Hoedown story with the Covid Pandemic. The Characters of the Throwdown story have been around for ever and I will always return to making their portraits. But there was a change in the air.
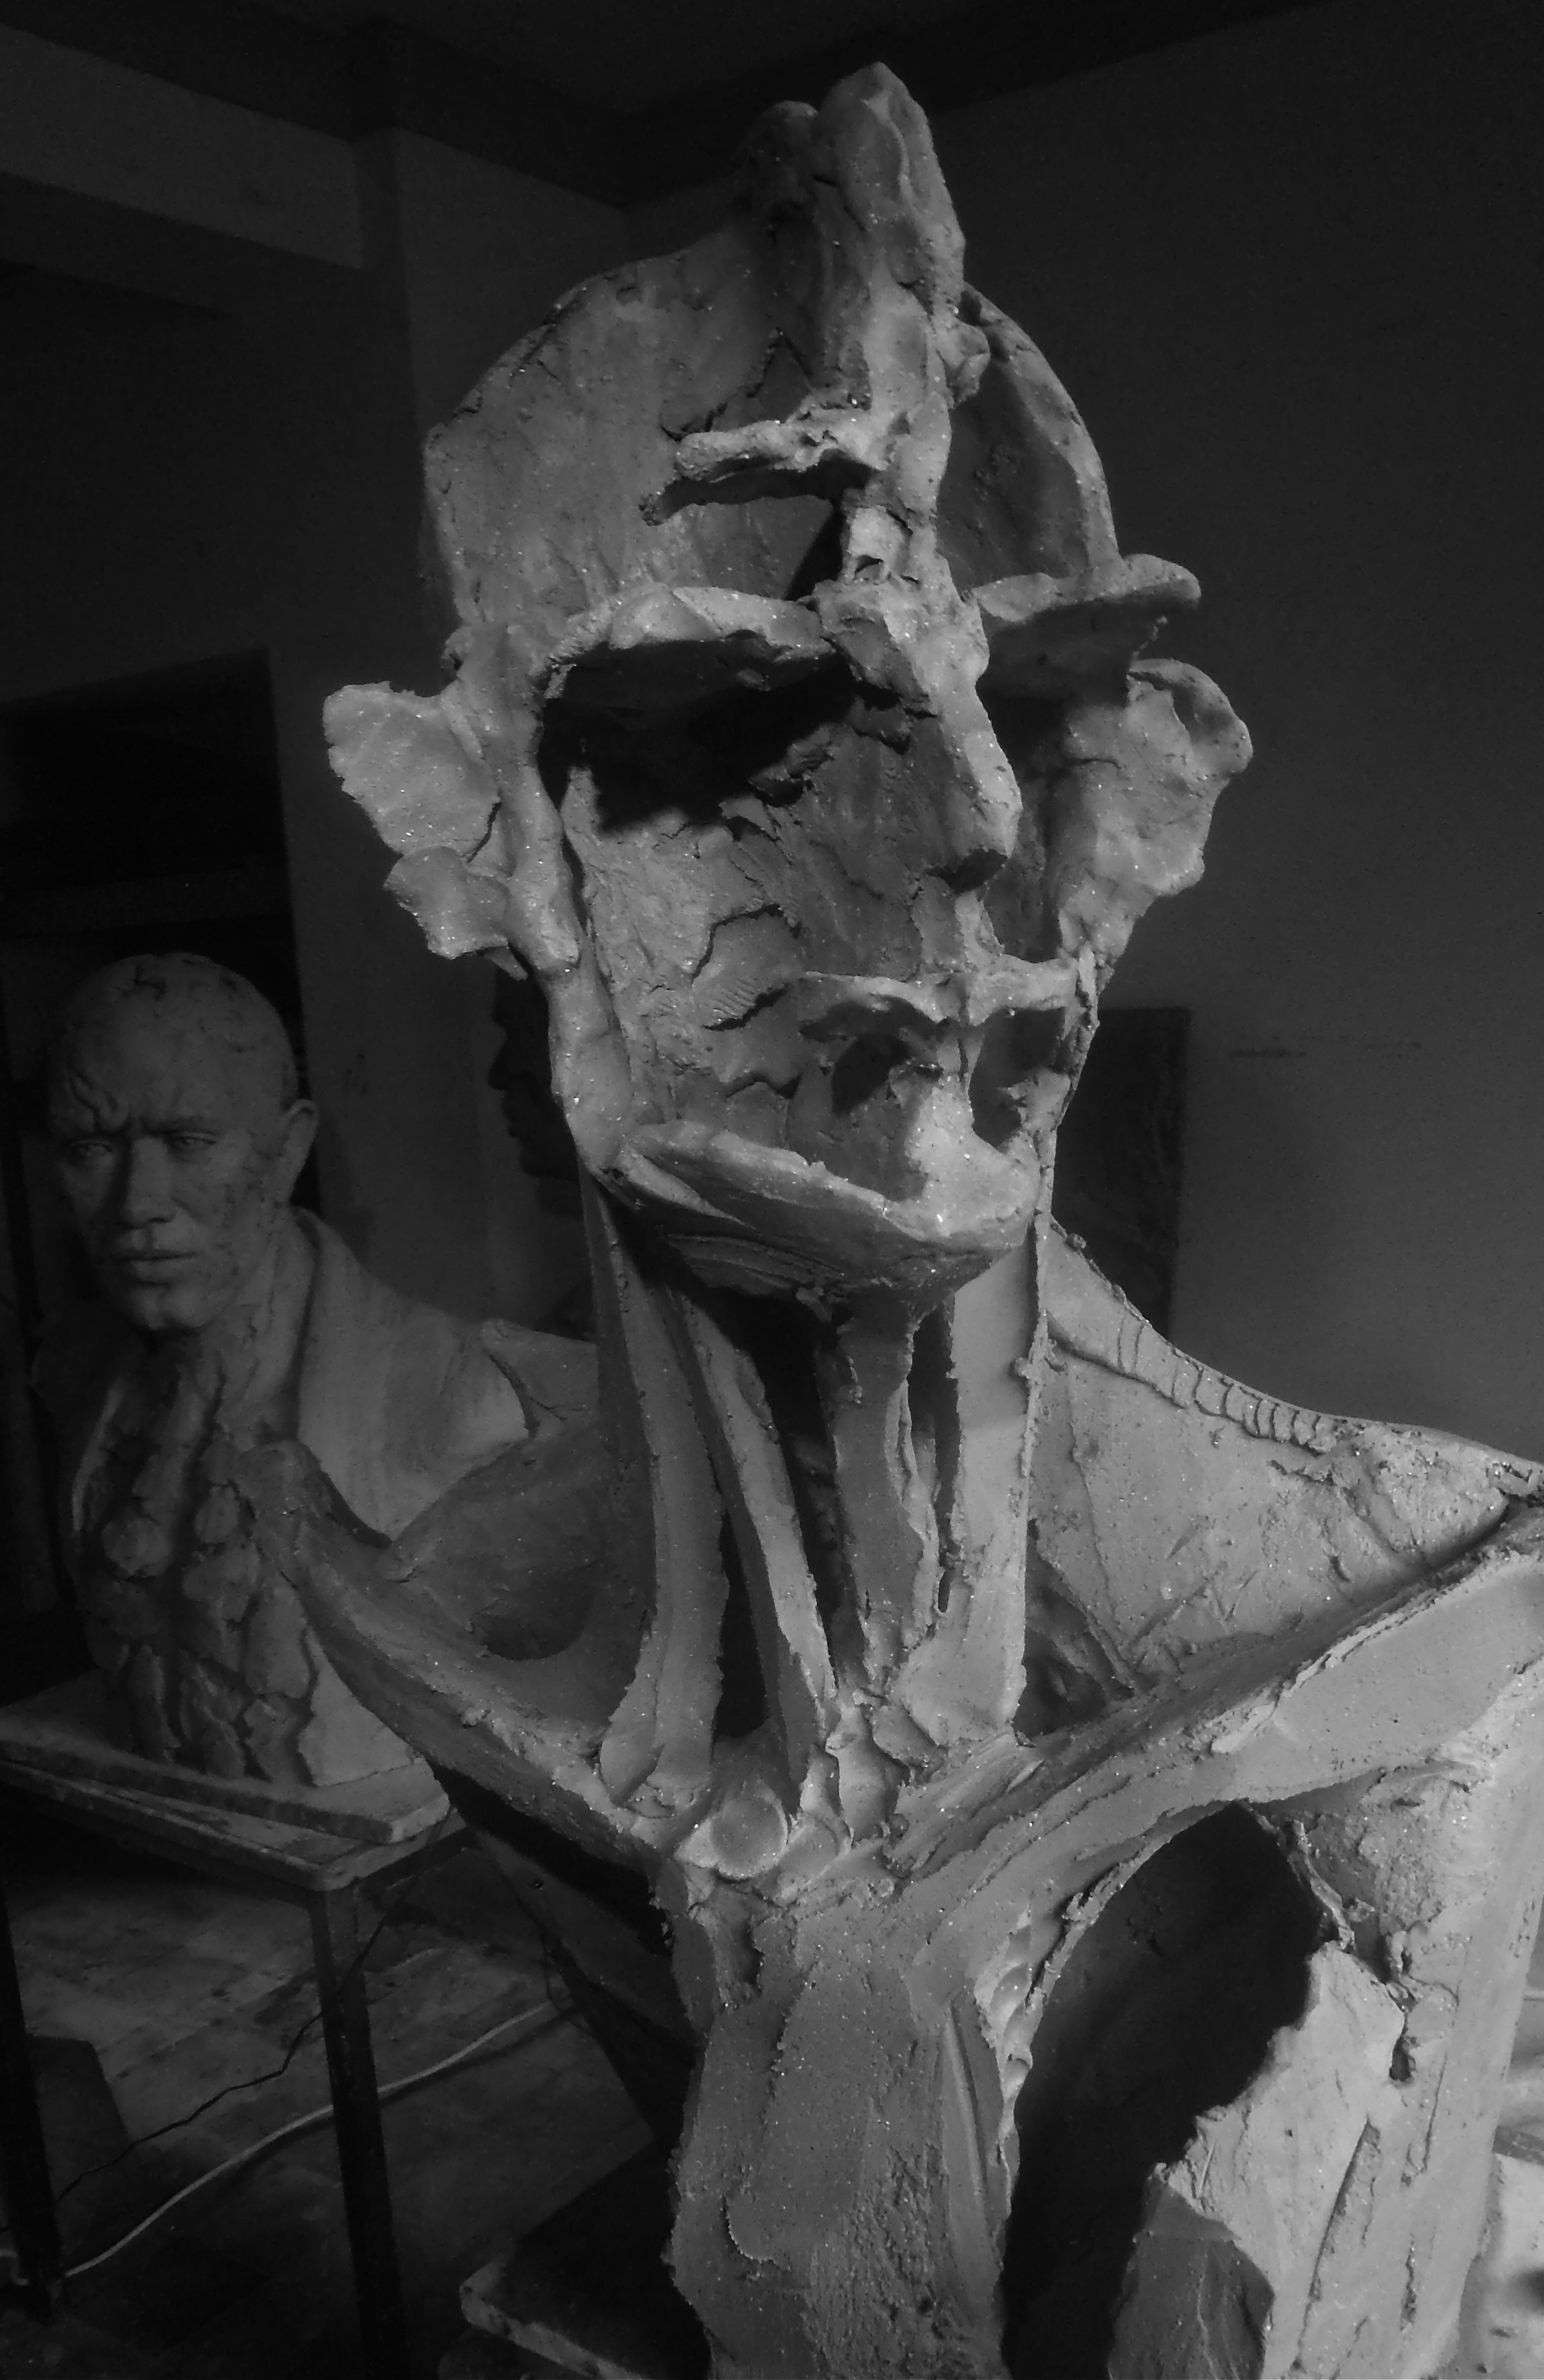
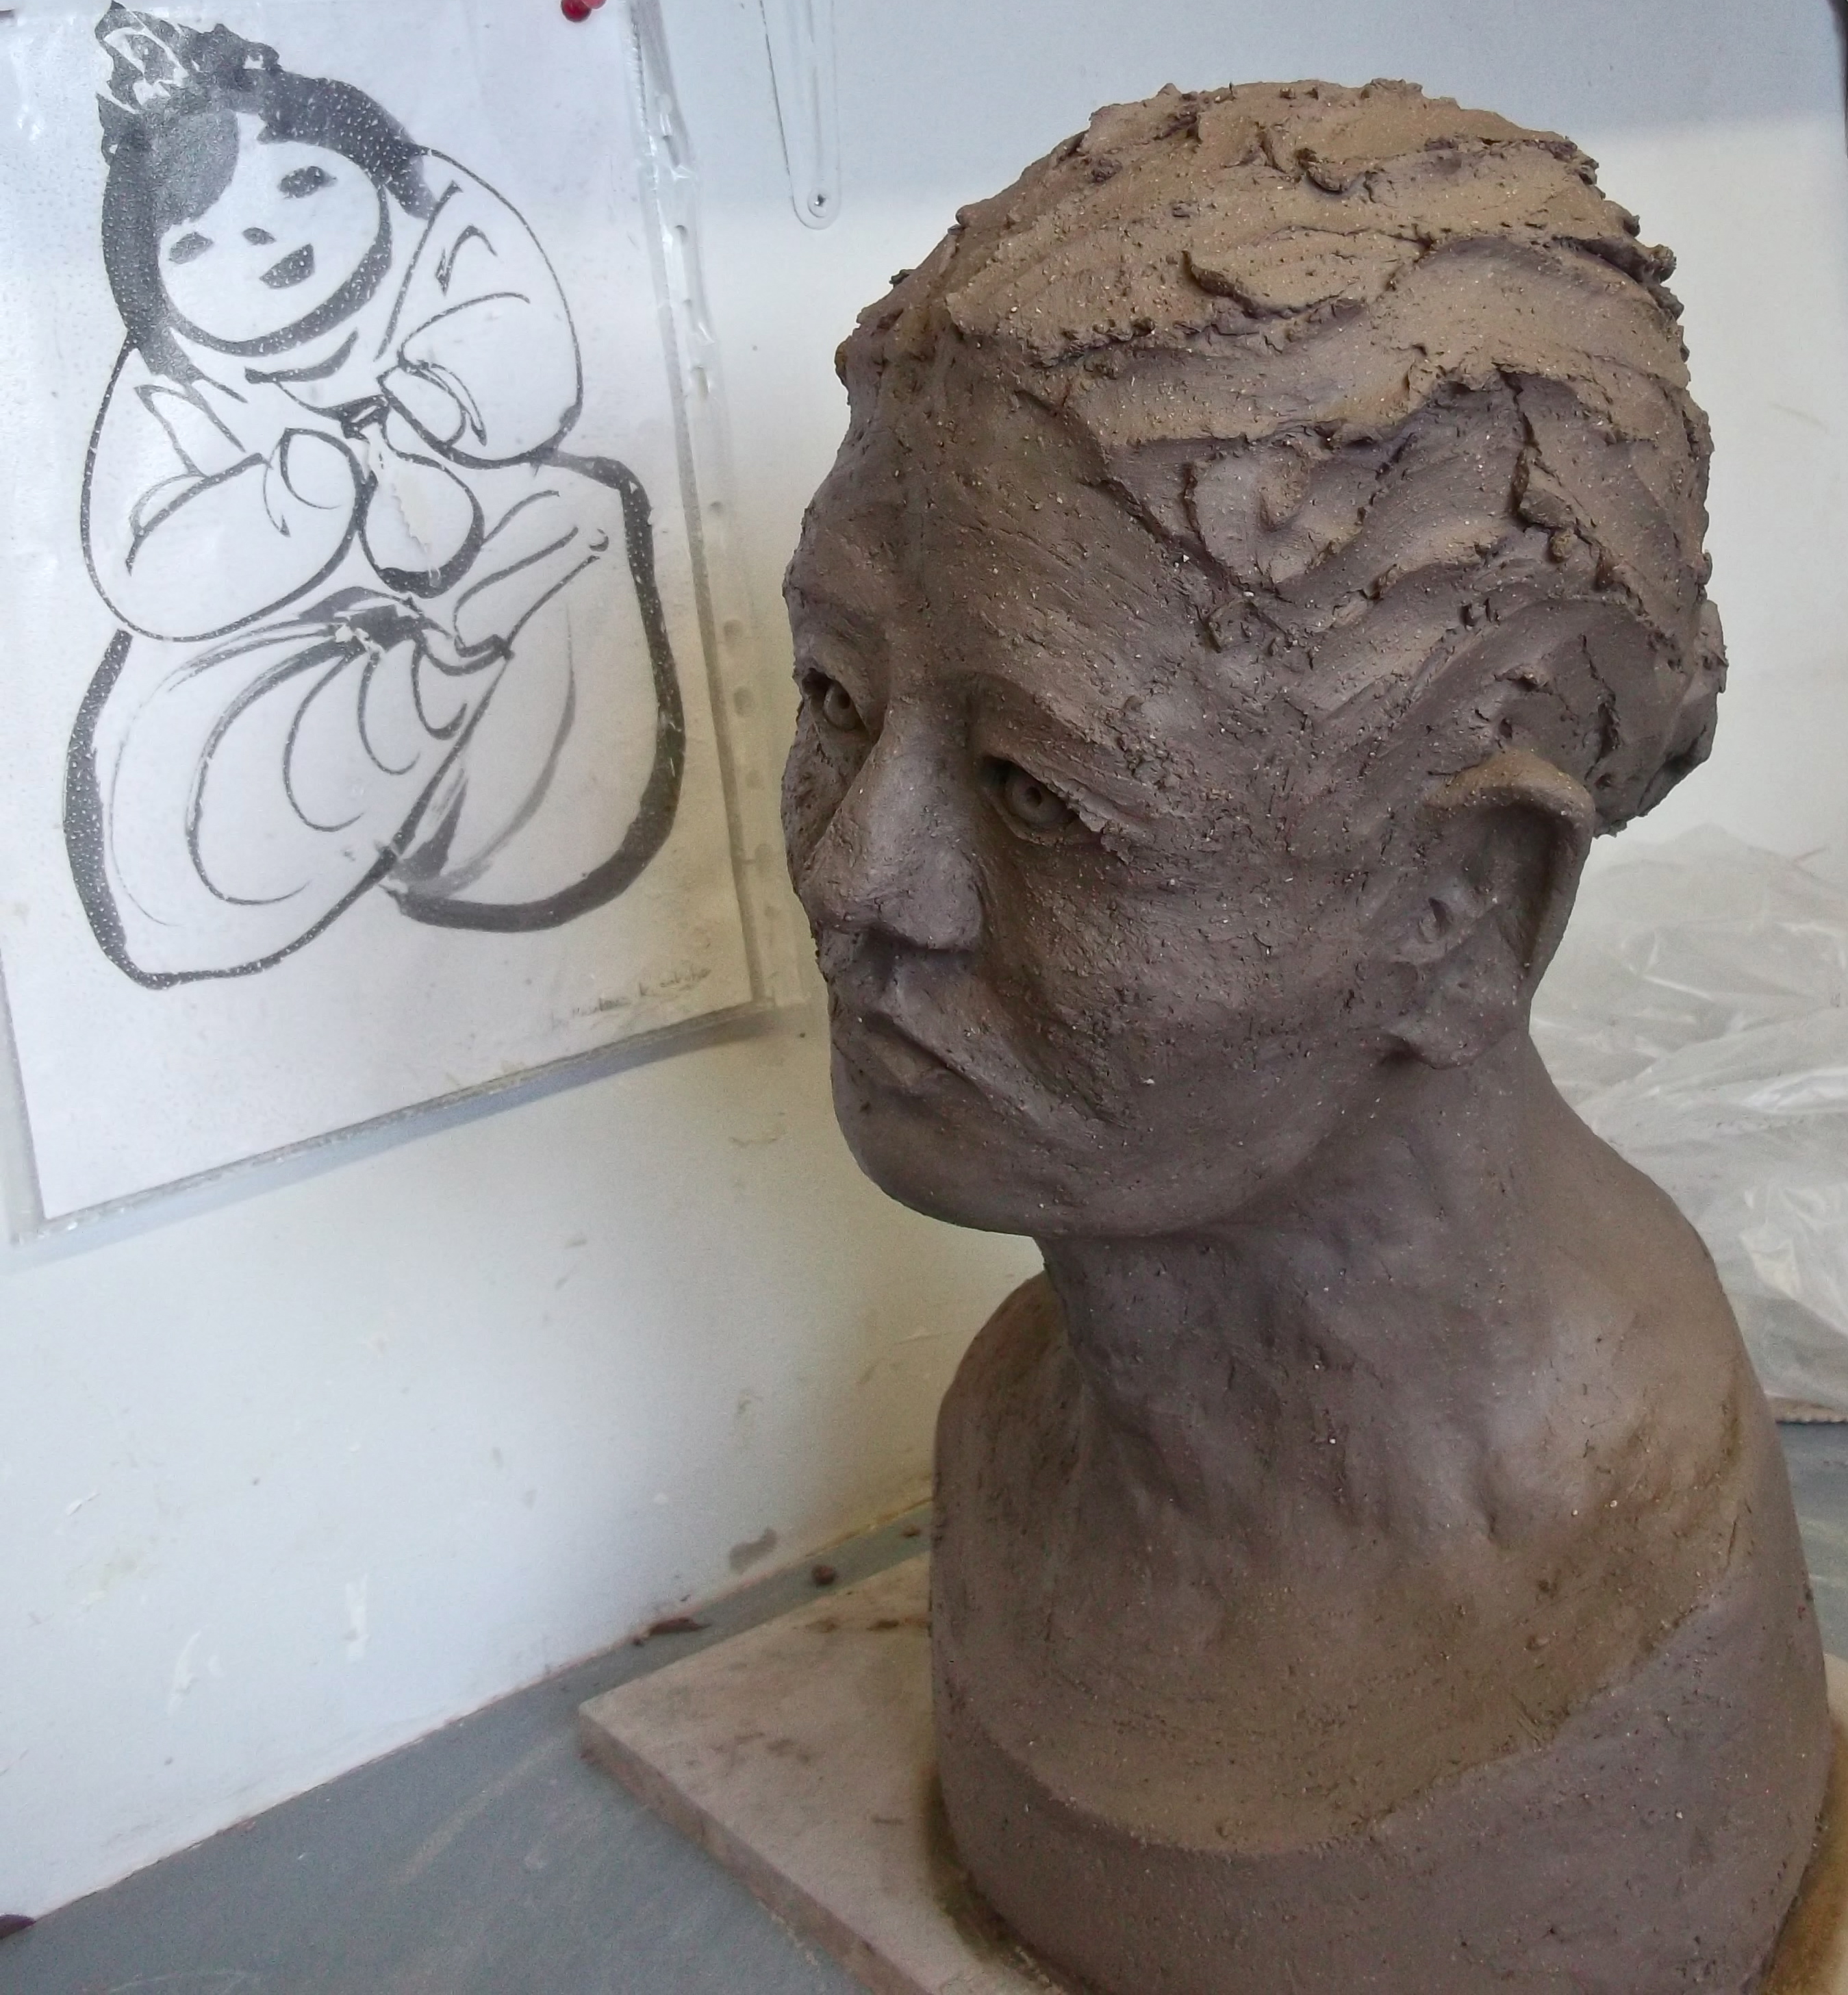
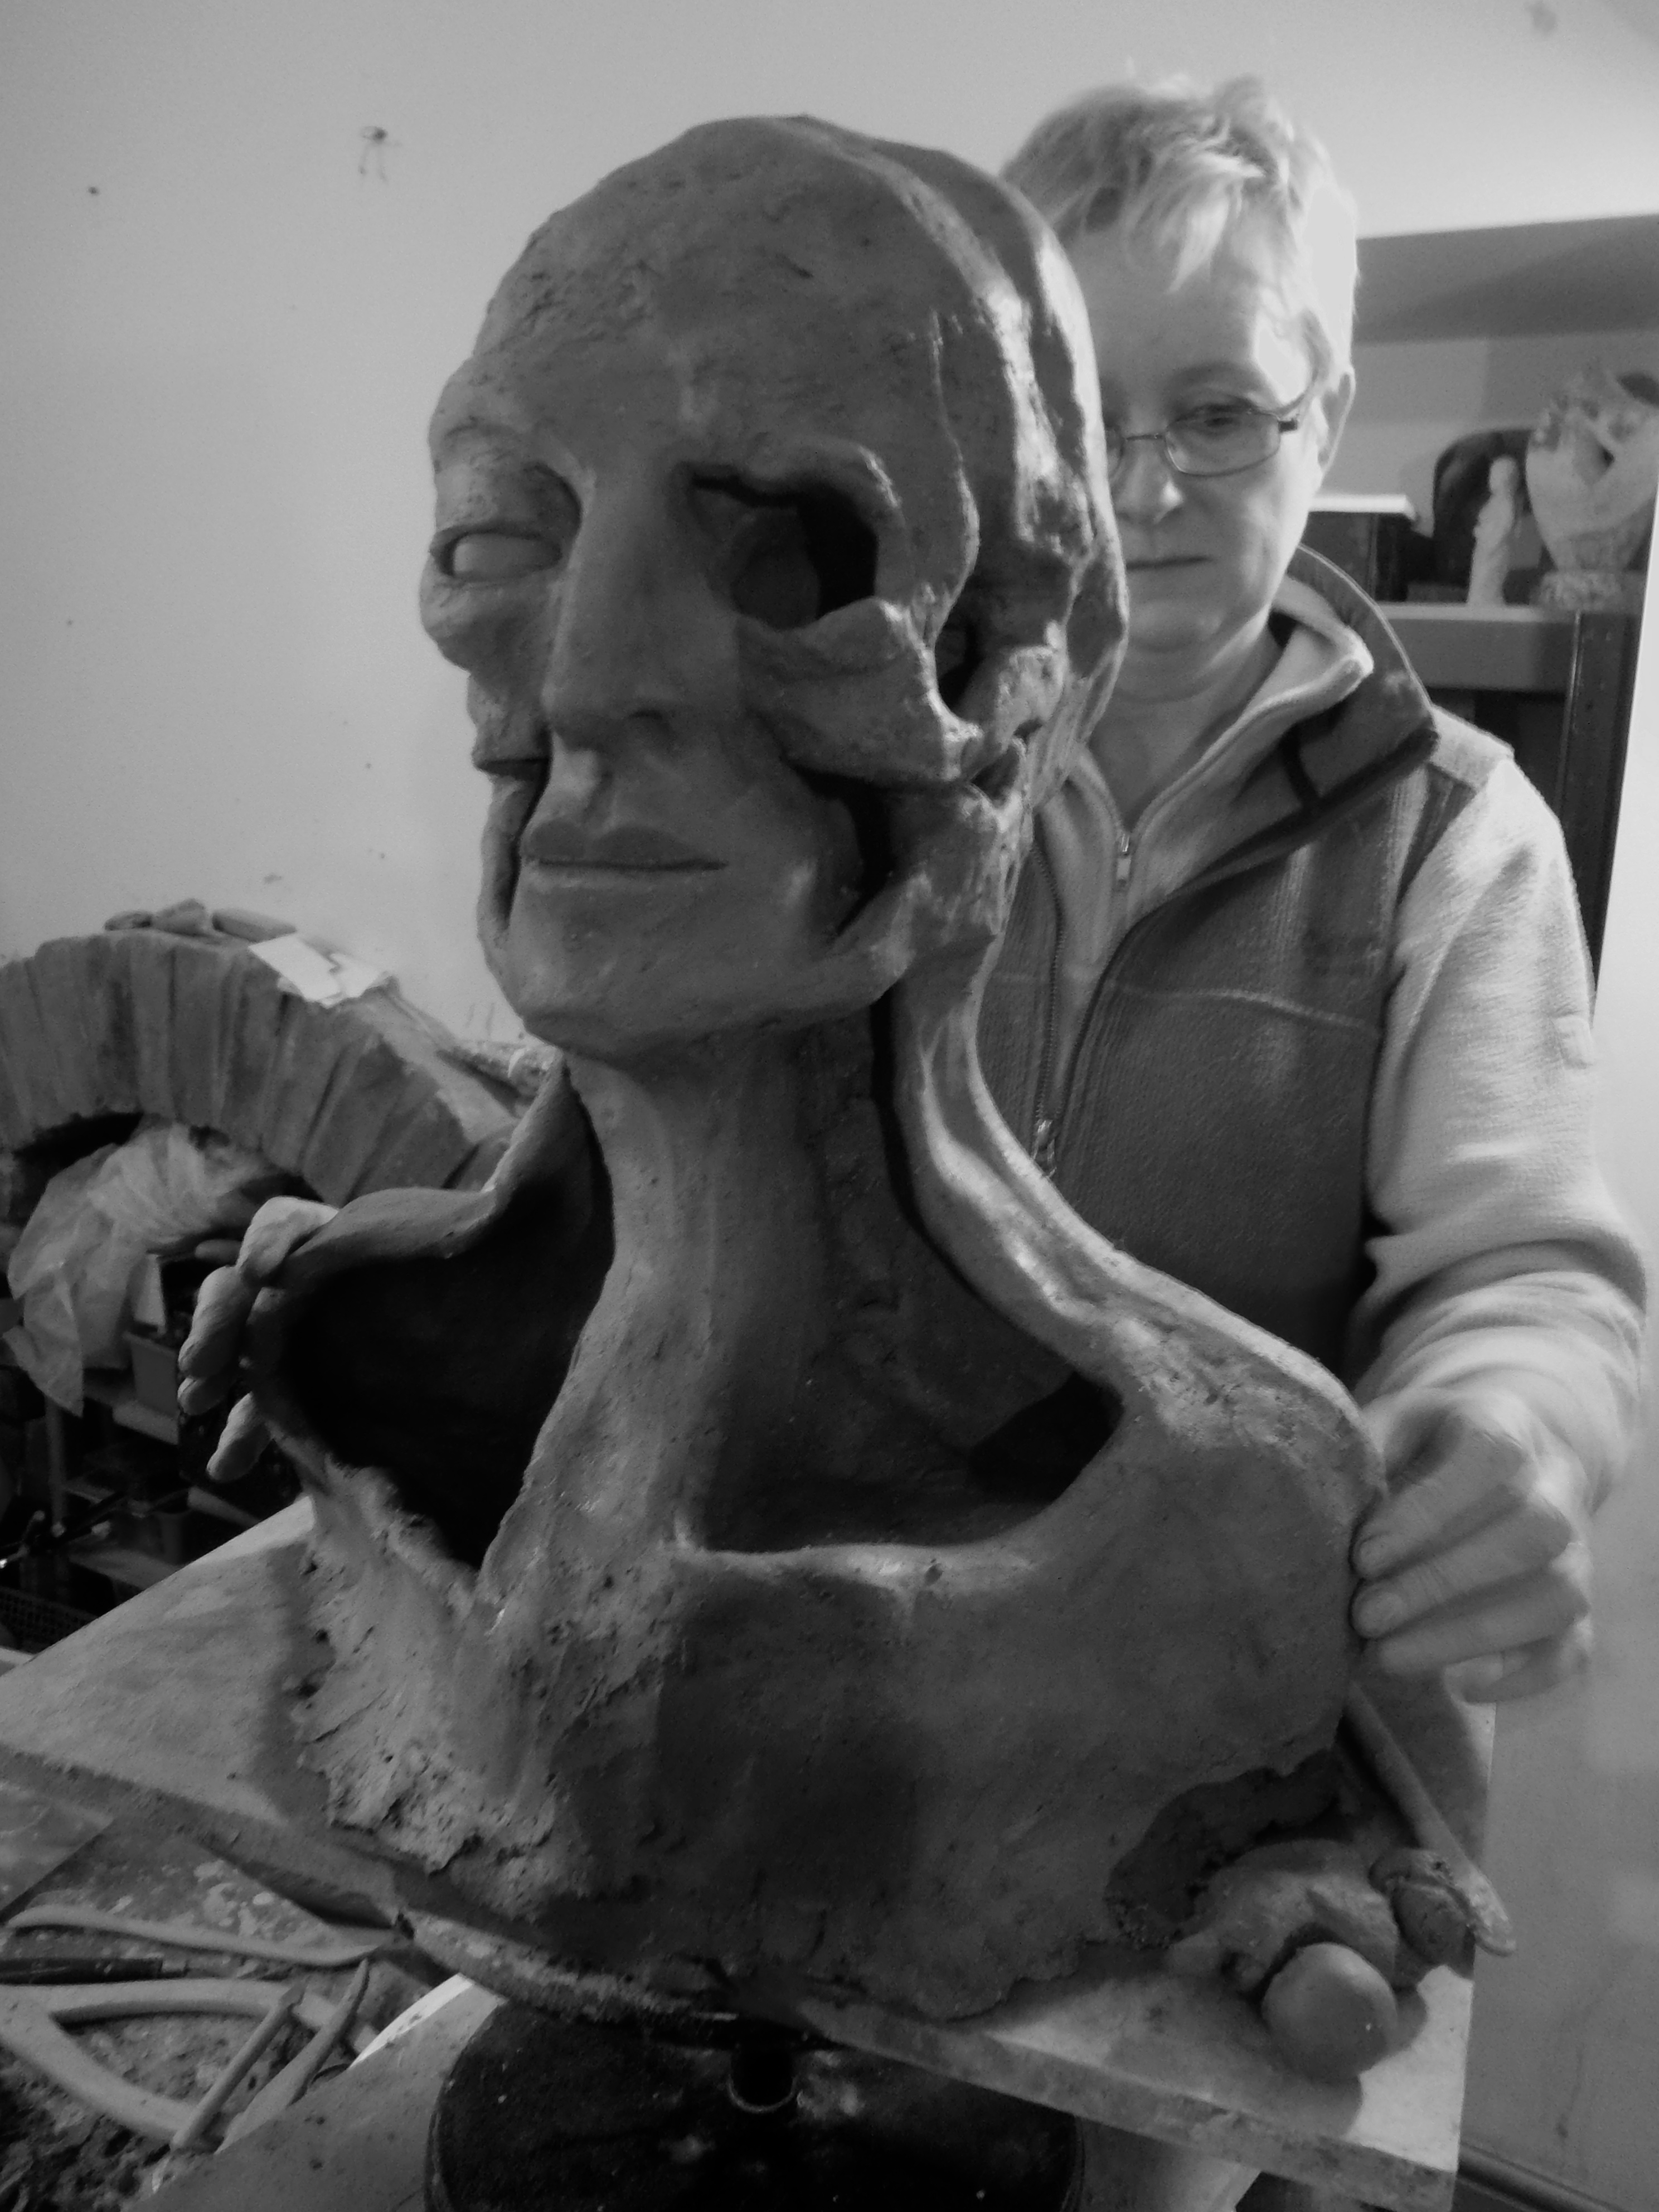
I was out in the Fforest Fawr Geopark with Sandy, my dog, sitting in the sun with picnic, staring into space like we all did a lot during the pandemic and The Call began to gather clarity: I knew it was about reconnection and joining forces and that interior spaces had the key significance. The piece above, Karst IV, made around then, describes that afternoon well.

But four years later I am finally finding the words to explain The Call Series. Up to now I’ve just followed the forms.


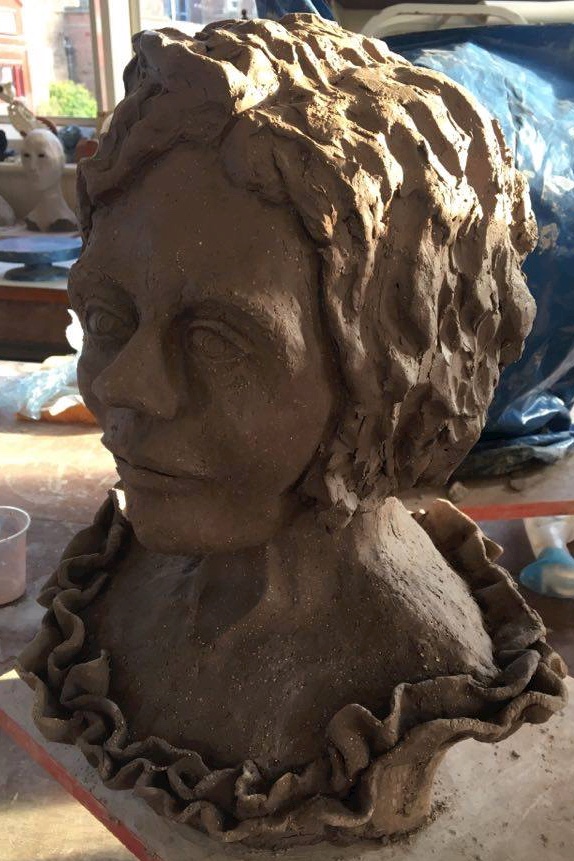
The Call I, 40cm H x 38cm W x 16cm D, 6.2kg, £1950.
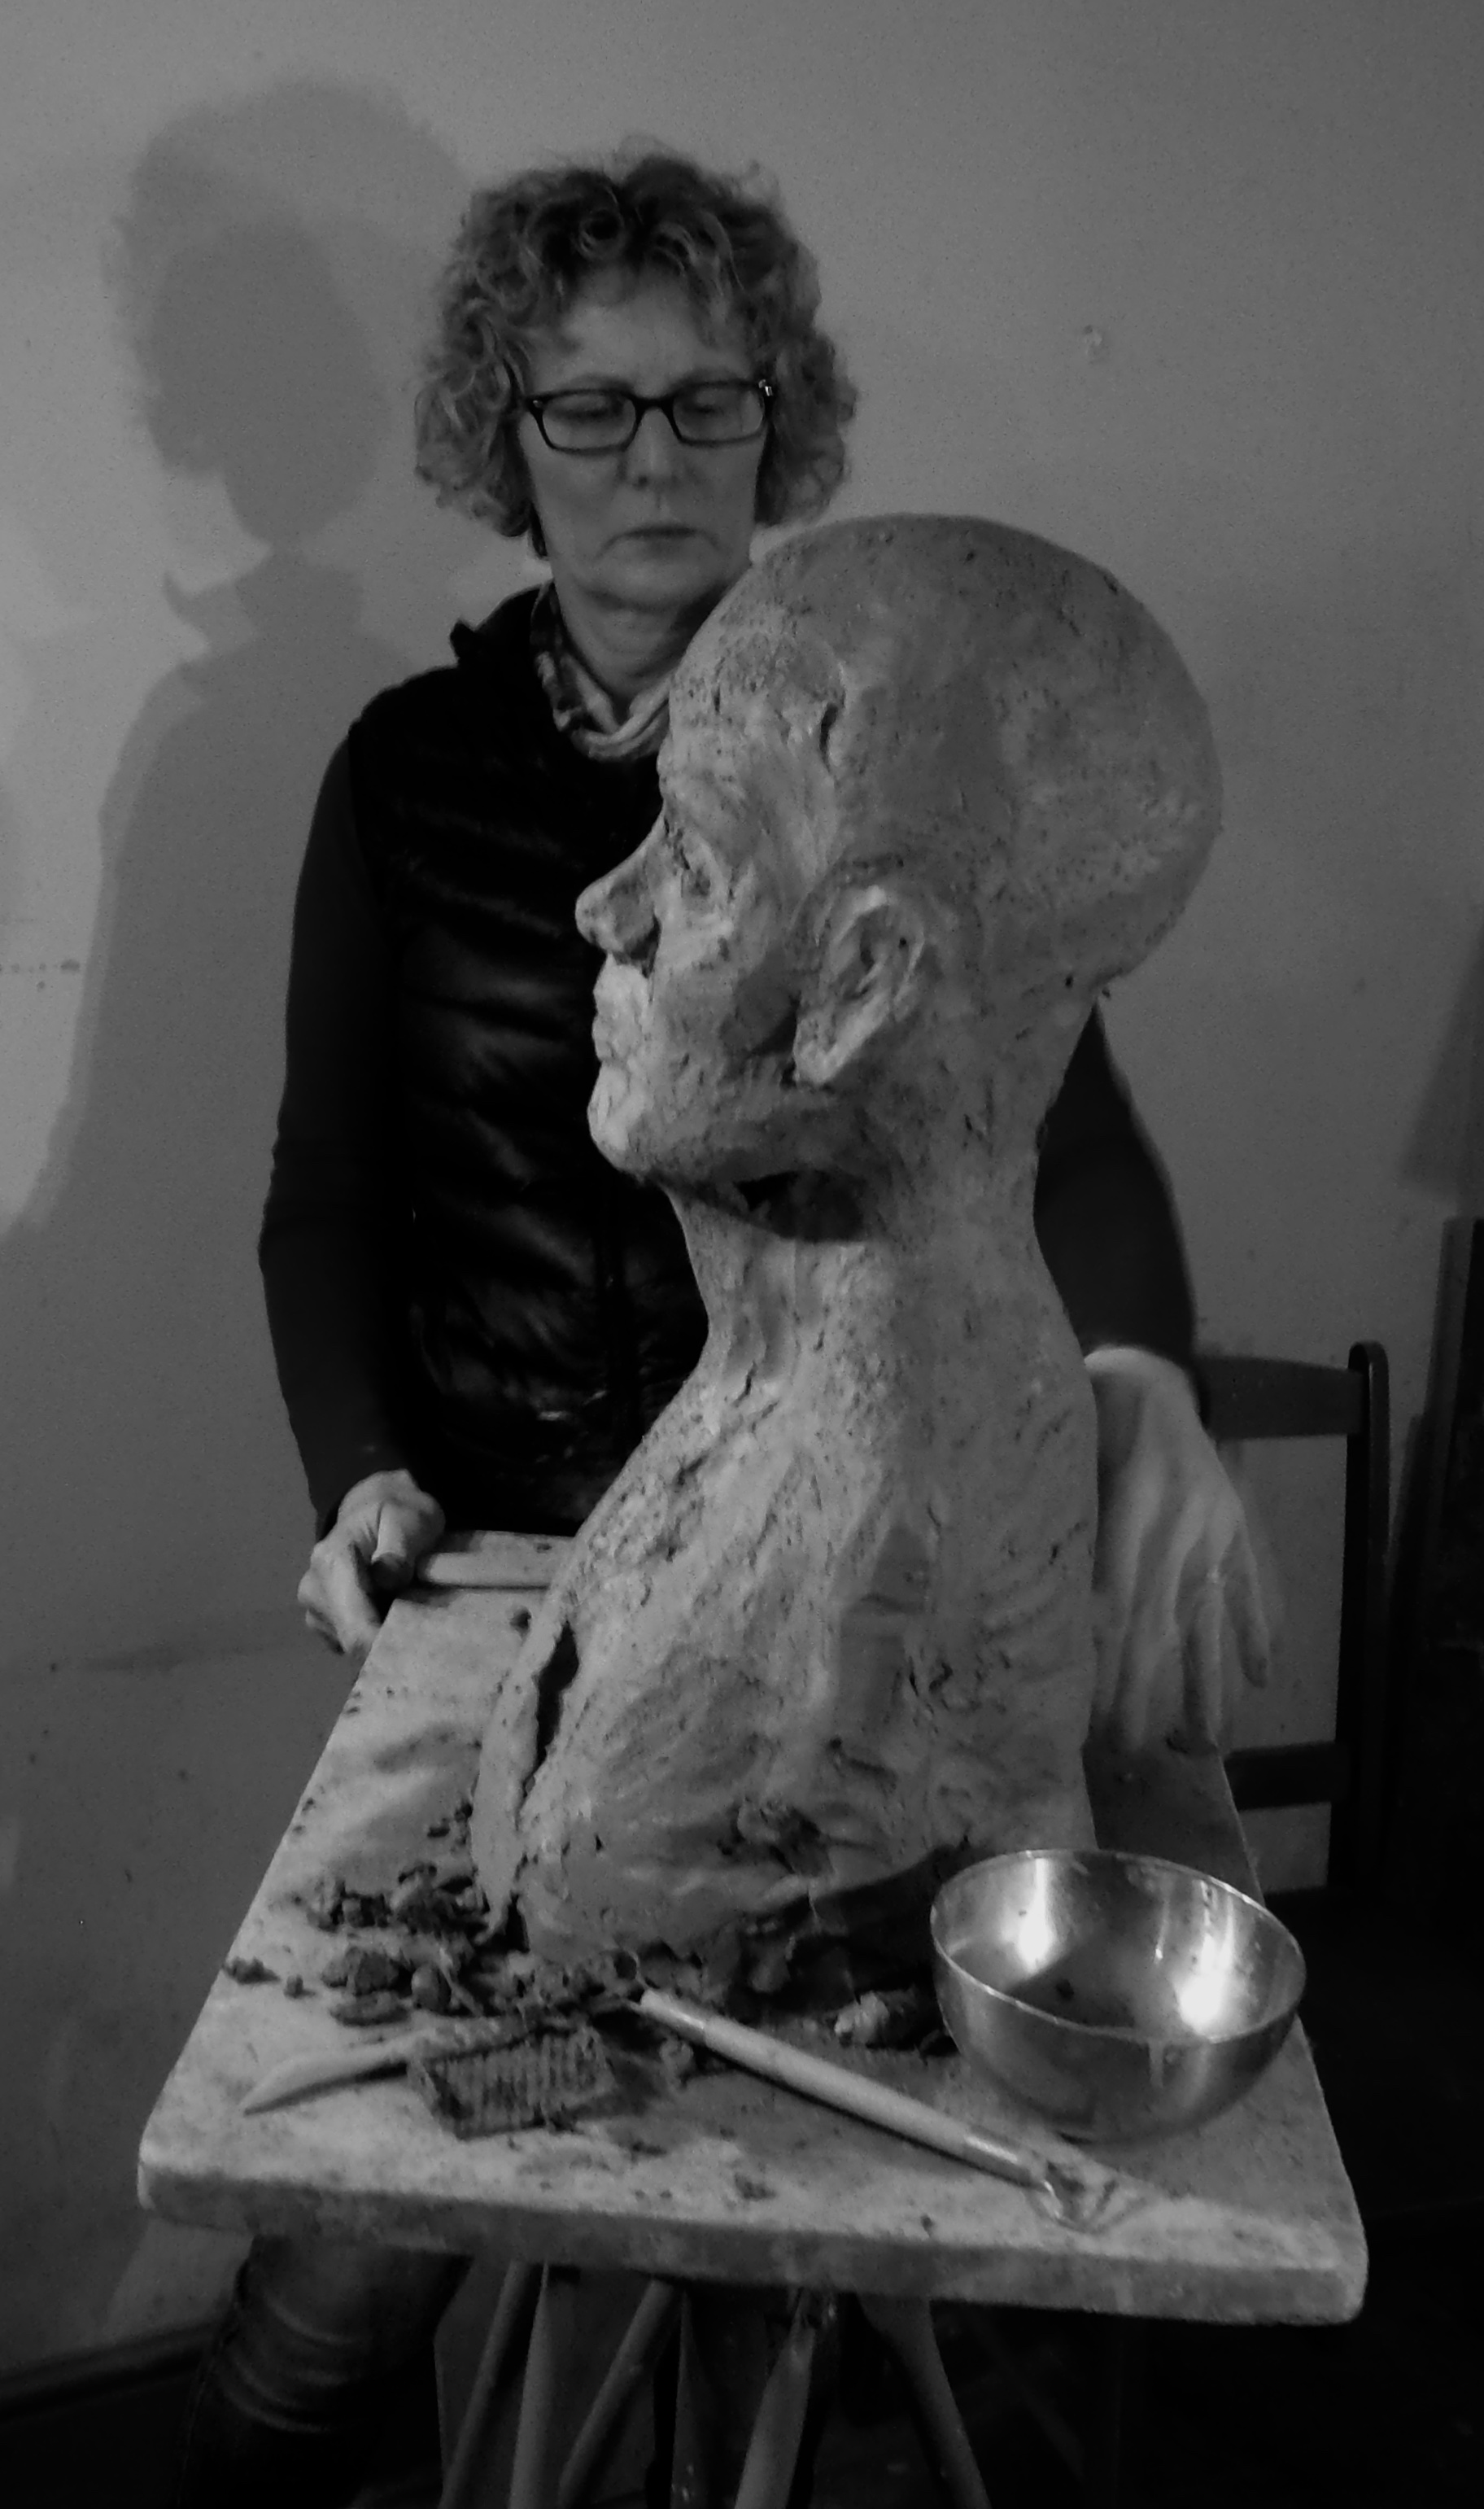
The Call I is layered clays, as I’d been doing for ages, but just before I got back into playing around with a Hans Coper technique involving porcelain that I had tried in art school about a thousand years ago. Scarva ES5 is a beautiful, cream coloured clay that is a joy to use at every stage of the process. It has a lovely, glowing surface. Underneath is my dear friend, Scarva ES50 crank, the most willing, reliable, versatile clay I ever met.
I was amazed and really not sure what to make of this piece. It has an intense, silent presence. Like that picnic day. I have kept it in my house by the stairs where I can see it regularly. I’m ready to let it go now.


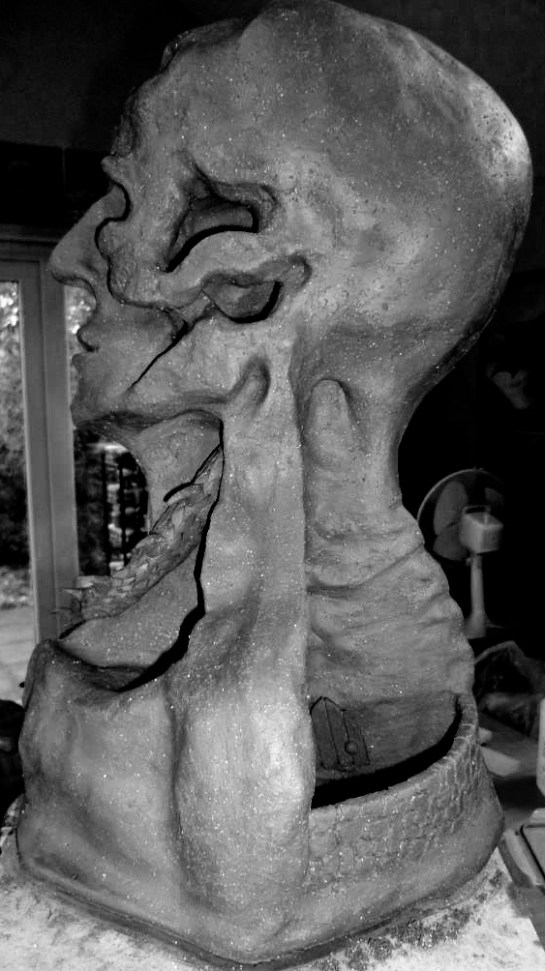
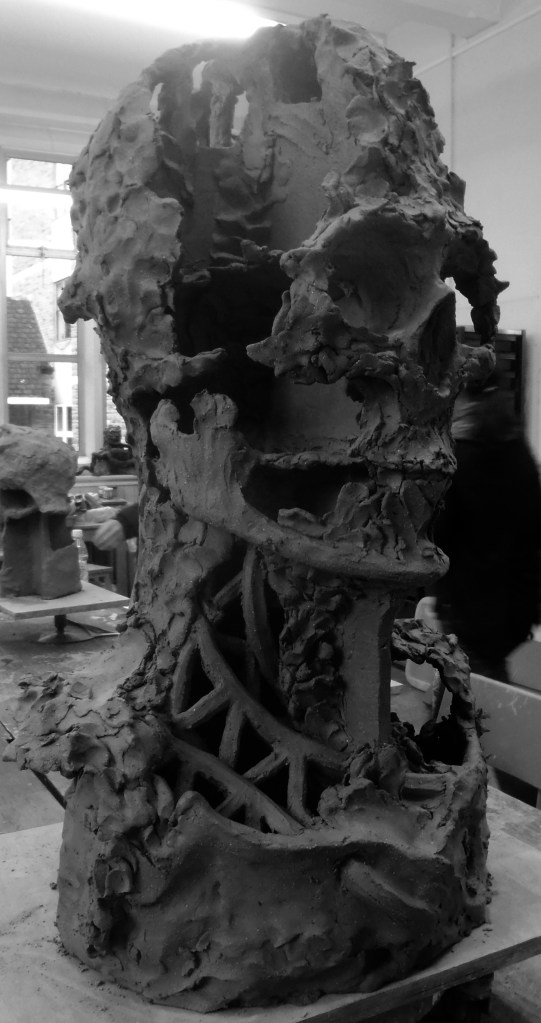
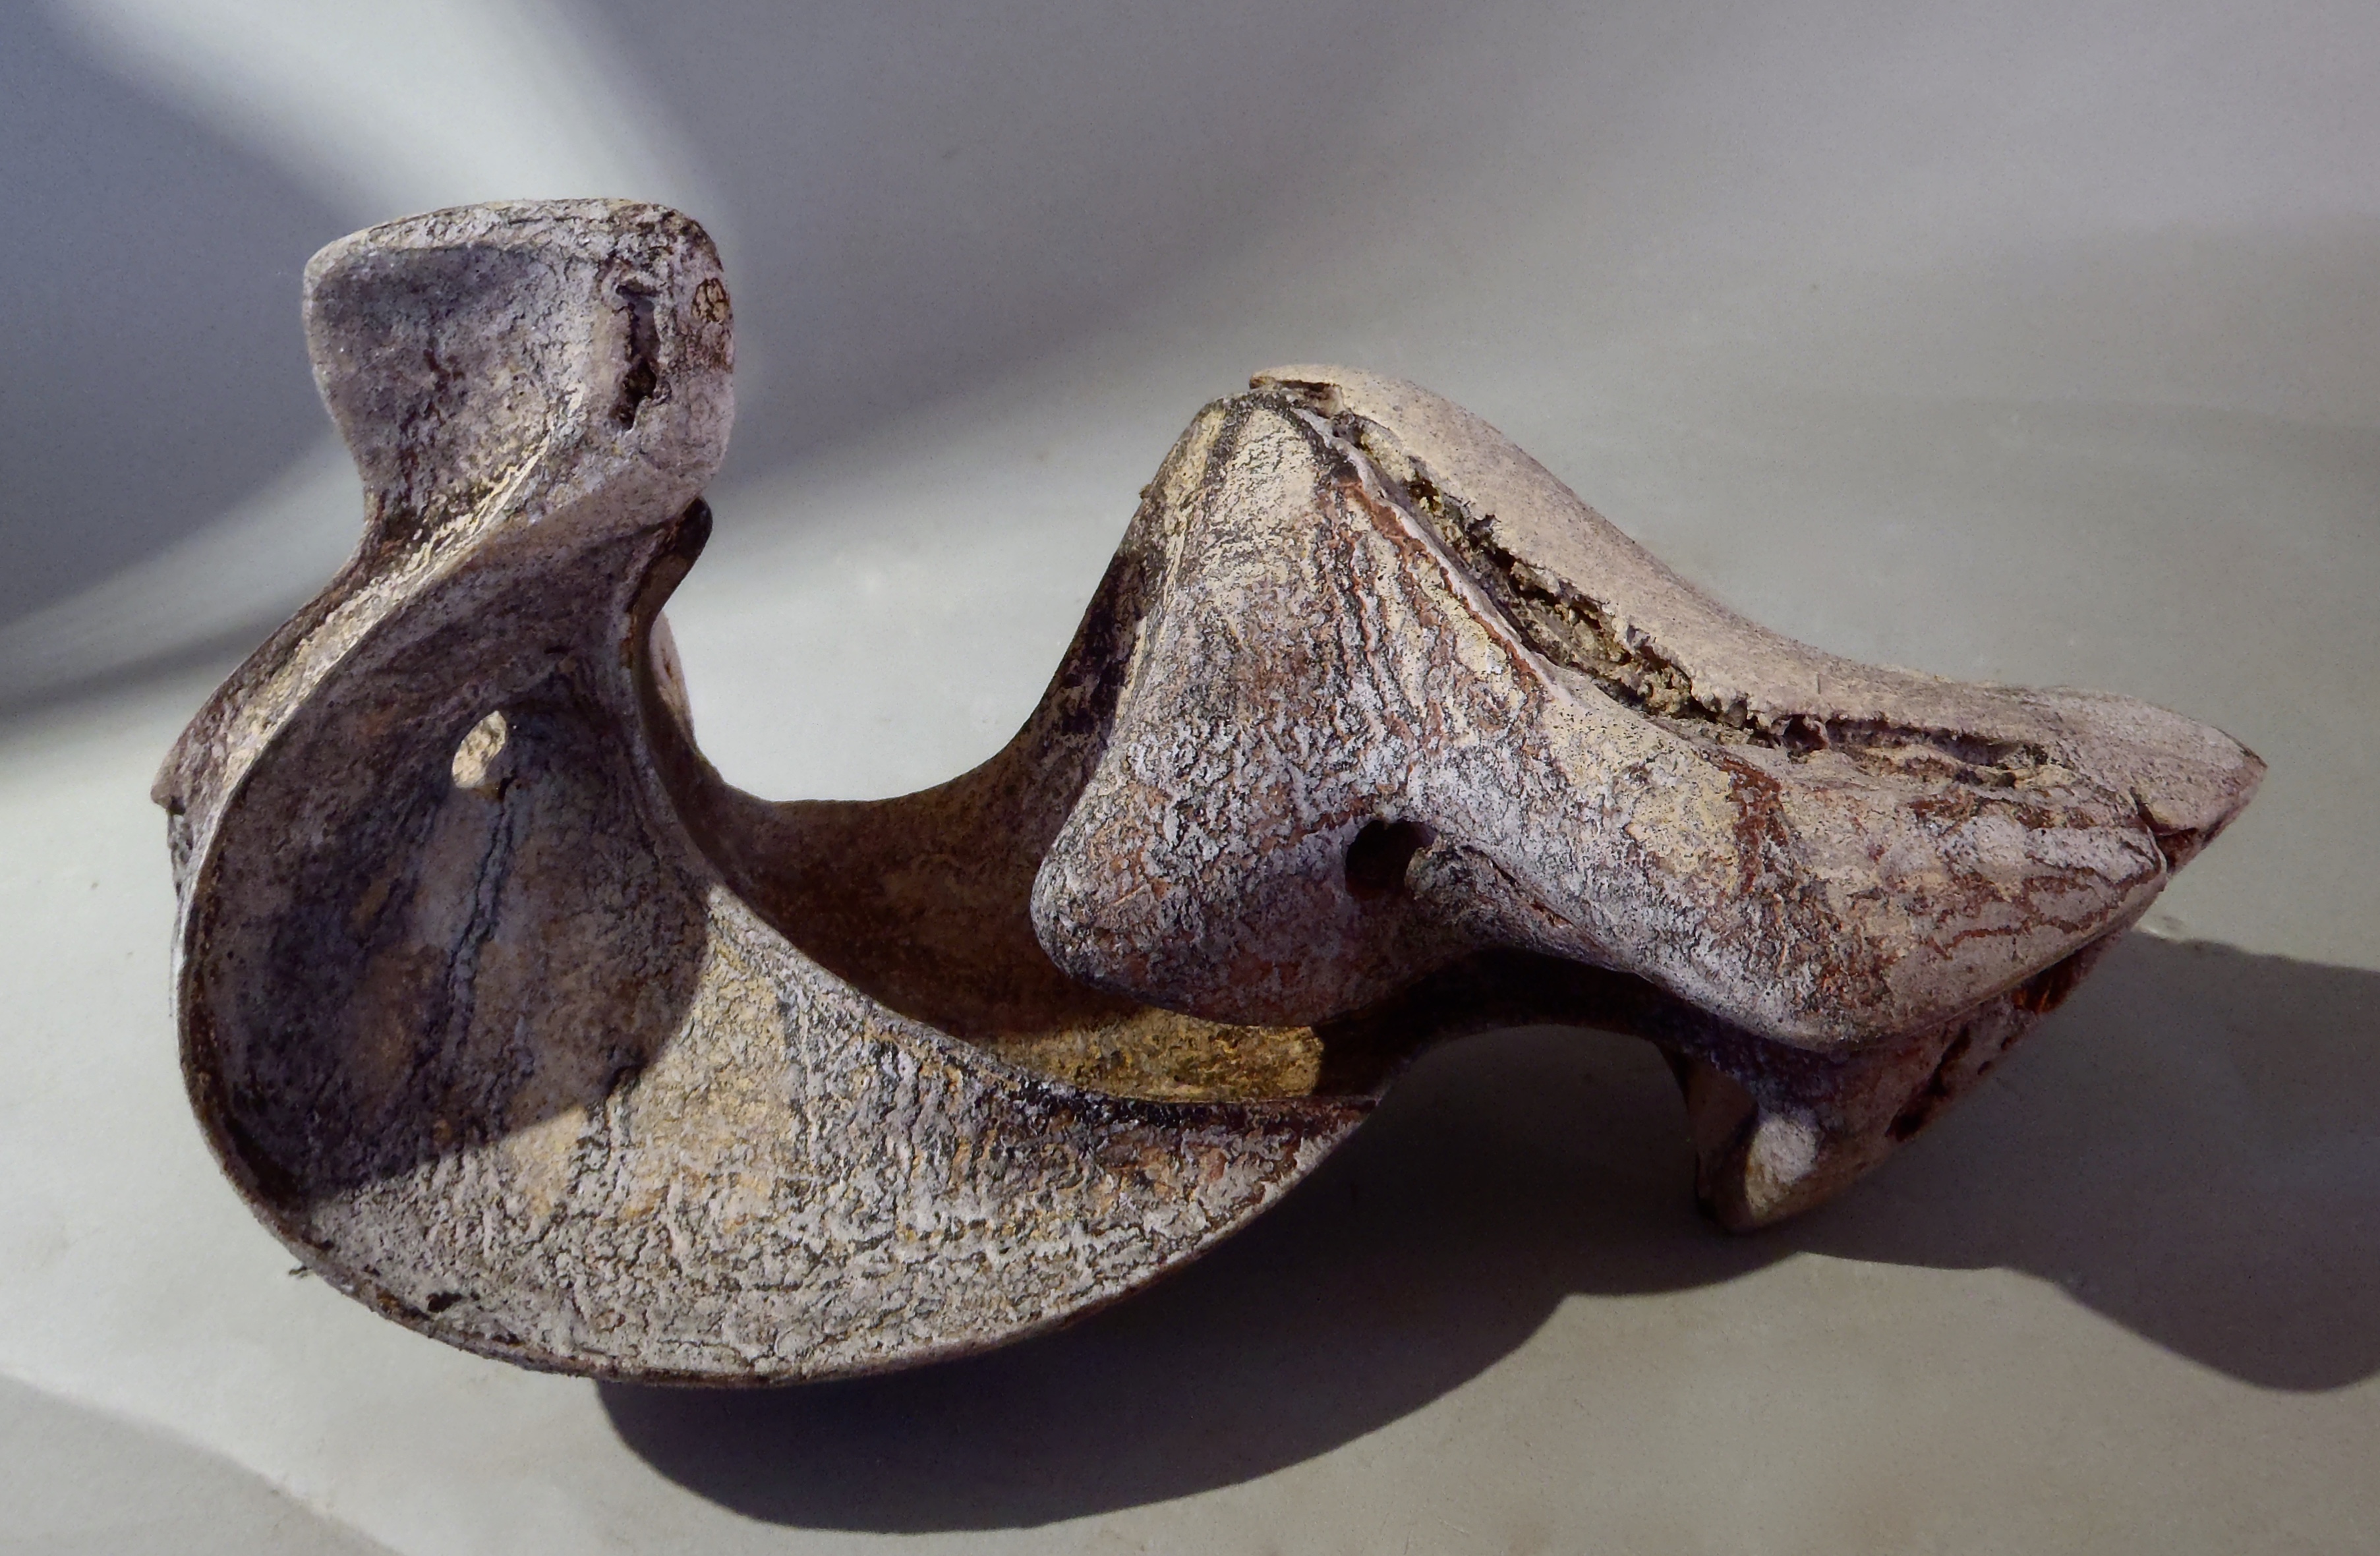
The Call-Karst V, 95cm H x 36cm D x 36cm W, £3000.
Around this time the wonderful, fascinating author and forager Adele Nozedar, recommended Underland by Robert Macfarlane. It’s a huge, extraordinary, transporting book about the underground world. He explains the Karst limestone realm in a fabulous way. It has enhanced my interest in geology and lead me to ideal metaphors that are invaluable for organising complicated or confusing ideas.
During the Throwdown at the Hoedown series I was trying to clarify the sections of the natural world, thinking that could be done. But there are constant overlaps and none are more dramatic than karst, which is life turned to stone, biosphere turned to lithosphere. Not fossils of individuals but vast swaths of a very common rock. Chalk is part of it.
There is a place near here I revisit regularly, a big doline with the most terrifying cave entrance that looks like a huge hand lifting up the ground to you. Karst V is from the rim of the doline.


Doline I, 29cm L x 11cm D x 12cm H. Sold.


Doline III, 23cm L x 8cm H x 14cm D, £350


Karst II, 25cm L x 10cm H x 9cm D, 1kg. £1017, Cavin Morris Gallery, New York, USA.


Karst I, 24cm L x 14cm H x 10cm D, £950, Cavin Morris Gallery, New York, USA. Sold.
These small sculptures can be turned over in a number of ways and handled. The crackled porcelain surface feels beautiful.


The Call III, 57cm H x 34cm W x 32cm D, £1500.


The Call IV, 35cm H x 25cm W x 18cm D, £350.


The Call II, 32cm H x 32cm W x 20cm D. £2600.
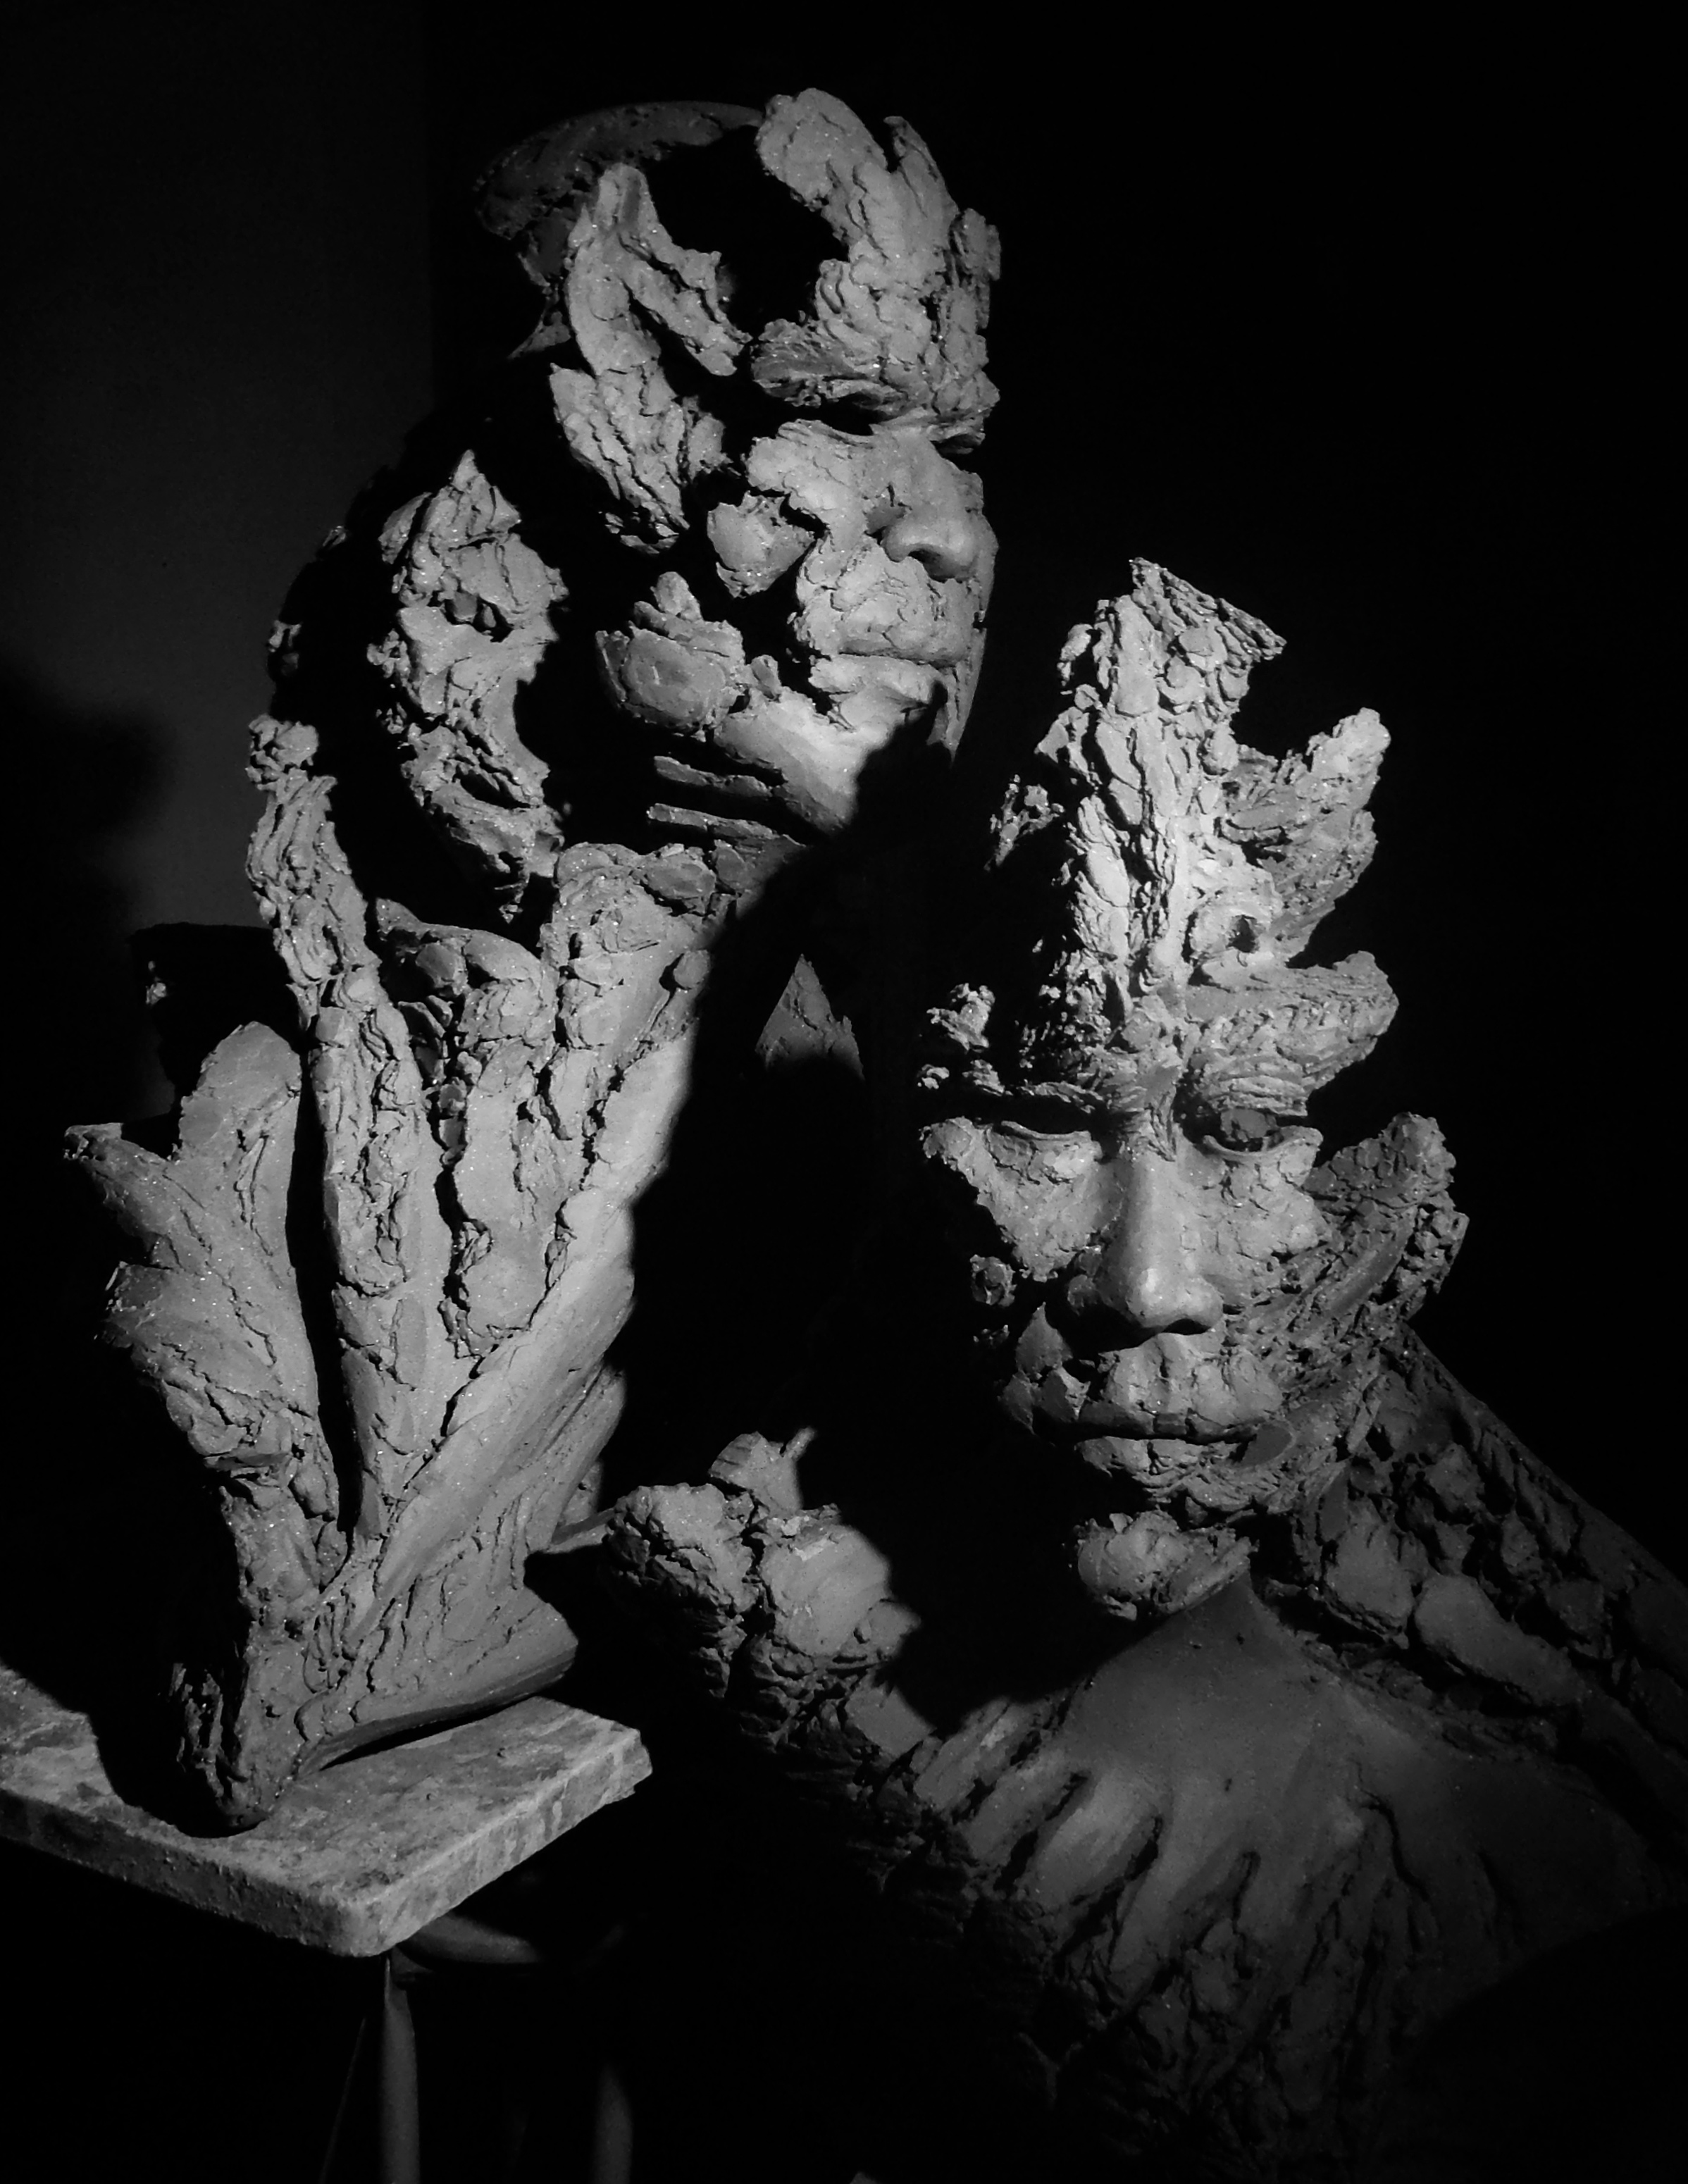
With The Call II the internal space took control of the form. And from that concept and the turn-able idea you get to sections, where the space between them can be rearranged in multiple ways. Henry Moore famously said a sculpture was not complete until it’s owner placed it. He was the Master of the sectional form and try as I might over the years, I not could get to grasps with how he did it. Because you need a a genuine reason for doing these things, just wanting to isn’t enough.


The Call VIII, the first of the 3-section sculptures. 23cm H x 42cm L 29cm w in this configuration. £1050.
The Pandemic disrupted routines and habits and many of us were confronted by our inner lives. We had to change the ways we interacted. And that opened up how we saw each other, ourselves and the world around us. Our pets, the outdoors and seeing wildlife became very important as we isolated and distanced during Covid. Our innate need for connection was met by Nature and our awareness of climate change grew.


The Call VII, 3 sections, 22cm H x 43cm W x 37cm D, depending on how you place them. 8 kg. £3000.
Through 2020-2022 Sandy and I walked countless miles, revisiting local places with a fresh perspective. The fractured, weathered limestone karst became spell-binding: ‘Change happens at the edge’. And in the cracks.


External light moving through the forms changes the mood and feel. The Edge and the Up Is Down Series re-appeared and merged.
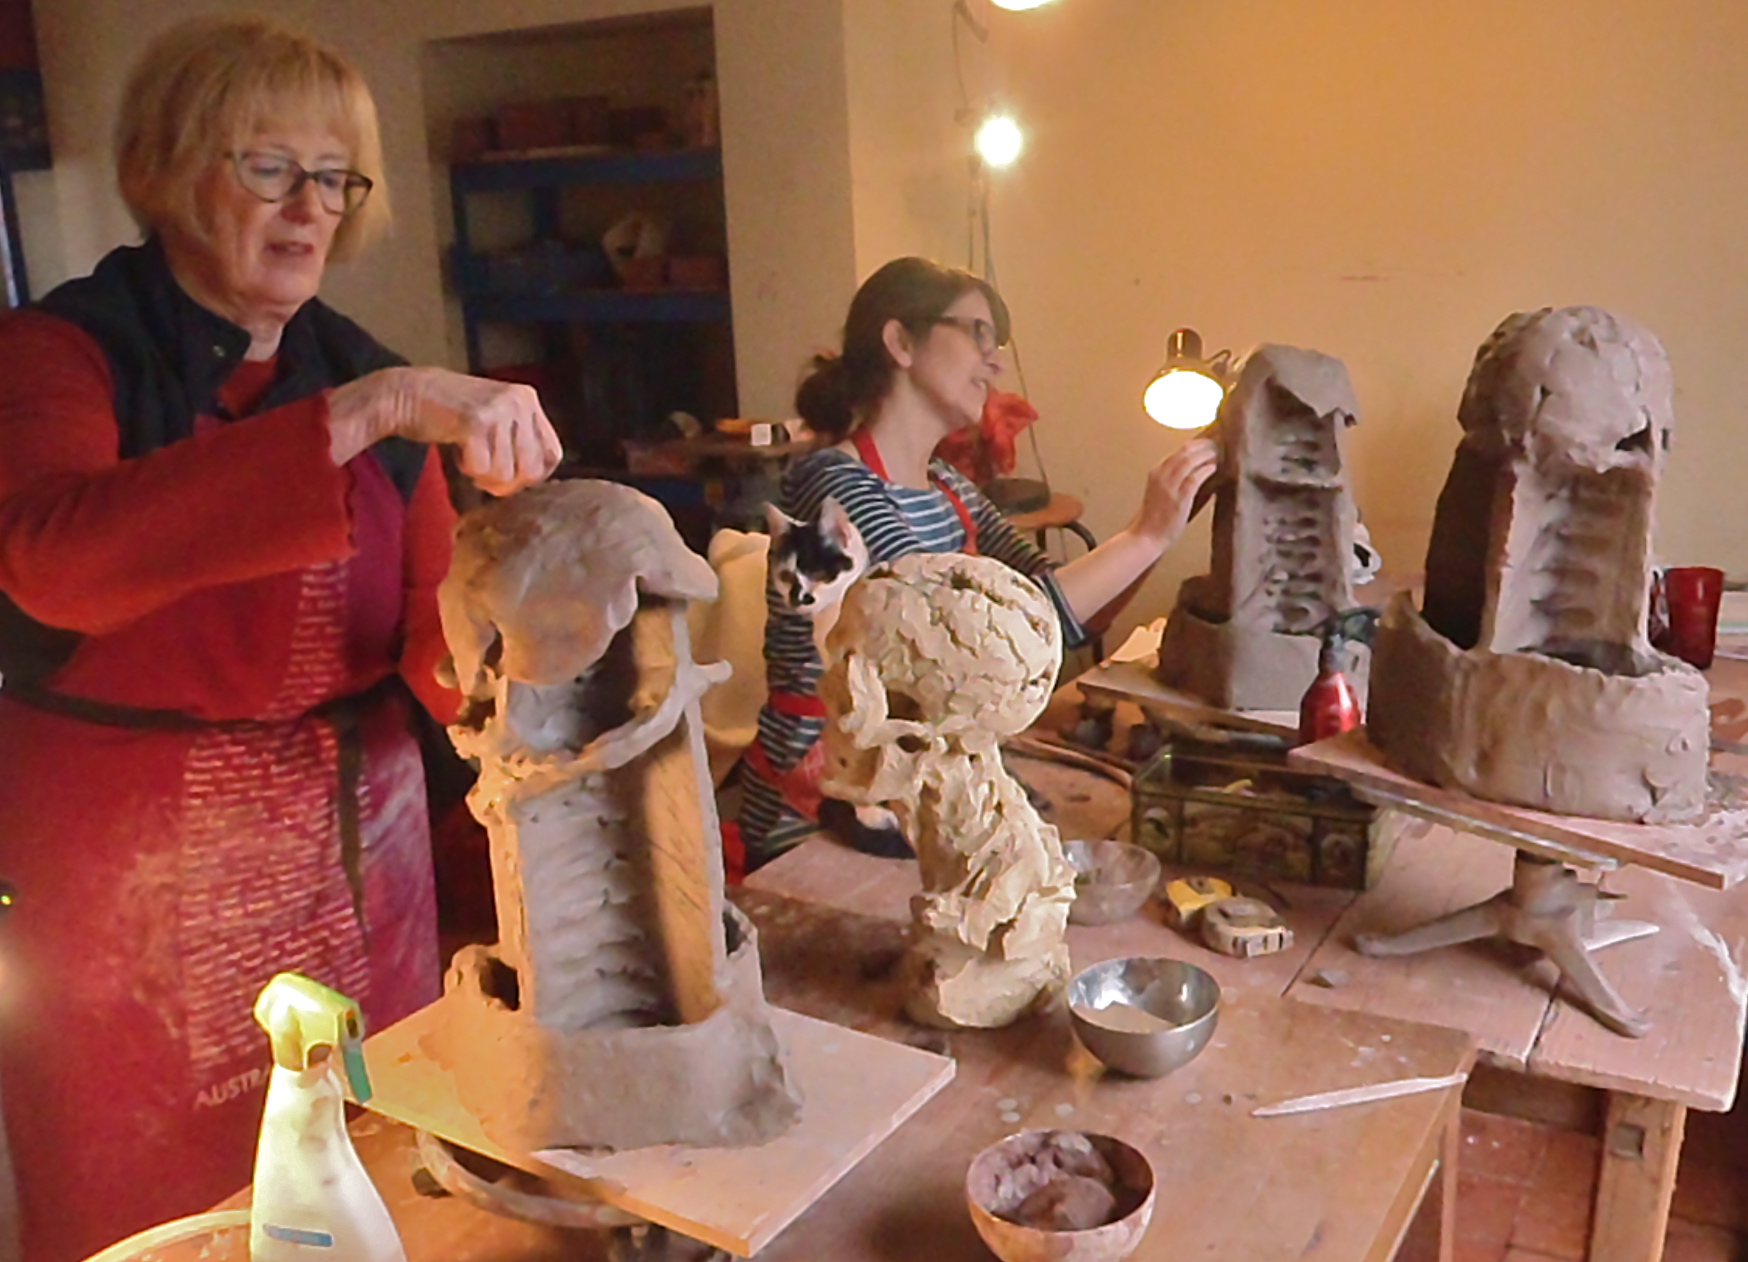
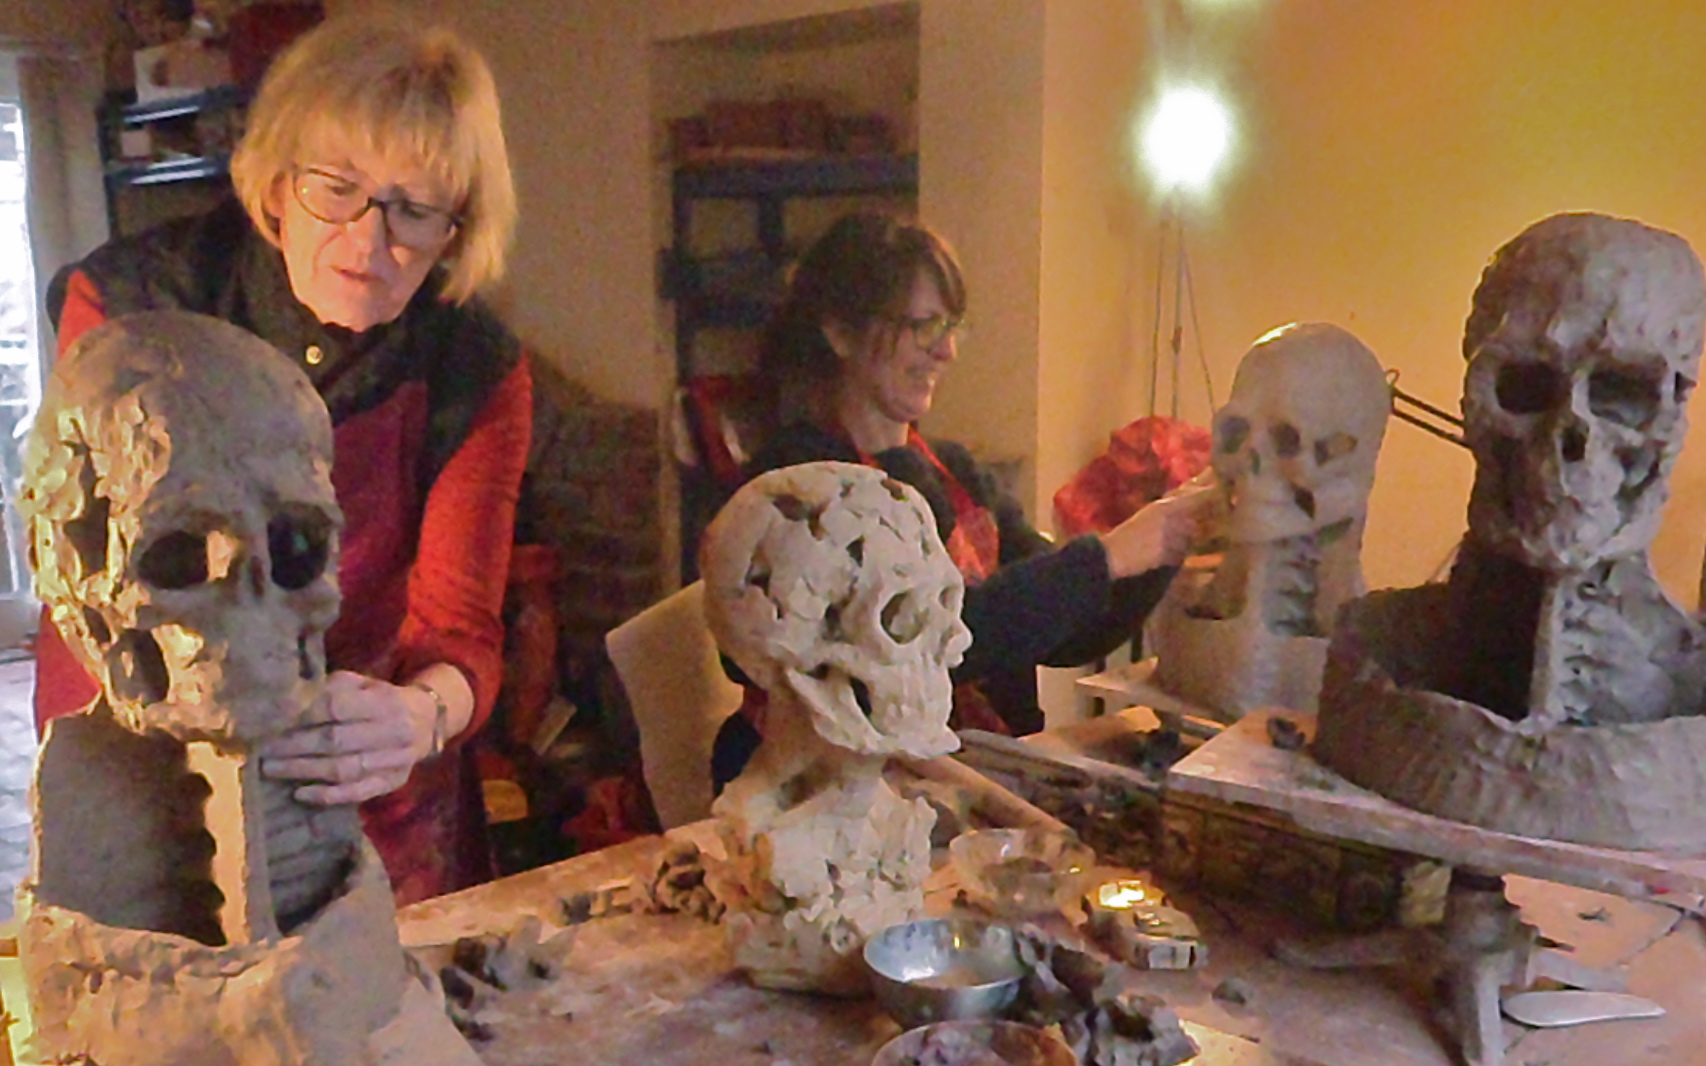
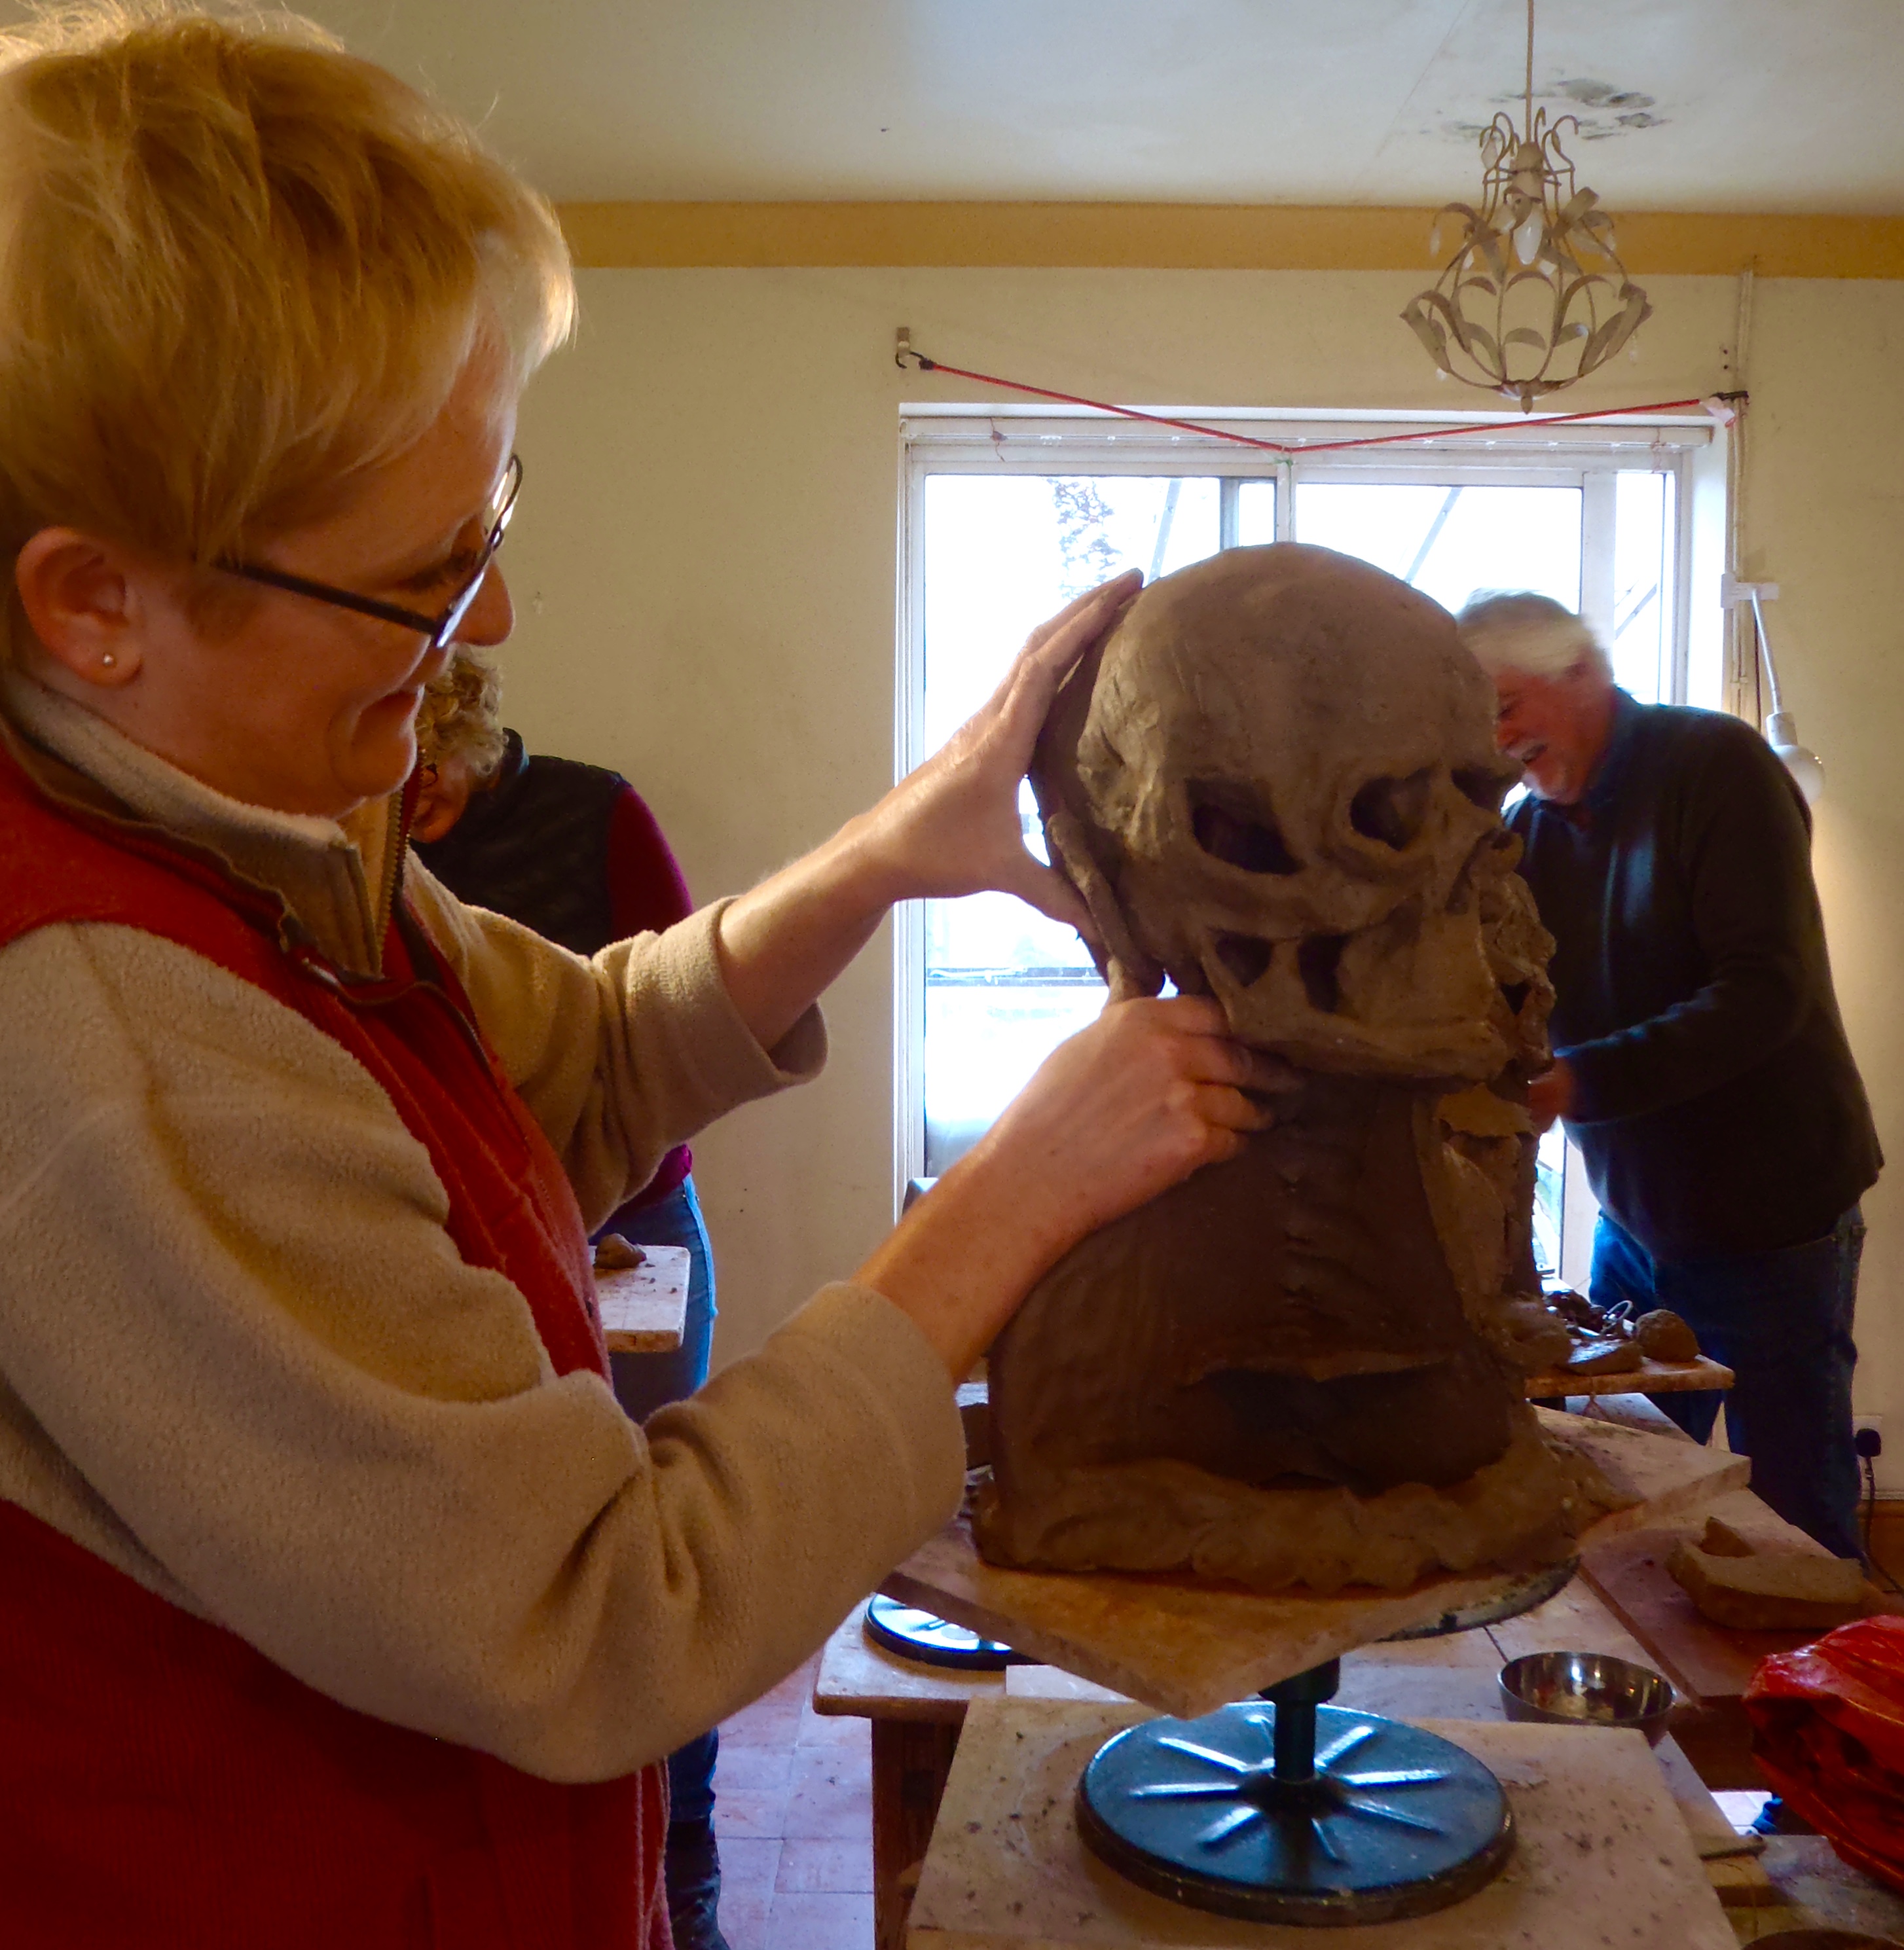
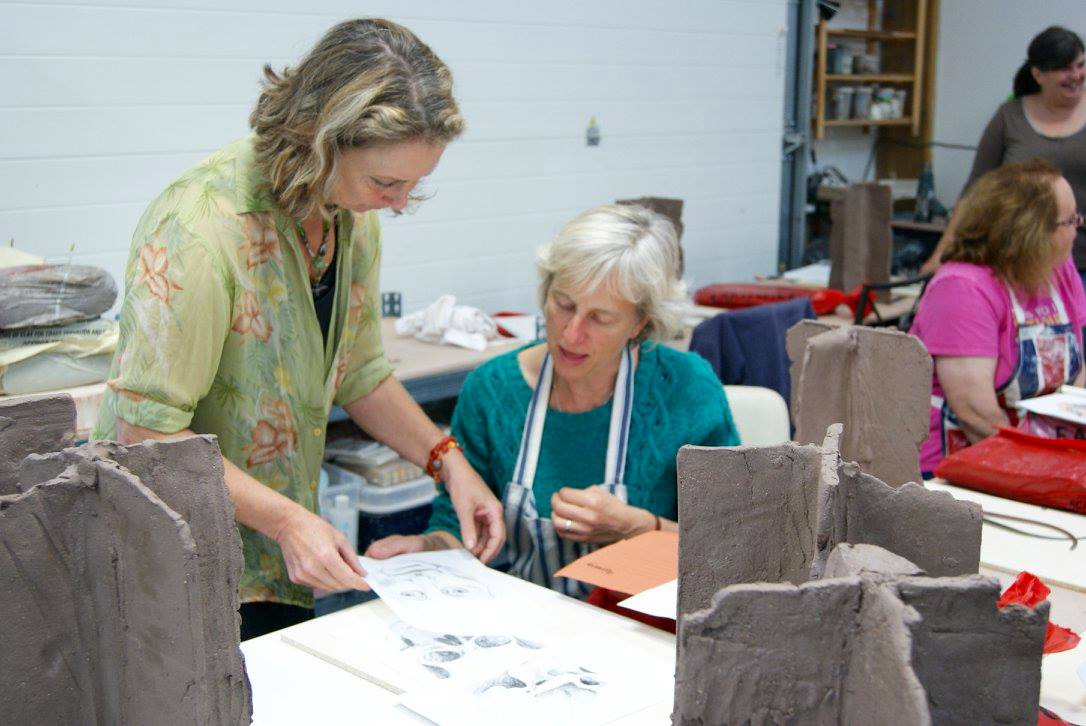
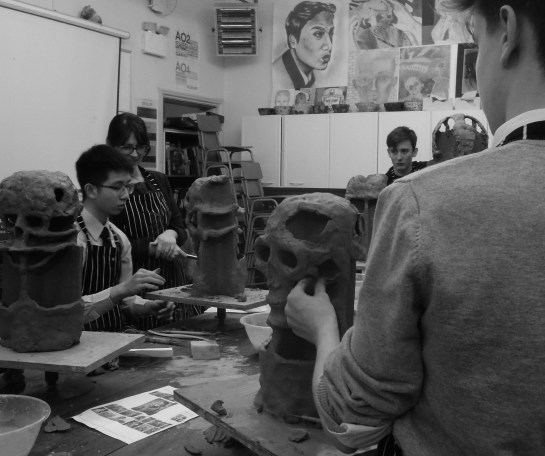
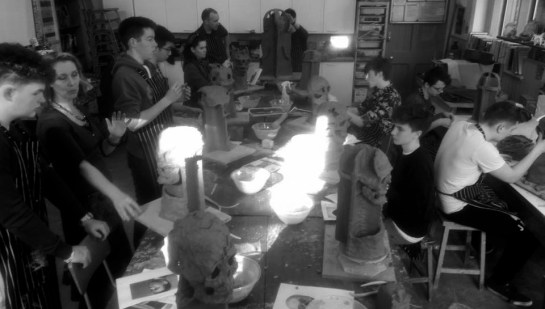
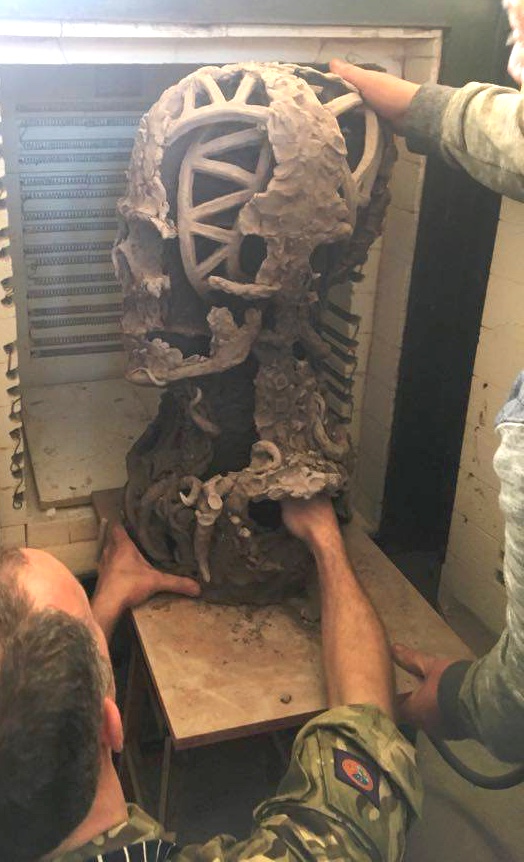
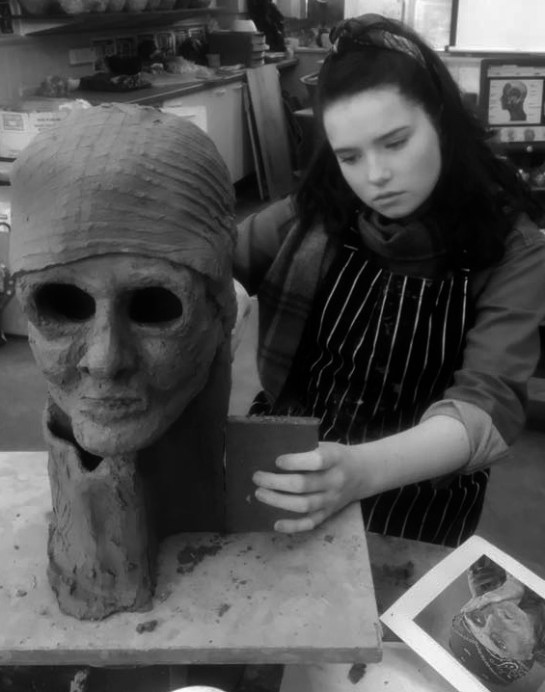
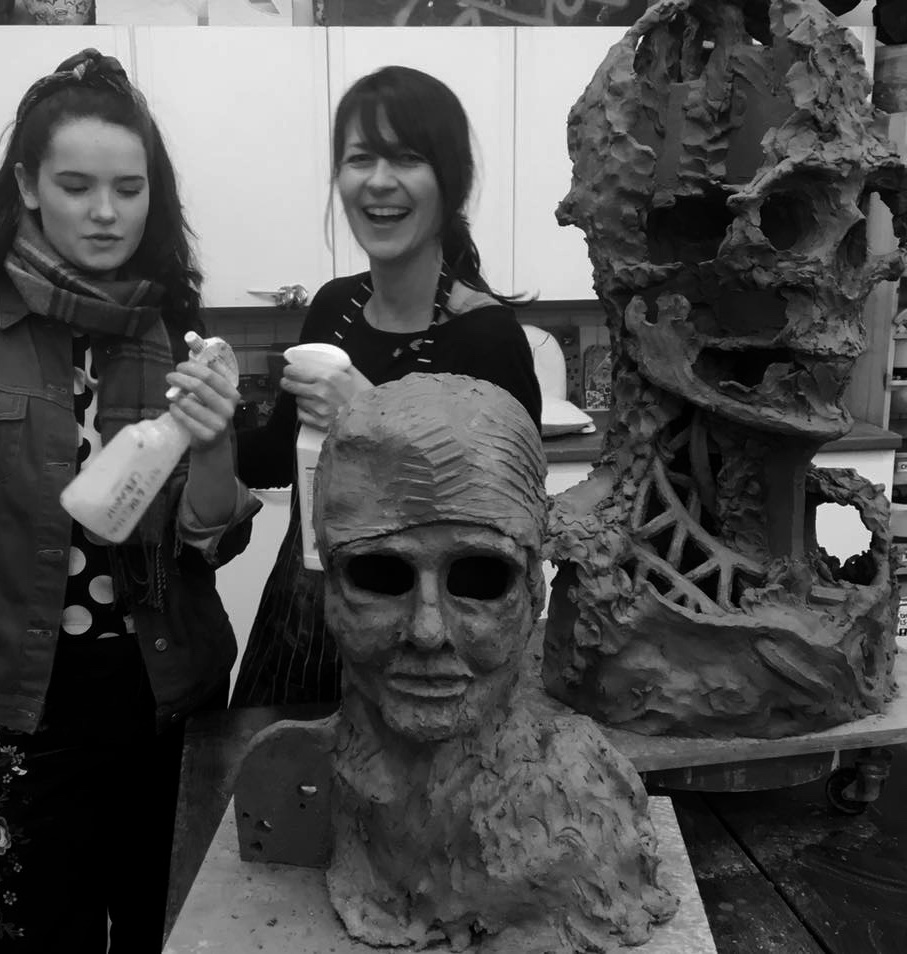
I started taking my ‘mobile studio’ van into the woods and building sculptures onsite with only natural sounds around me. The finishing layers were done in the main Studio with music.
Reading the fascinating, very informative Entangled Life by Merlin Sheldrake and Finding the Mother Tree by Suzanne Simard broadened my knowledge about plants and made it easier to connect in the forest. And understand the overlap and interaction between living plants, fungi and stones.
Entangled Life properly introduced me to the ancient marvel of lichen: I will follow this path in 2024. There is a lot of fabulous lichen here in Bannau Bycheiniog National Park. The staggering Otherlands: a world in the making by Thomas Halliday will be involved! I’m halfway through it and Financial Times nailed it; it is mind-blowing.
I had some wonderful encounters with wildlife, including Pine Martins that are slowing coming back from the brink of extinction in this region.


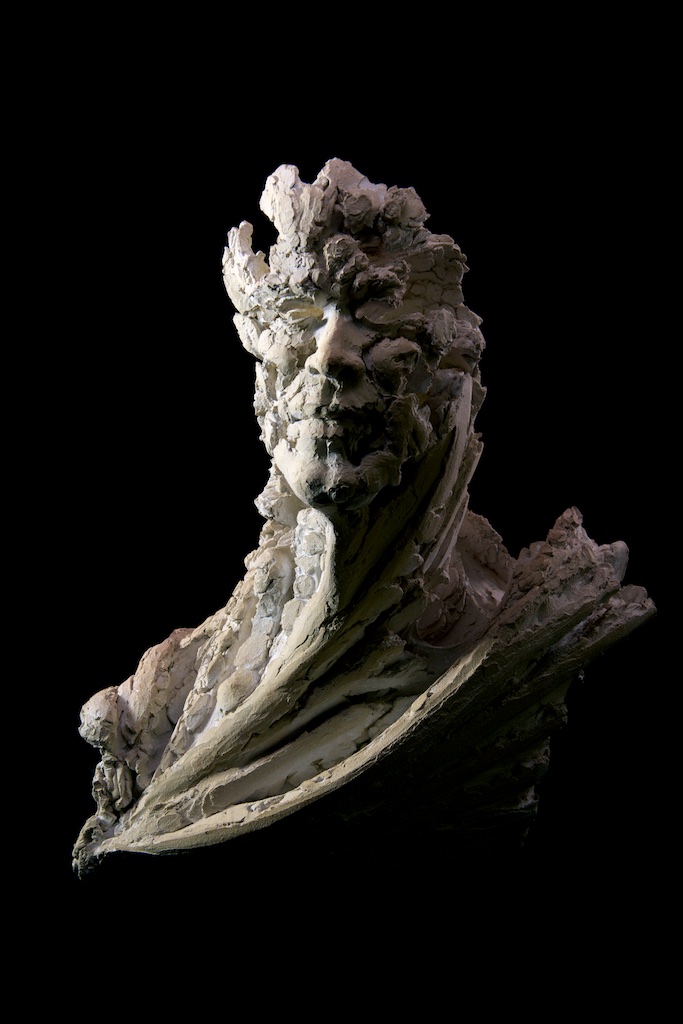
A heat wave in 2022 meant the rivers were extremely low and you could clearly see how shapes of moving water were left on the stones, weaving through the cracks, eroding and breaking through the layers. Picturing the flow of water, wind or light is how The Call forms are made. The sections are decided by the emotional feel: where things break apart, where distance can enhance the overall outline. A lot like introducing a hole: the space is not empty, it is full of invisible things that have their own substance and strength.


The Call XIV: Karst, 3 sections, Cavin Morris Gallery, New York USA. Sold.
By mid 2022 I could see that The Call is about seeing the subtle connections between separates, and the importance of the spaces between the complexity of everything that makes the whole.
By late 2022 this was added: Water is the guide. Water wants to be with other water and across all it’s forms, fluid, vapour, ice, through us and all living things, it calls to it’s fellows.


The Call XV, 3 sections, 25cm H x 48cm L x 38cm W depending on the arrangement of the sections, £4500.


The Call XIX, 11cm H x 20cm L x 16cm D, 1 kg, £2400
It has been an extremely intense four years for most of us with a lot of harsh, difficult changes.
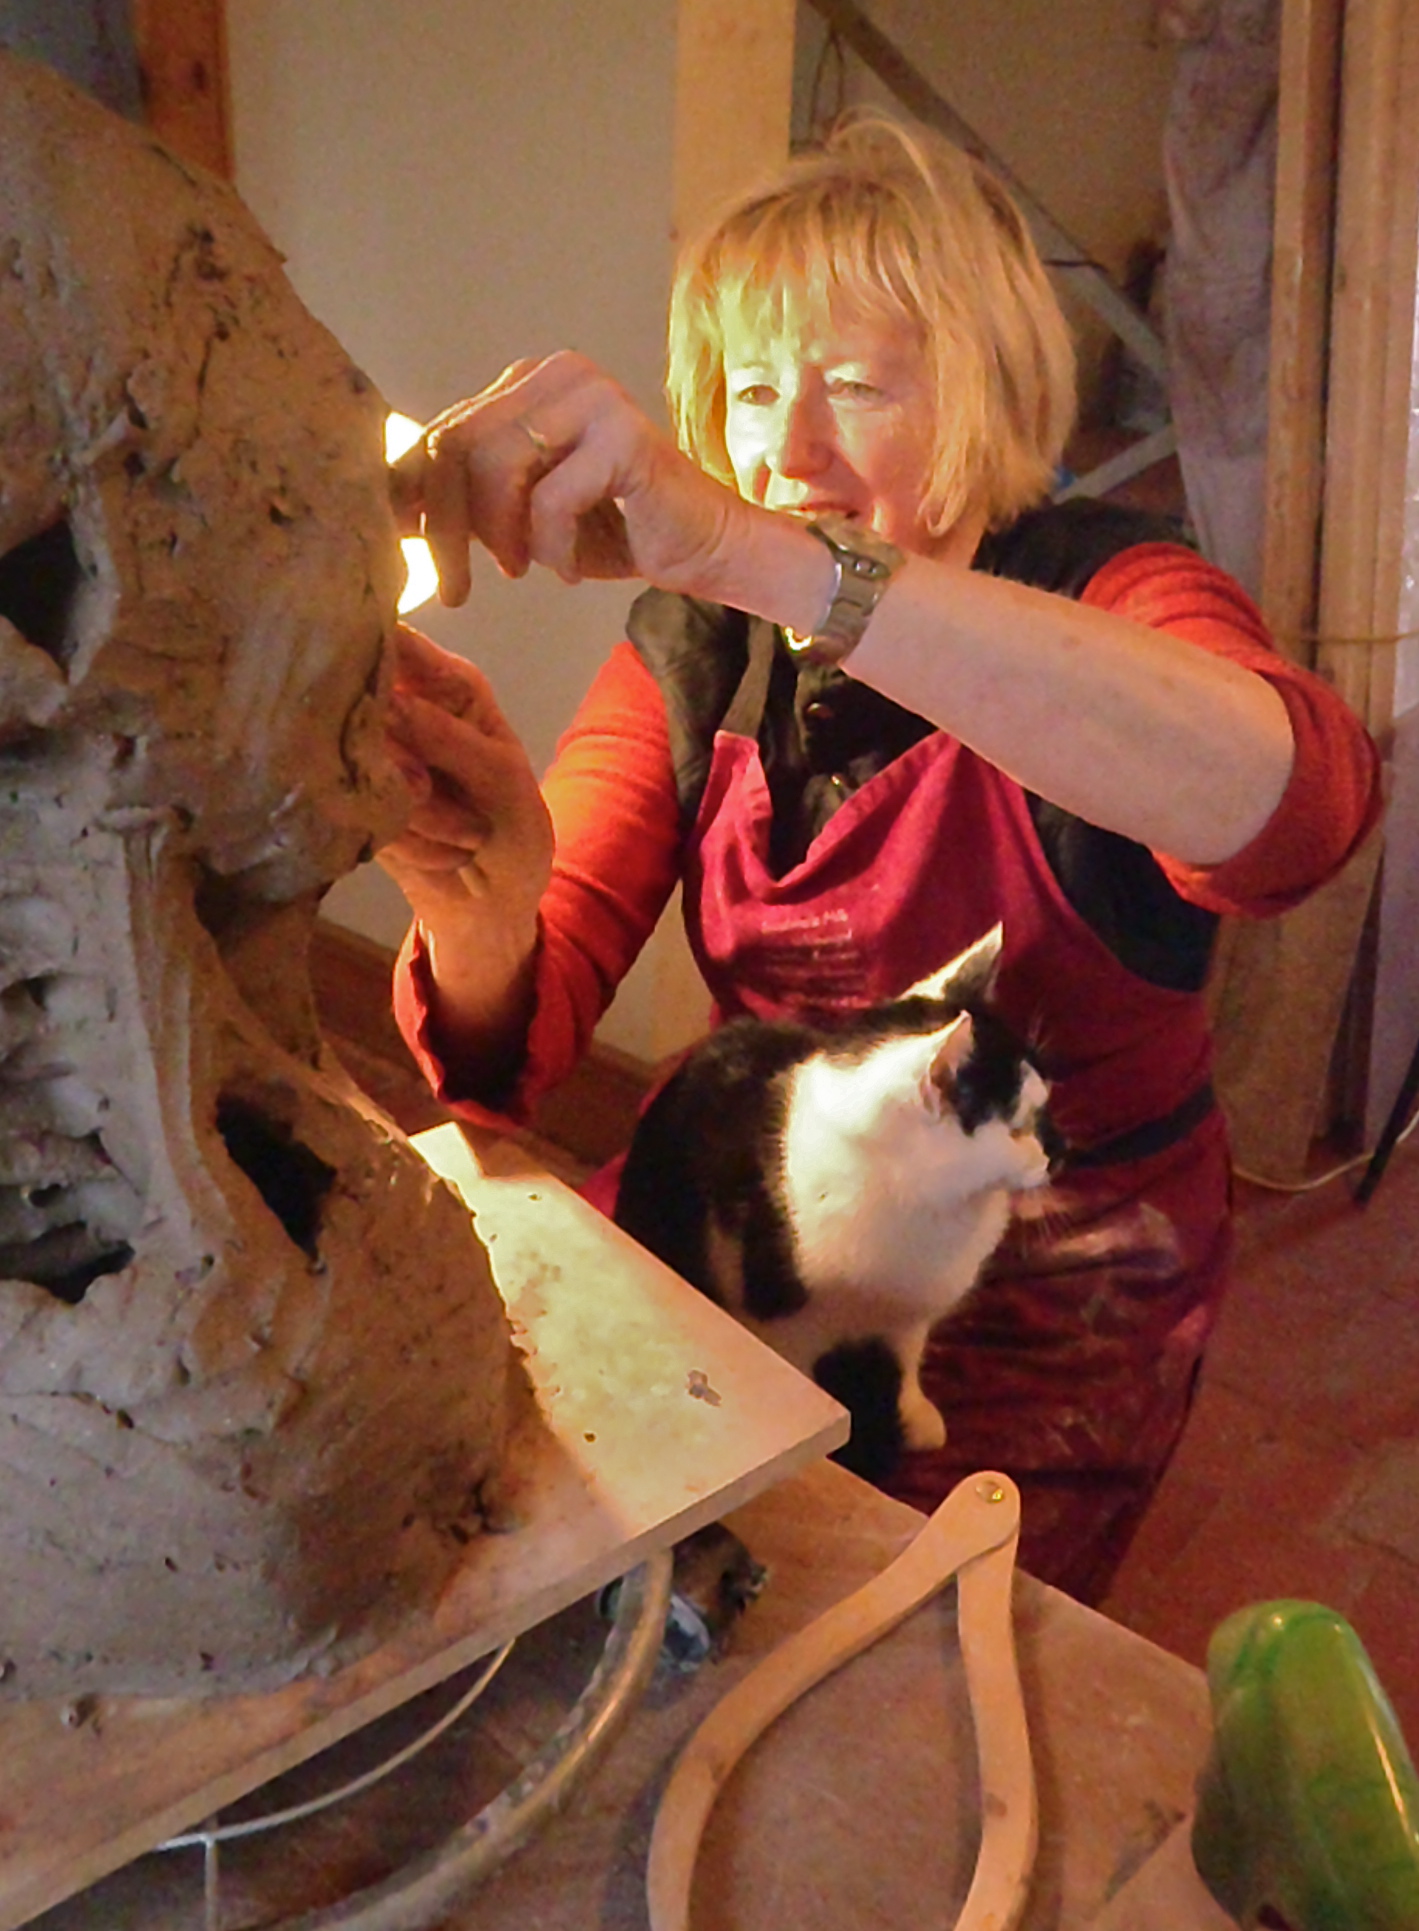
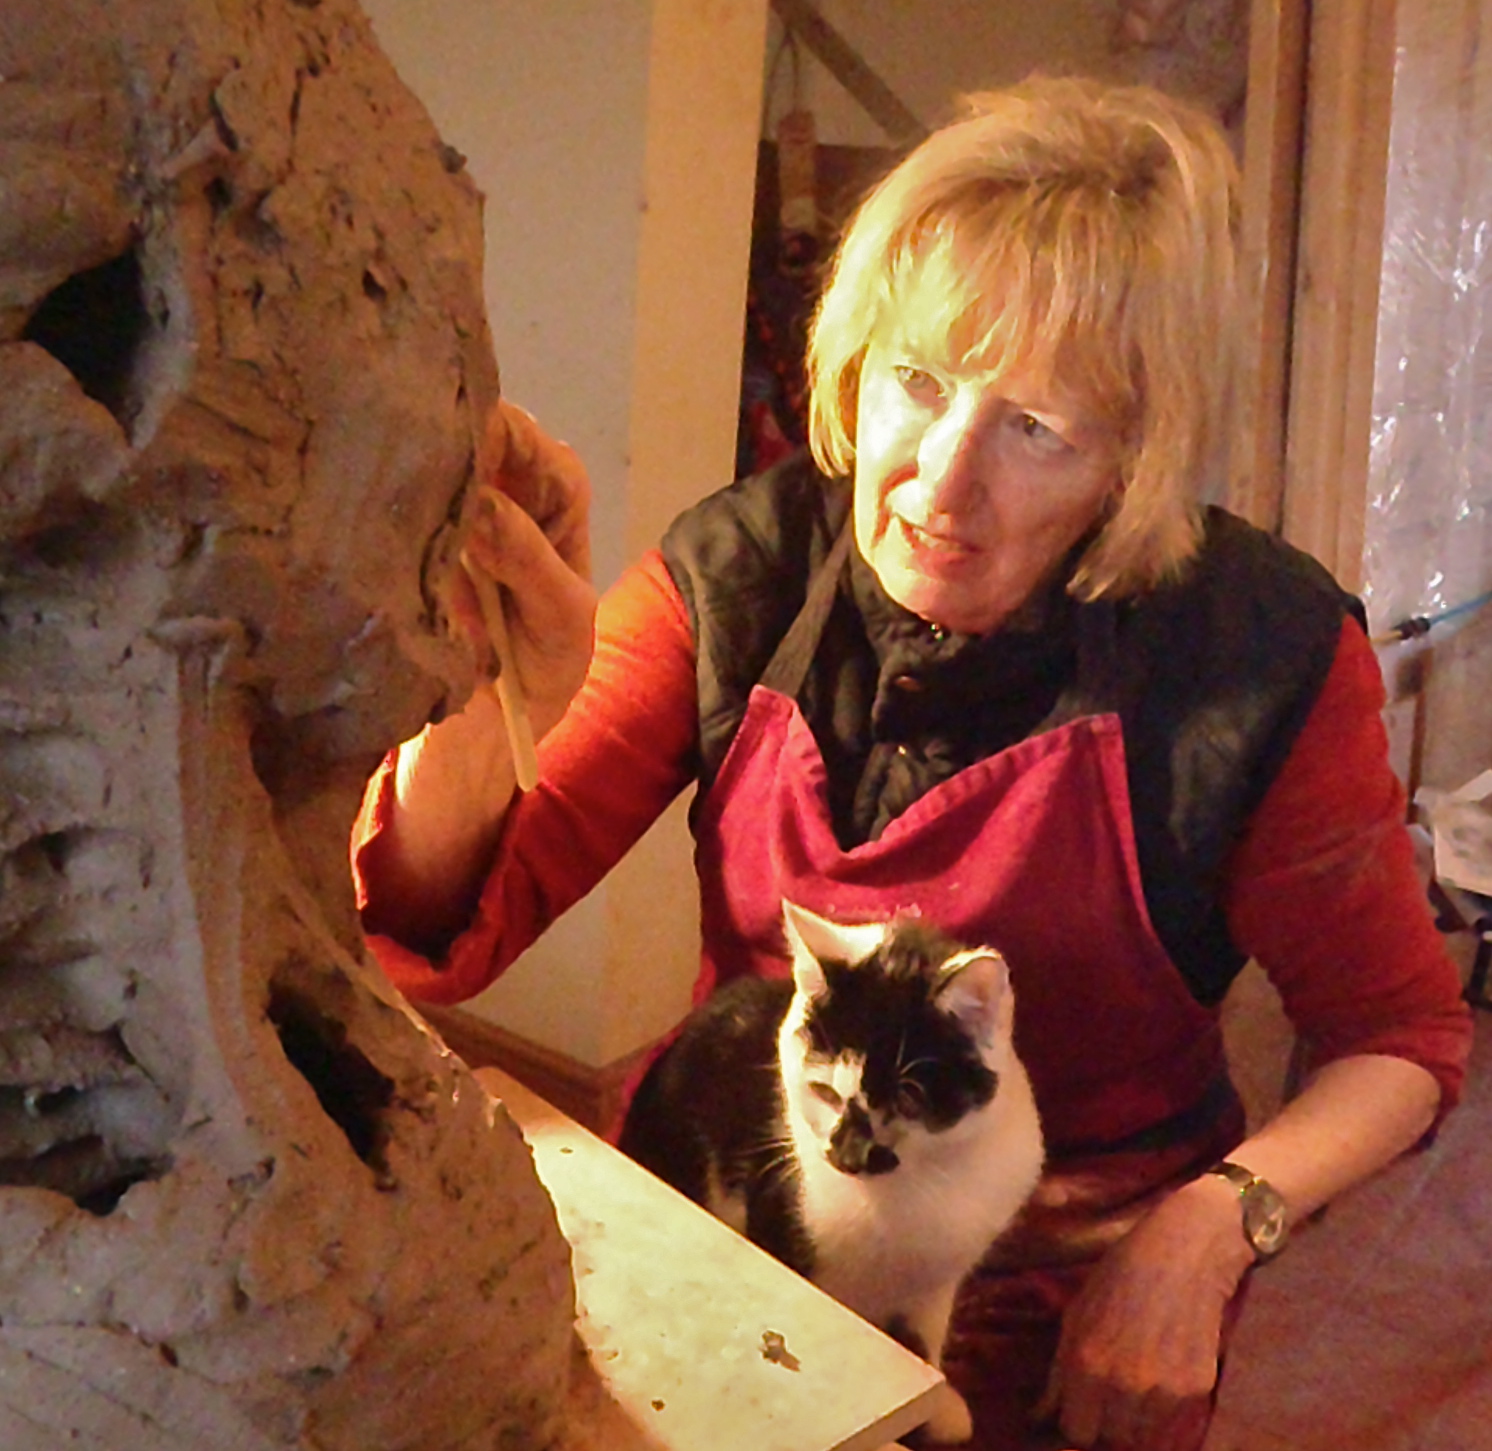
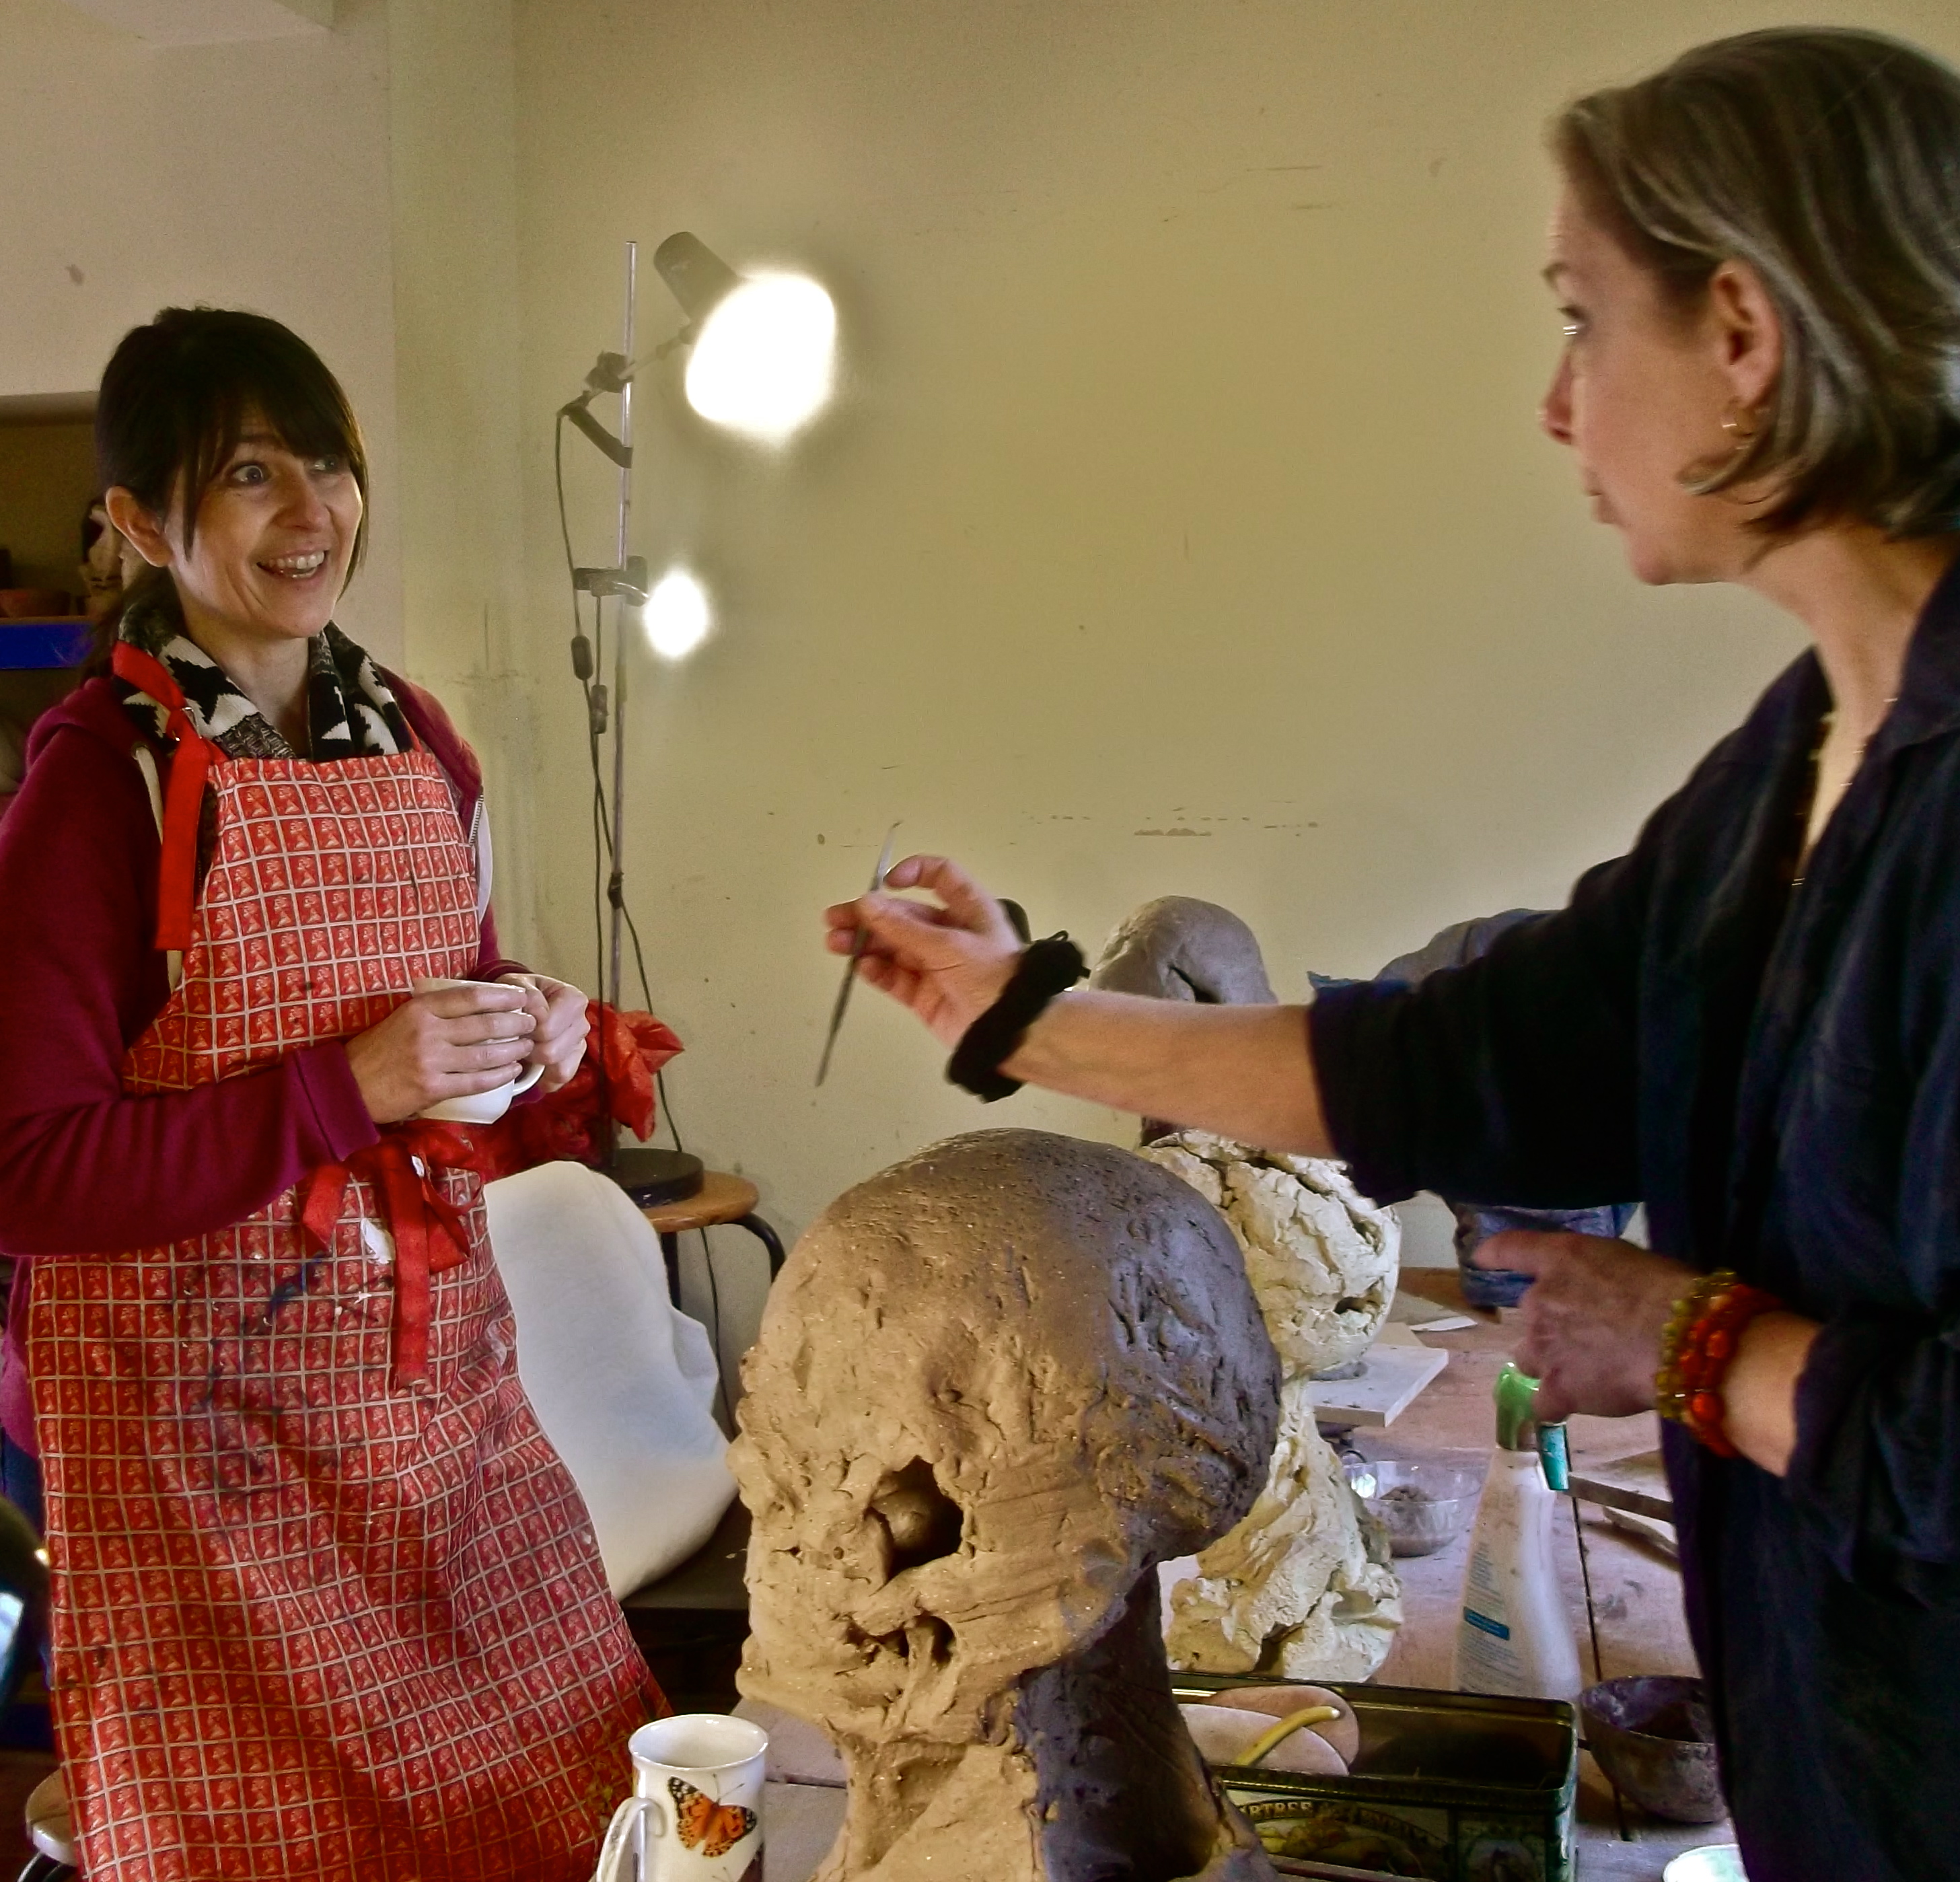
Working on these very challenging sculptures is extremely slow, immersive work. There has been a great deal of staring into space, listening, watching, waiting, recording. The forms gradually reveal themselves and tell our story.
There has been some very beautiful, fundamental changes in our communities. We are answering the call.


The Call XVI: Avalanche and Glacier, 4 sections 42cm L x 20cm H x 29cm W. £4950.


The Call XVII: Avalanche and Glacier, 3 sections, 20cm H x 32cm W x 32cm D, £3200.
It may feel overwhelming, too huge and complex. We dread any change. But the natural world thrives on change and we are part of it. The more we know about it the easier it is to see who we really are.
I’ve been following the Global Warming story for about 35 years and glaciers took up their starring role ages ago. Avalanches have only joined in recently even though the two frequently hang out together. They are strong forces that shape and nurture the land around them, as they have for eons and will continue to for countless more.
They are interdependent, they support each other, enable the life-cycle of each other, allow each other to be their essential selves.


The Call XX: Avalanche and Glacier, 3 sections, 27cm H x 32cm W x 30cm D, 3kg, £3200
Water is a shape-shifter; fluid, vapour, crystal, solid. It desires flow and to be with other water. It is patient. It is pivotal to life on many levels. It breaks up stone and collects and moves minerals into the cracks.
Stone is a shape-shifter; molten lava, solid rock, crystals, dust. Built over eons of time by fire and water. The biosphere contributes and in return receives nutrients for growth. It mixes with water and minerals and decaying organics to be clay and soil.


The Call XXI: Avalanche and Glacier, 3 sections, 31cm H x 38cm W x 33cm D, 10kg, £4250.
Glaciers are built from water in all it’s forms, especially layered snow crystals of various densities. They collect dust and rocks and as they move, scraping and cutting cliffs and valleys, redistribute them and create new opportunities for the stone to blend with other kinds. They gradually release their gigantic quantities of water collected over centuries, carving riverways that continue spreading minerals and the chance of life.
An Avalanche starts out with the Glacier and they slowly grow together. Stone cracking, water travelling through, building caves, redistributing the building blocks of life. In places the stone formations support and slow the Glacier’s descent, giving it time.


The Call XXII: Avalanche and Glacier, 34cm H x 27cm D x 24cm W, 5kg, £2500.
Orchestrating all this is the Climate: The transfer of heat, cold and water.
I’ve made a few sculptures about ocean currents over the years and recently the a wild new one came along and is waiting to be fired. Atmospheric River and Ocean…..
I don’t know yet what happens next. It’s time to tidy up, refurbish the small kiln, run the big one, take a short break, update how to keep the Studio afloat and then I’ll get to find out where this goes. I’m really looking forward to it now.