
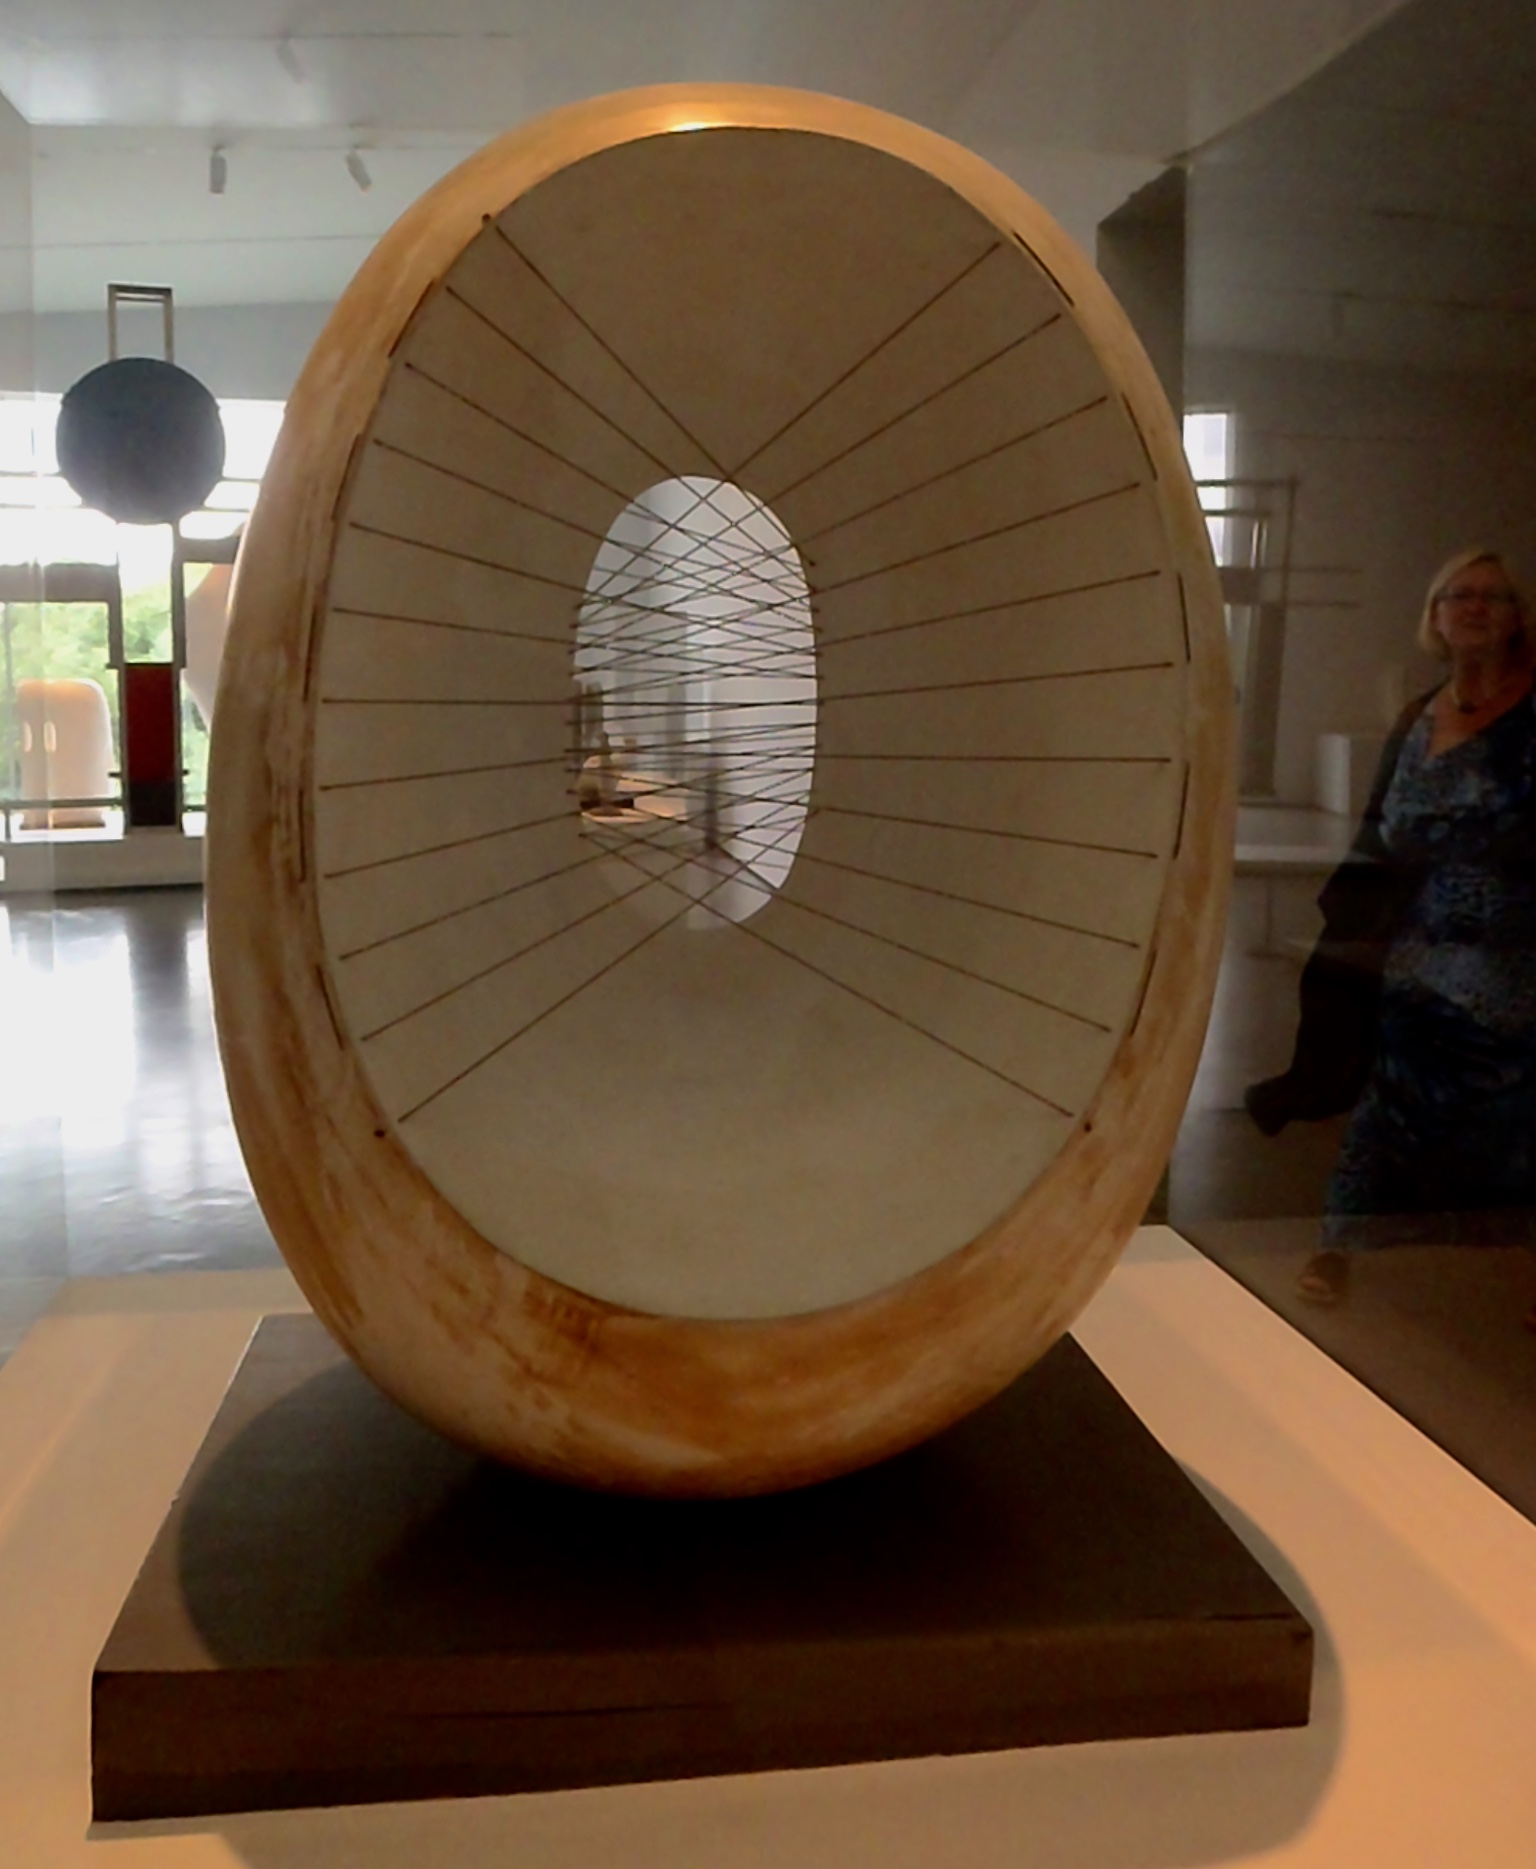
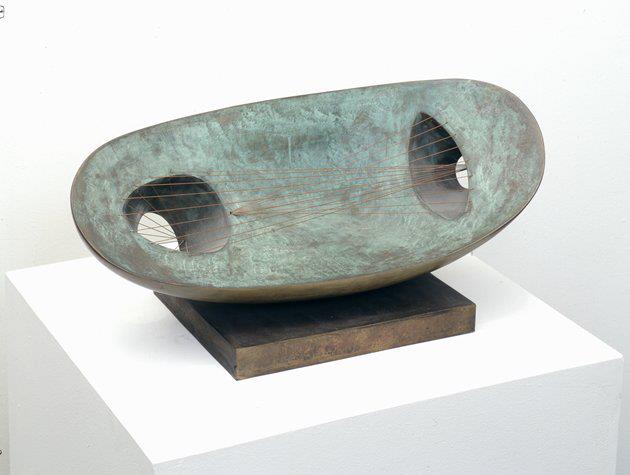
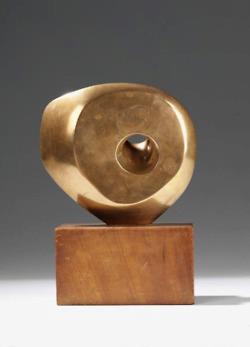
Marking Time Scale Model 1
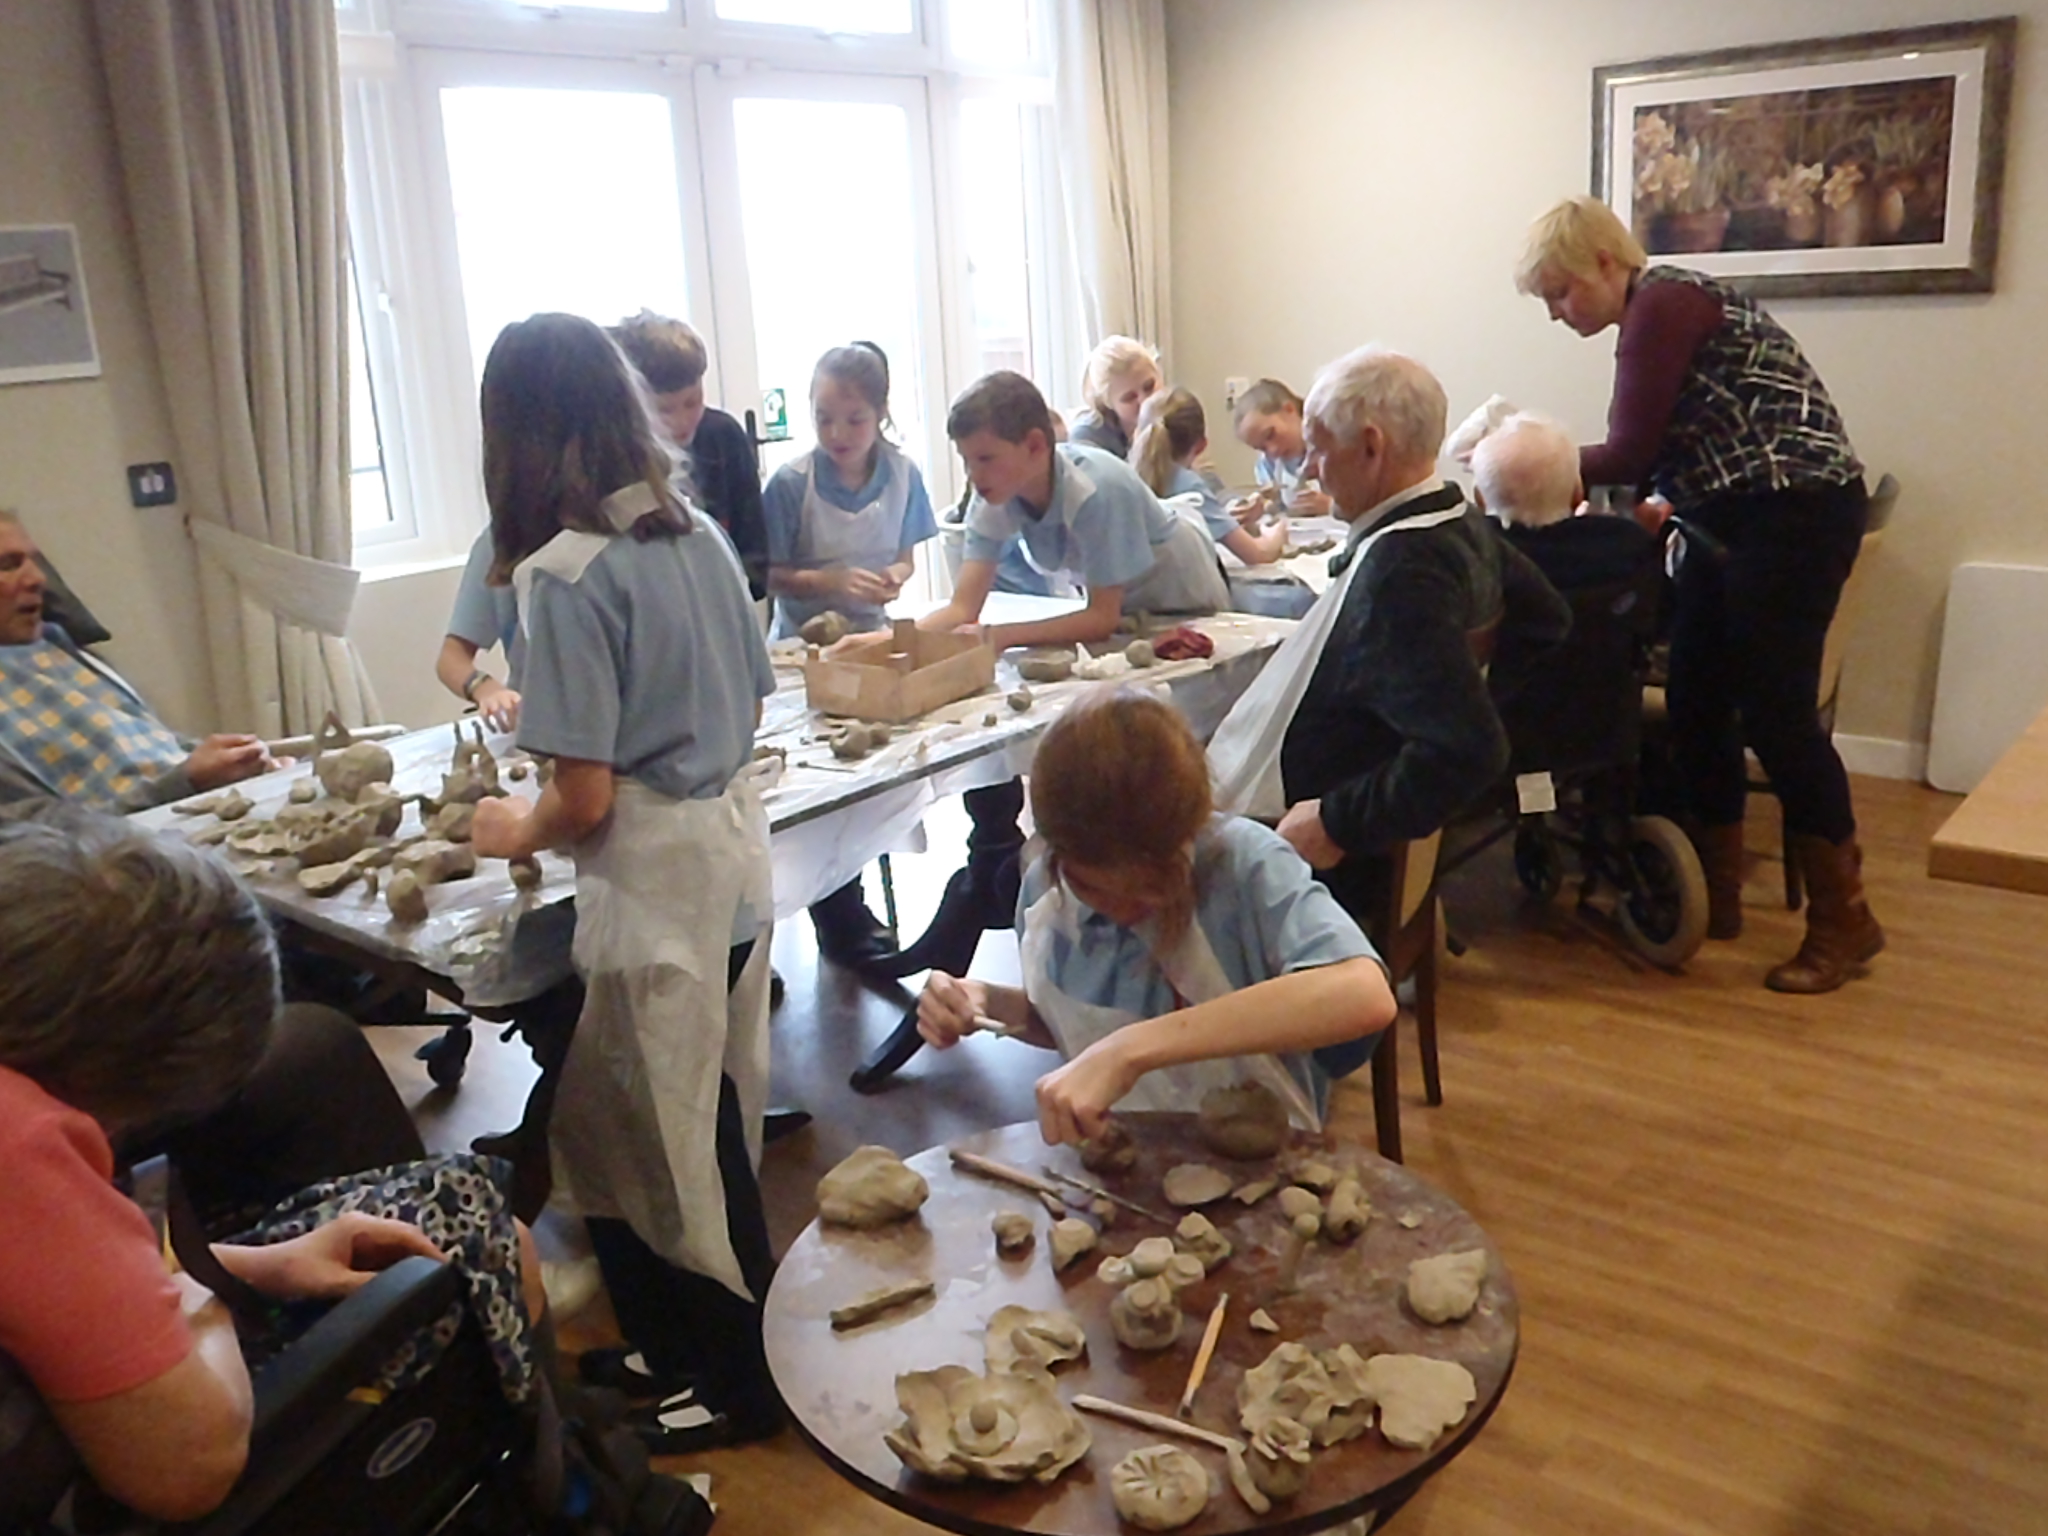
It has been a really good Consultation period. Everyone has been very open and generous with their time and thoughts, even when it was very difficult for them to do so.
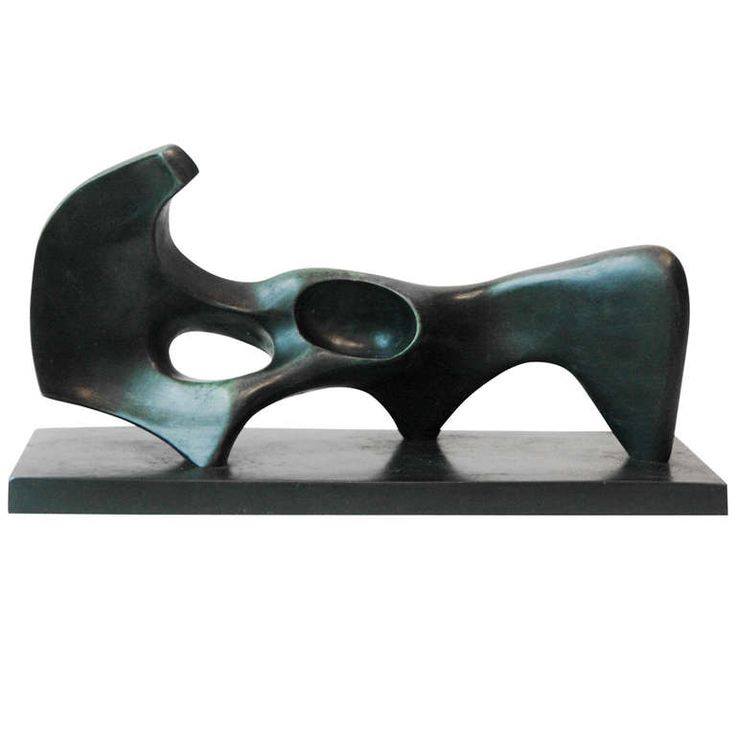
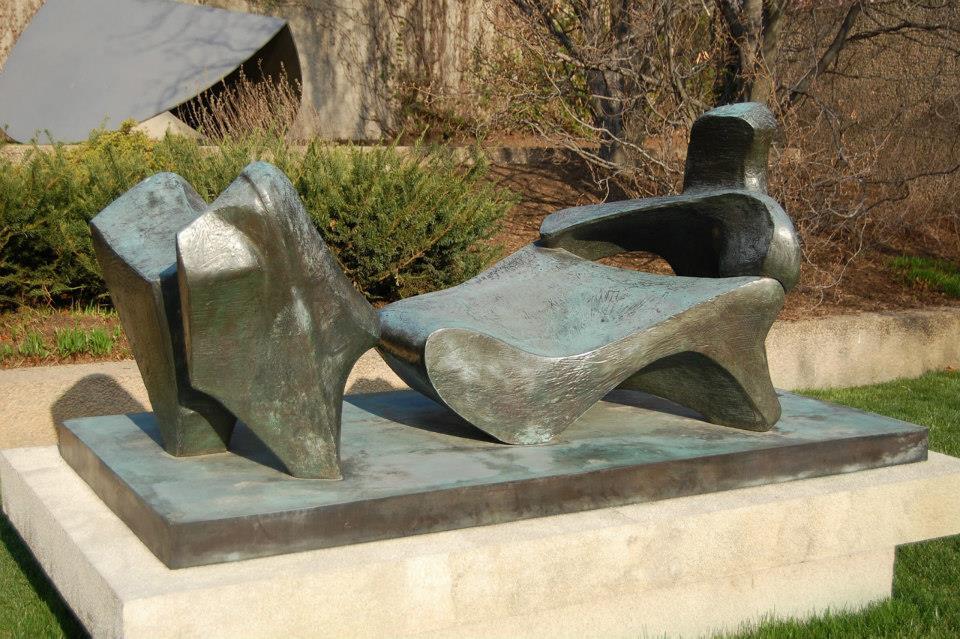
The models, figures, benches and bases shown are all to scale. The full sized versions would have more texture/detail and the benches would be a metre further away.
We identified our primary audience as the people using, visiting or working at Bronllys Hospital. The overall impression/feel of the sculpture should be up-lifting and hopeful to support those who are ‘marking time’ in stressful circumstances.
“The sculpture should have an aura of peace that will not interfere with the person’s unique moment”
“…so people can sit down and stay calm and feel safe.”
” In the discipline of Marking Time and manoeuvres like that, vulnerable people can find structure for their chaotic lives.”
” Marking Time is marching on the spot, keeping the beat, keeping in step with the group, in readiness to move onto the next task.”

And this triangle is the spot where the Marking Time Sculpture will go. There will be comfortable benches set in place so visitors, patients and staff have a tranquil place to sit and get a break from the often over-whelming activity in the Hospital.
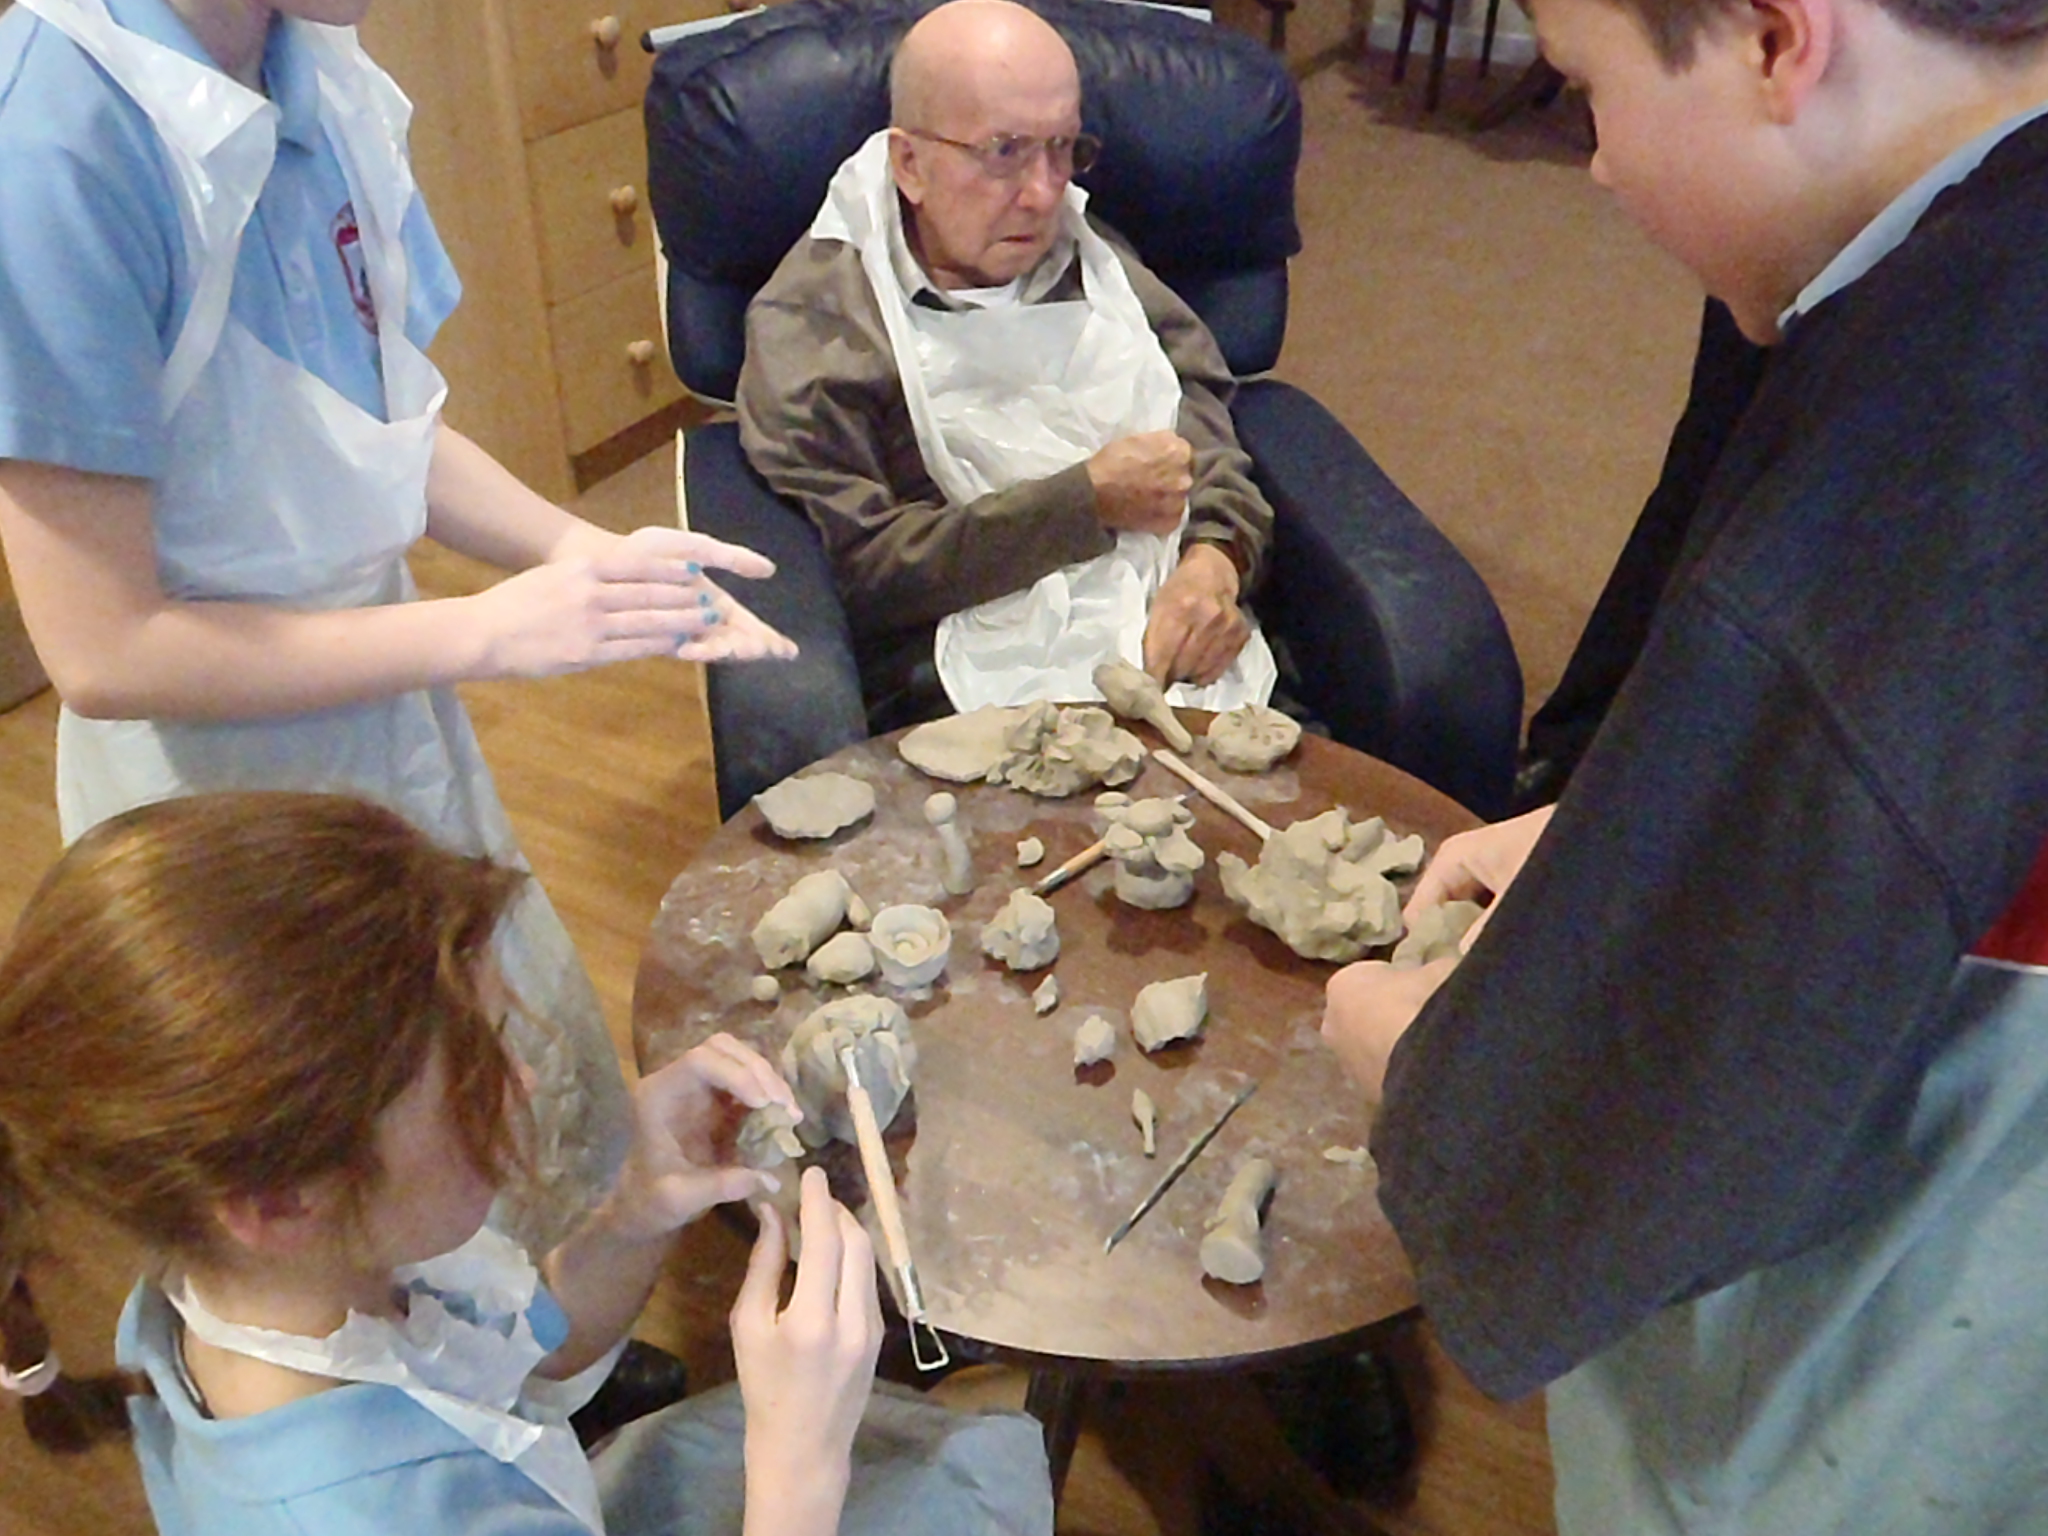
The children at Mount Street Junior School felt it was important to help the Servicemen and women to forget and to ease them back into civilian life with games, walks, sports and domestic routines. The Ex- Servicemen and women agreed that humour and a sense of playfulness were key in allowing them not to forget but to learn to feel again. Military training is, by necessity, dehumanising:
“Dehumanised Soldiers find it hard to play nicely…”
“Snowball fighting can be more fun than real fighting because nobody gets hurt.”
The children agreed that ” The Soldiers need a bridge for when they come back to their families from the War.”
Many Servicemen are adolescents when they join-up and their training replaces the natural pace of growing up. They cannot contextualise the shocks they are exposed to.
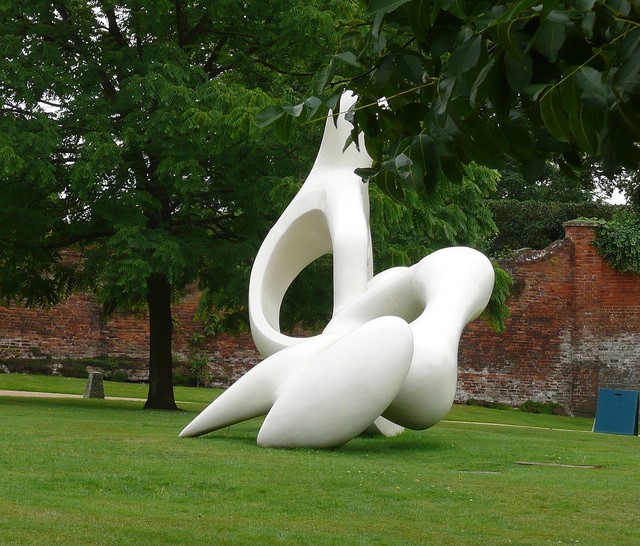
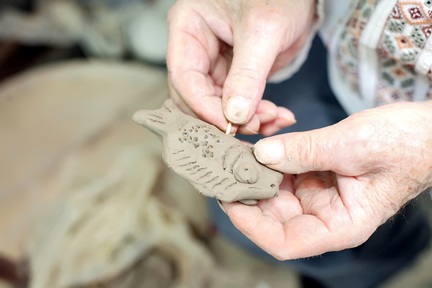
Marking Time Scale Model 1. Bird forms in many sizes creating movement around the central space. 160cm H.(incls base).

Marking Time Scale Model 2. Bird forms with a patterned texture suggested. 1metre high from the ground.
So: a sculpture with a narrative that releases the imagination, shows protectiveness and how the burden of being fierce and brave is shared and eased by those, of all sizes, being protected.

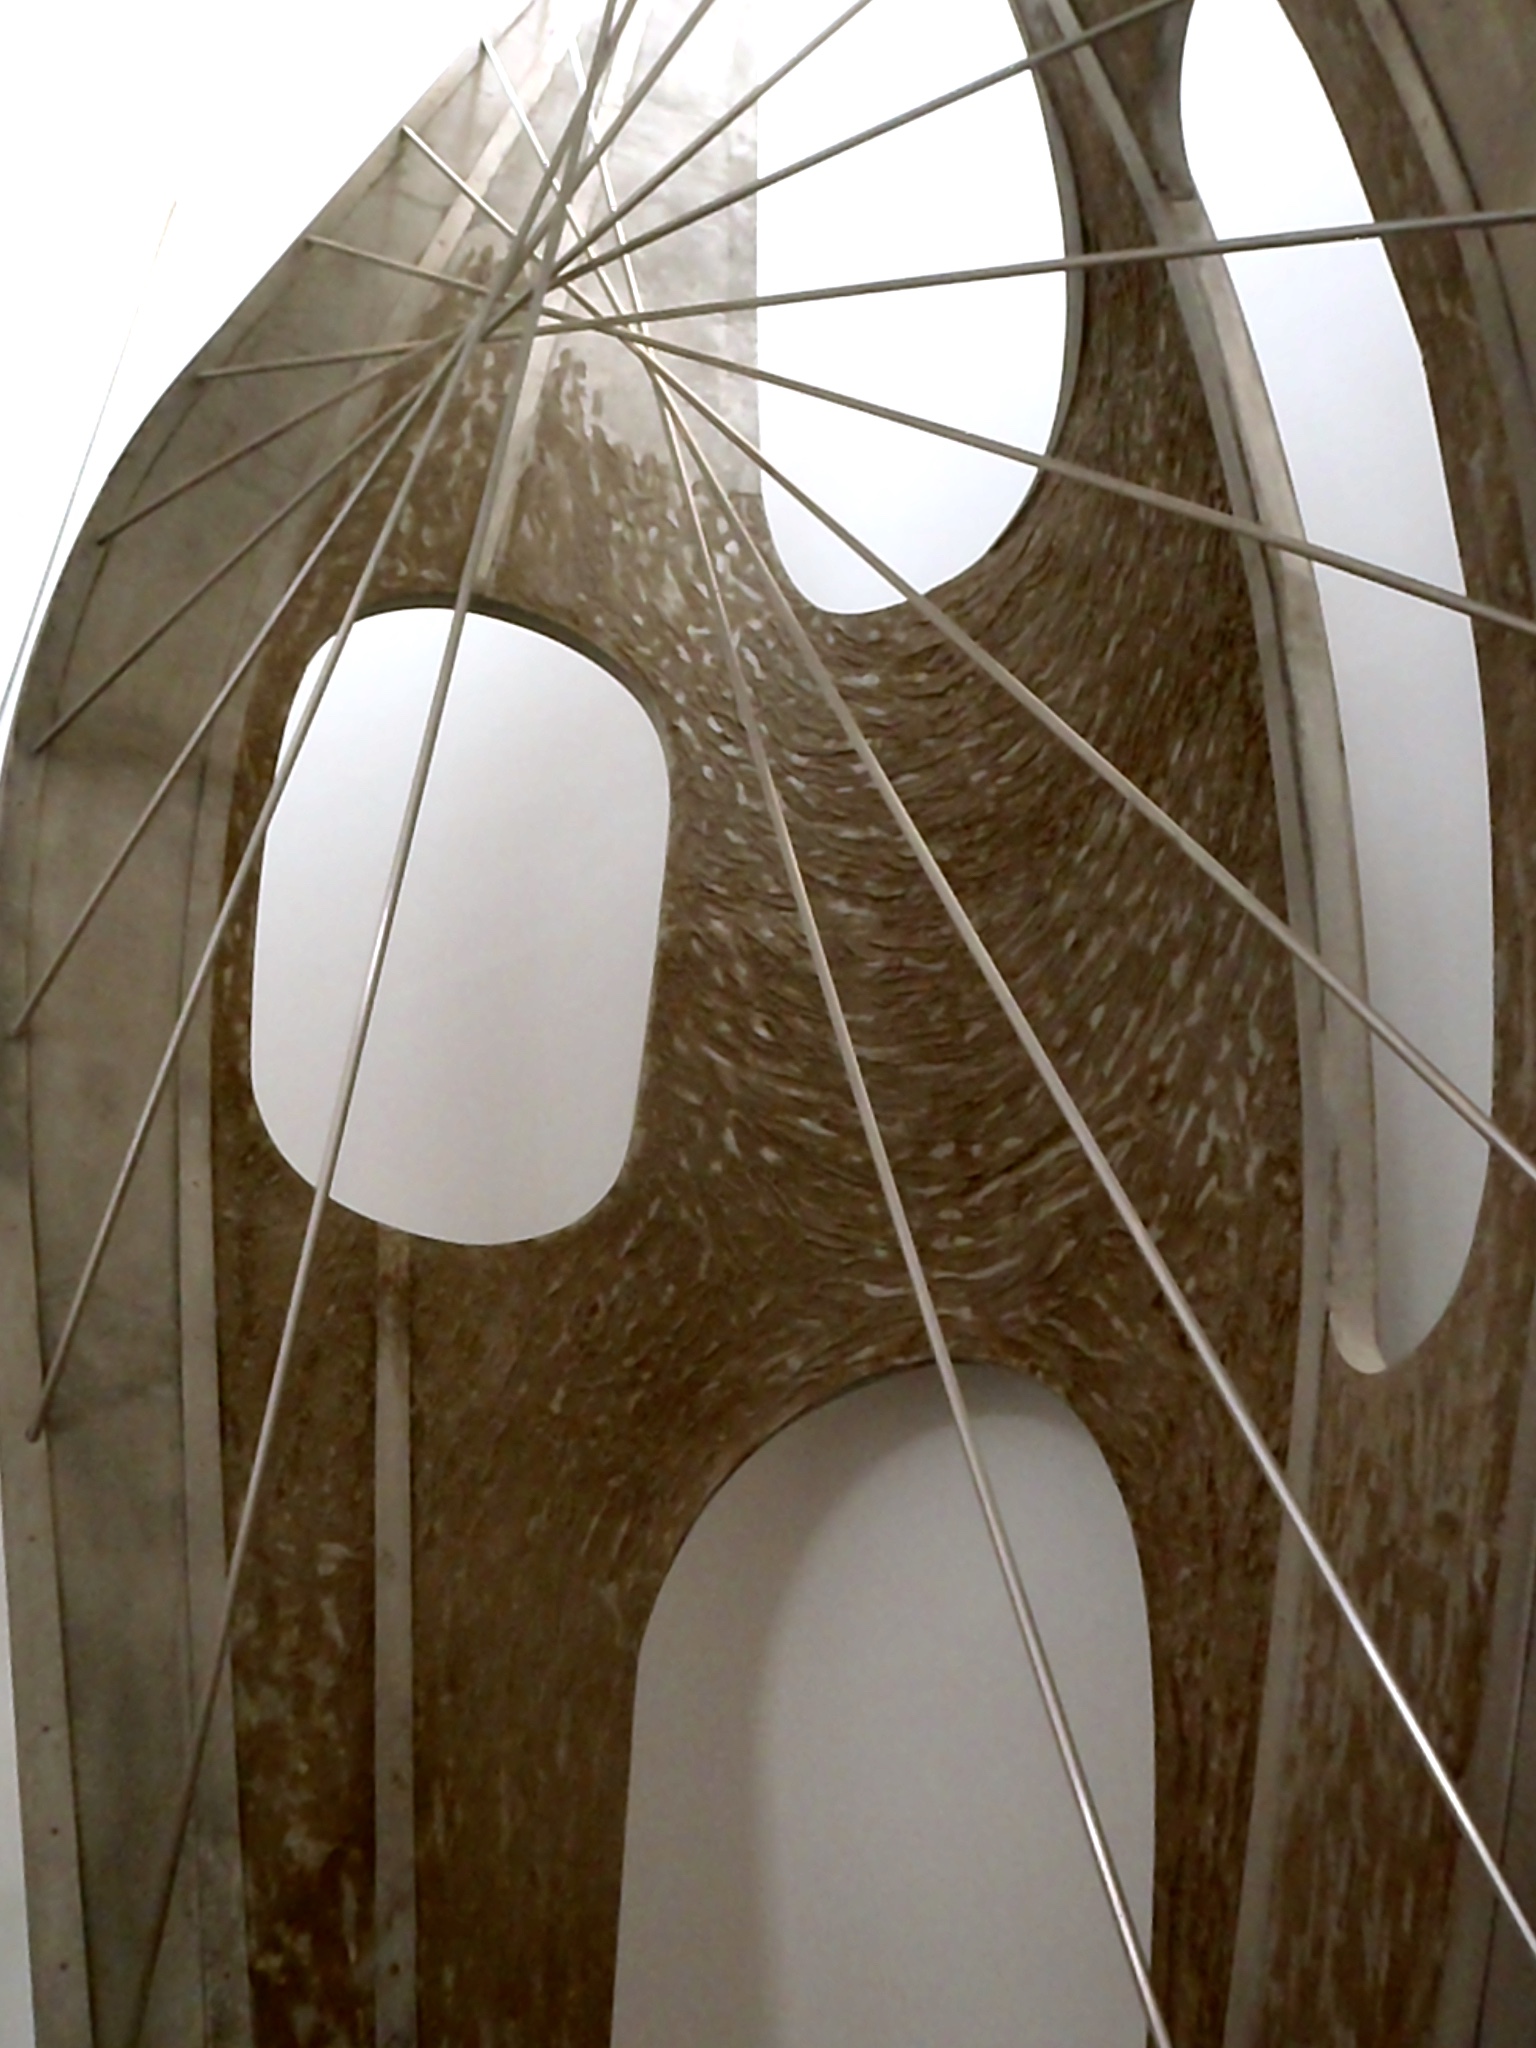
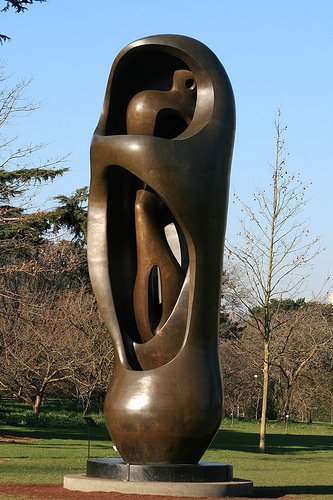
Marking Time Scale Model 3. Three bird-forms.180cm H (incls base).
“A flowing circle, the movement of life, love, hope and promise will draw you in and guide you to change.”

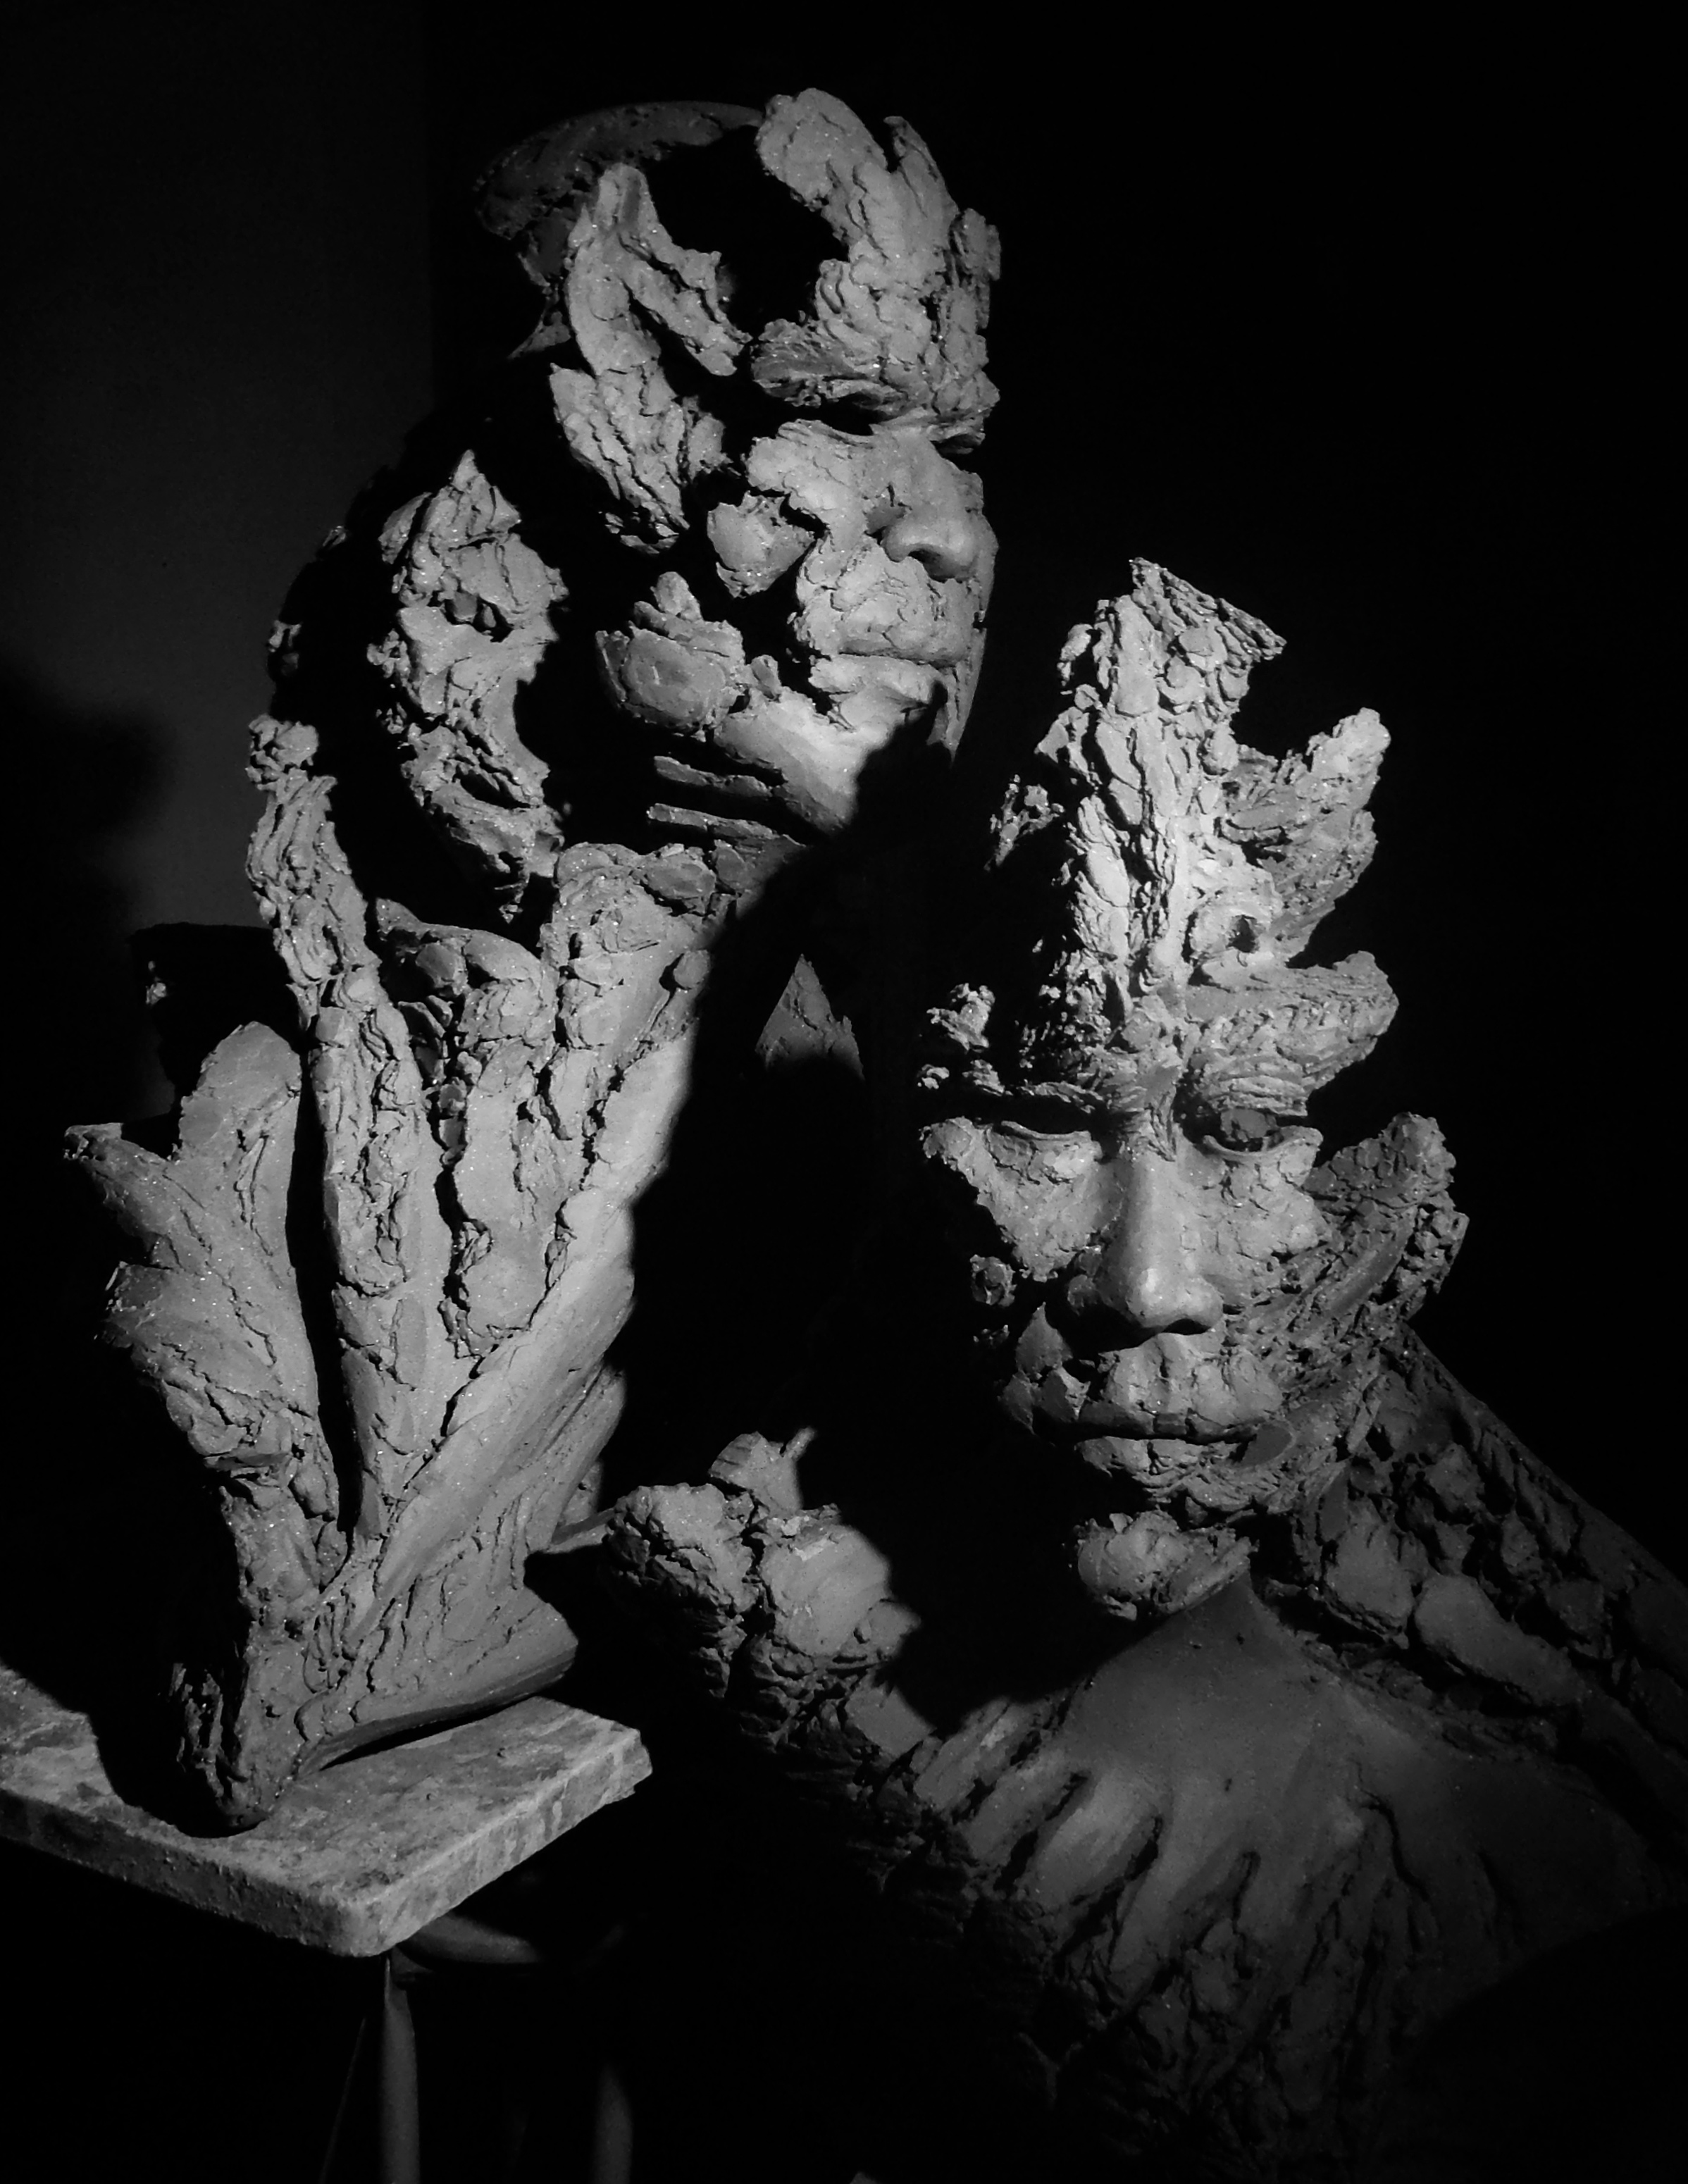
Marking Time Scale Model 3

Marking Time Scale Model 3
“Regrets, we all have them. You need Hope to manage them.”
“Ephemeral, shadow-like.” ” A dragon in the mist.” “Inter-weaving the real and the etherial, making them equal.” ” Dragon of protection, Bird of hope.” “Intertwined spirals” “Water represents calm and peace. Flowers represent beauty. Dragon represents protection.” “…and a mystical Dragon and a moat with 3 piranhas.”

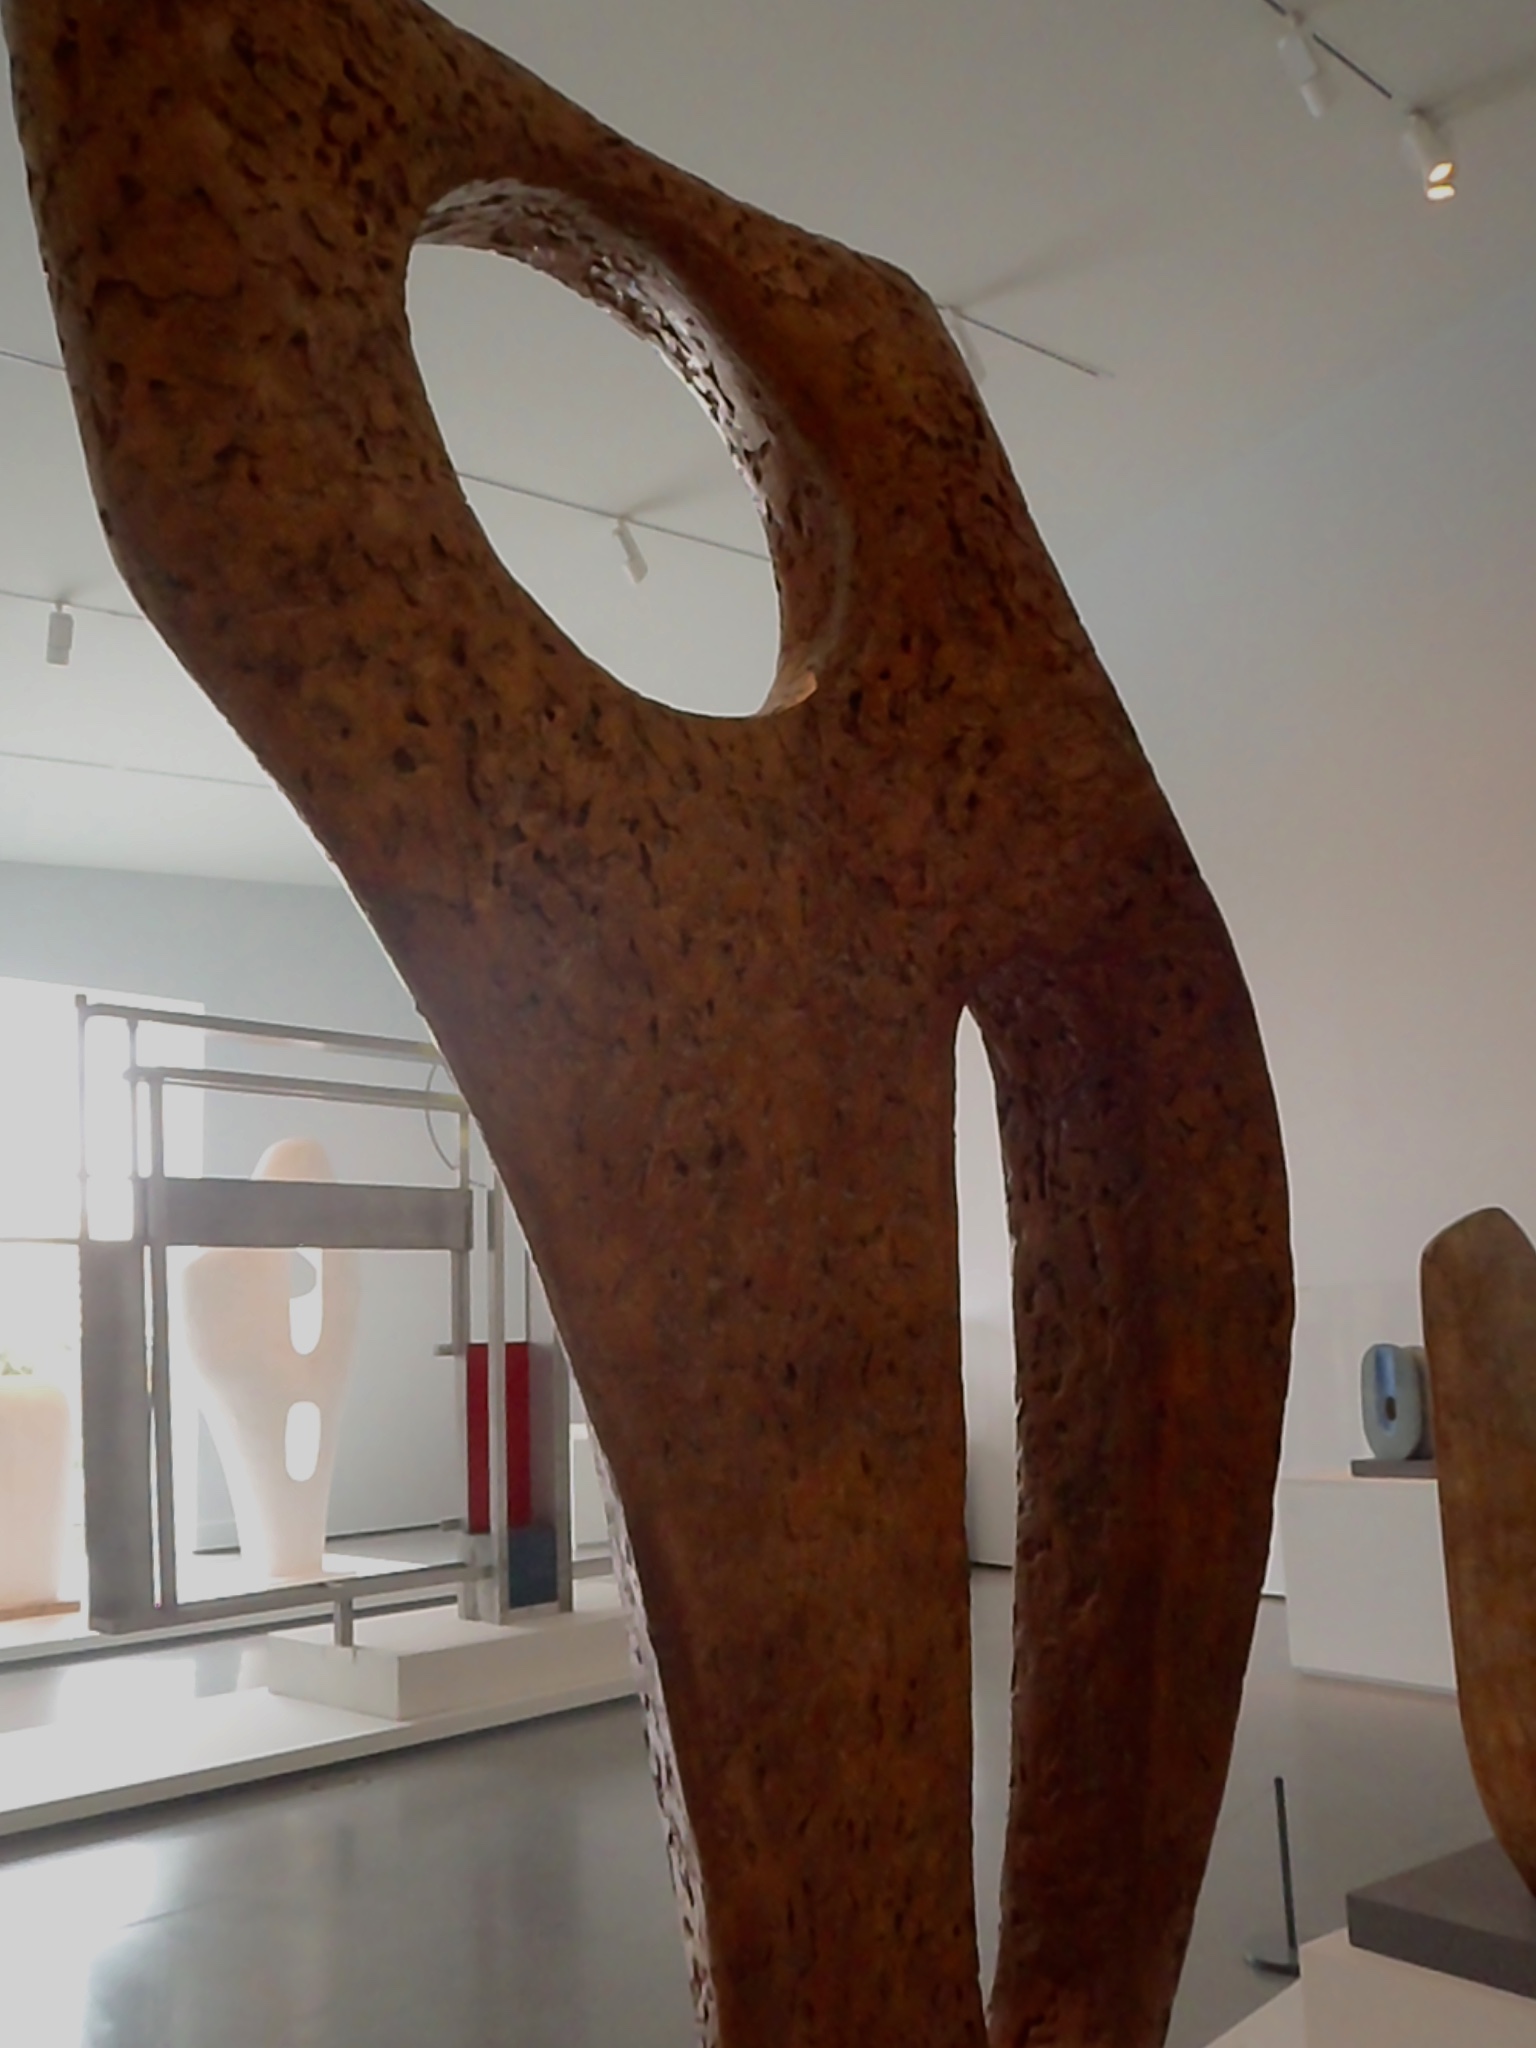
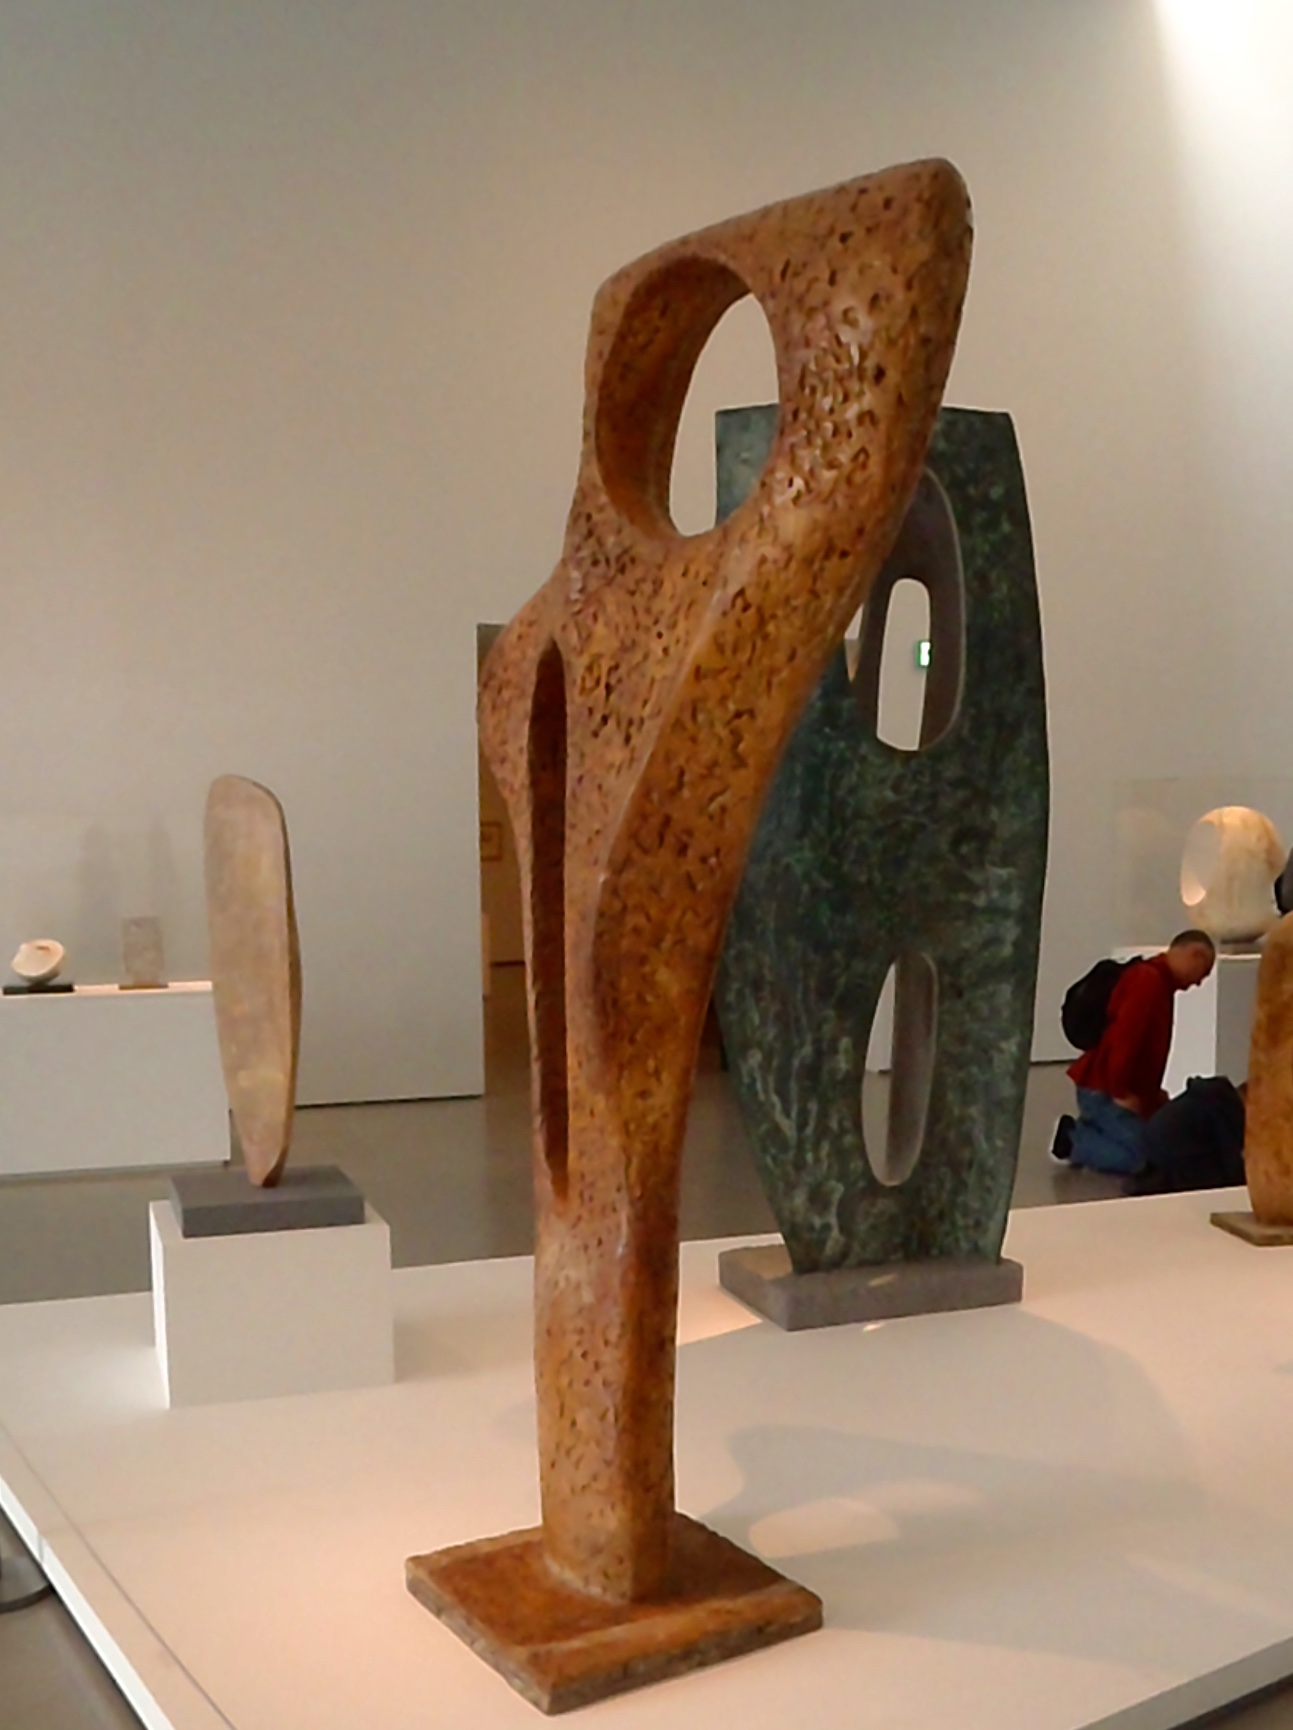
Marking Time Scale Model 4
“The Bronllys Dragon by Ben,aged 8.
Once upon a time there was a Dragon called Yddraig Goch. He would guard the Castle day to night until one day the Gorgan Maduser came. She looked the dragon in his eye but Yddraig Goch was quick as lightening to fly away. Yddraig Goch flew to the Military and perched on the roof. The army heard a thump on the roof and found Yddraig Goch, the Welsh Dragon.
“Shoot him” said Ian. “I am ready, Sir”
“Wait!”said the Captain.
“What?!” said the army.
“It’s Yddraig Goch, Lets make friends.”
“What, with a Dragon?” “Yes! Maybe he can help us against the other armies.”

Marking Time Scale Model 4
The triangle base and the use of 3s has multiple significances in the Military, where groups are divided into 3 parts throughout it’s structure starting with Army/Airforce/Navy. Celtic and Christian symbolism is over-flowing with 3s.
Linked to the triangle is the heart shape, despite its over-use, still a “powerful symbol of the strongest emotion, the one that triumphs over all others.”

Marking Time Scale Model 4
In Wales the Dragon is an especially potent icon representing the Land and bravery. The Red Kite is the Welsh National Bird and the symbol of Powys. Red Kites live separately but hunt and feed collectively when ever they can. They have an ordered community and share food and protect each other. After nearly going extinct in the UK due to cruelty and stupidity, their recovery has been brought about by the protection from a better society. Breeding from the surviving Welsh Kites, their numbers are growing: like the phoenix rising from the ashes.
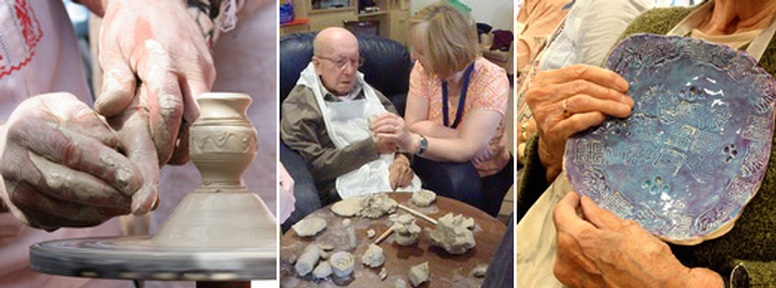
For each version of the Sculpture: The Mosaic Base.
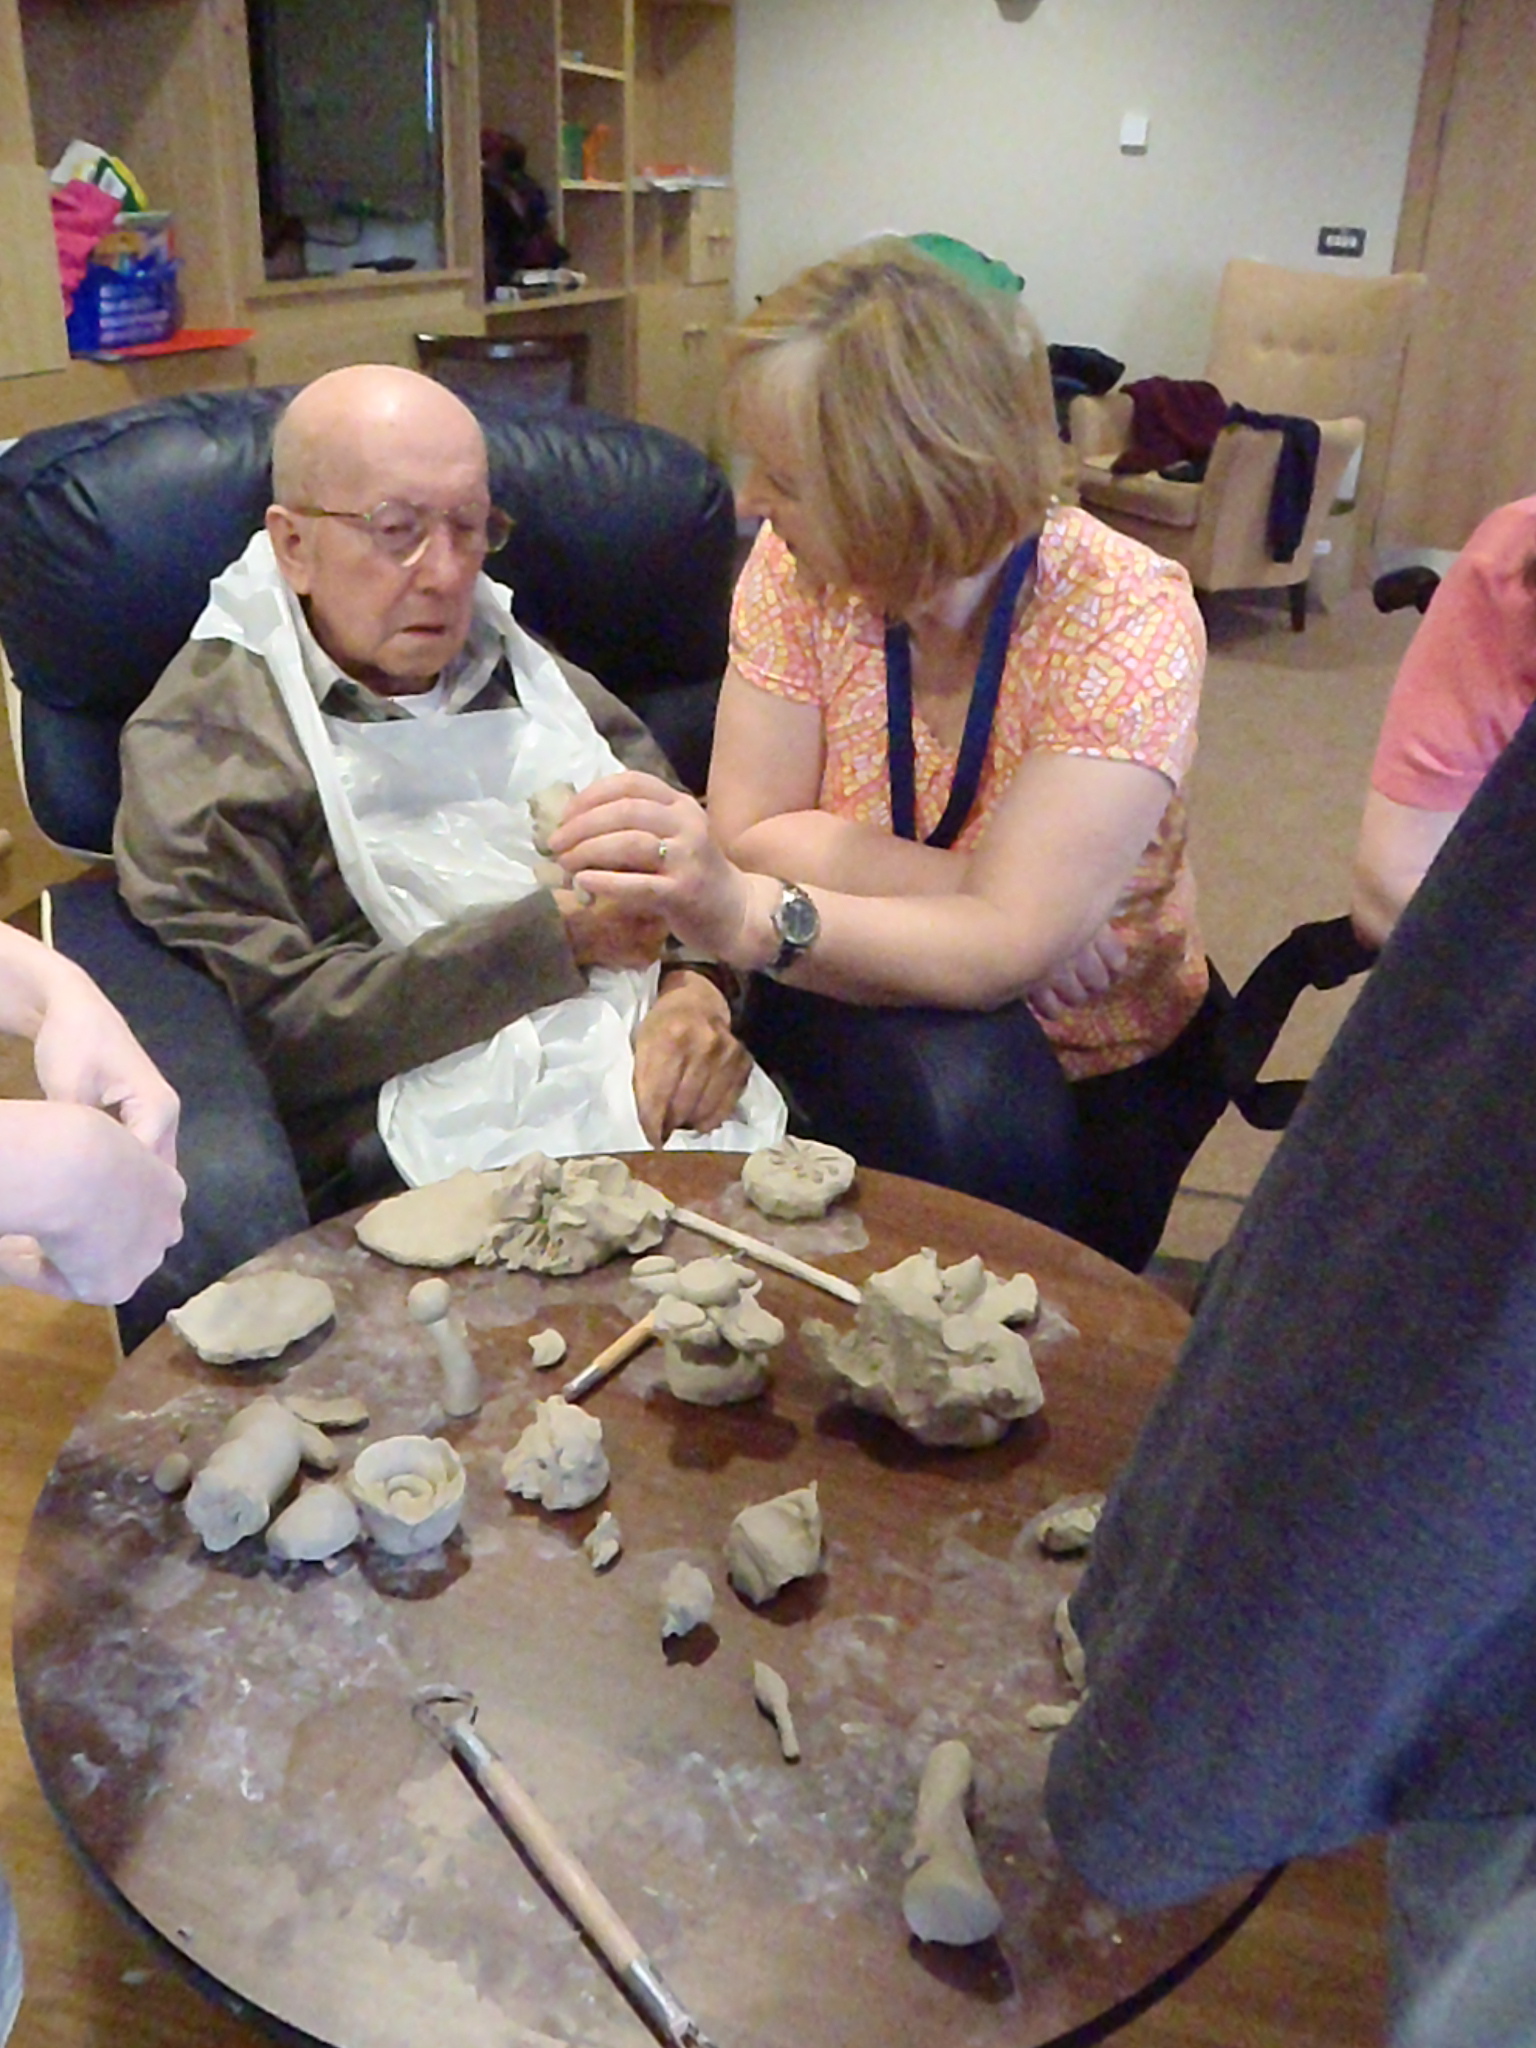
The base of the sculpture will raise slightly in the centre of the triangle. A mosaic of good sized tiles of many shapes, with images and words about what makes up a strong Community, made with Mount Street Juniors and the A-Level students in Llandrindod Wells and beautiful, and vivid glass pebbles will be set in swirling lines with the most colour in the centre representing souls, ideals, that which is vulnerable and precious.
The colours are blues/greens/yellows.
In the corners of the triangle will be set large tiles with ‘Accept the Past’, ‘Trust the Present’ and Faith in the Future’ and celtic knot-work carved on them.
Assessment:
I don’t recommend Models 1-3. They are lovely in themselves but don’t quite hit the mark. They have been useful transitionary pieces.
Model 4:
The dragon’s expression will be extremely gentle and caring. The birds, of all sizes and types but mostly red kites will soar out from the centre. They will have a softness to their lines. They will support, encourage and assist the benevolent dragon, their wings working with his.
The max height (including base) is 180cm. Width: 150cm. Depth: 180cm.
The form has lightness and movement but is actually very strong and safe in all the ways discussed.
There will be many view-points of the mosaic.
The full sized version will have expressive textures and many more birds than could be put on a small model. It will be a very complex build and I am happy to add voluntary hours to the budget and time-line in order to complete this challenging piece because I believe it will be very beautiful.
Model 4 uses the consultation resources and our intended outcomes to the best effect. I feel everyone who contributed will be very pleased and will be able to see that their work is included.
Model 5: This is a condensed version of Model 4. It has the best of Model 4 and it adds the iconic local sky-line of Pen y fan mountain in the near-by Brecon Beacons. The Kite is now powerful enough to bring a sense of guardian angel to the mix. The Dragon and the Kite interact to create an embrace around the centre of a richly coloured mosaic of glass pebbles and hand-made and decorated tiles in shades of blue and green that swirl outwards from the centre. It has 3 points connecting it to the ground. There are 2 holes through the form.

Marking Time, Bronllys Hospital, Scale Model 5.

Marking Time, Bronllys Hospital, Scale Model 5.

Marking Time, Bronllys Hospital, Scale Model 5.
The max height (including base) is 180cm. Width: 150cm. Depth: 180cm.
The form will not get cluttered with leaves in the way that Model 4 will in this woodland site. Model 5 will age gracefully with out looking neglected. It is sturdy and safe while retaining the flowing movement.
Update, 5/3/16
To keep within the Budget we need to reduce the size of the foundation.
Model 6 is based very much on Model 5 but it is divided into 3 sections which has lead to some interesting and lovely developments in the forms. The sense of the protective, sheltering embrace is still clear but there is more movement and echoes of bird-forms. The dragon’s head is moved into the centre adding to the protective feel and this enhances the over-all silhouette.
The dimensions are the same. I have added to the base-line so that the 3 forms are self-supporting to ease strain on the small foundations. When the sculpture was a single form it supported itself from tipping over. But the weight was all standing on 3 small points that would have put a lot of strain on a small foundation. The 3 sections allow some ‘give’ as the sculpture settles on the site.
This model is not as neatly finished as Model 5: don’t let that distract you. I will use both models during the build.

Marking Time Model 6.

Marking Time Model 6.

Marking Time Model 6.

Marking Time Model 6.

Marking Time Model 6.
The foundation will have 3 parts linked by a reinforcement-bar grid. Hard-core will form a small rise towards the centre. The mosaic will be set into hand-made cement paving slabs made at Osprey Studios. This will give more time to the layout of the mosaic and the results will be better than setting them onsite. It will save the surprisingly large cost of Out-door Tile Adhesive.
This is a good set of solutions with a lot gained and nothing lost except the costs of a large, poured foundation. It does create a lot more work for the sculpture-build but I am willing to take that on: it will be satisfyingly challenging.


 Osprey.


